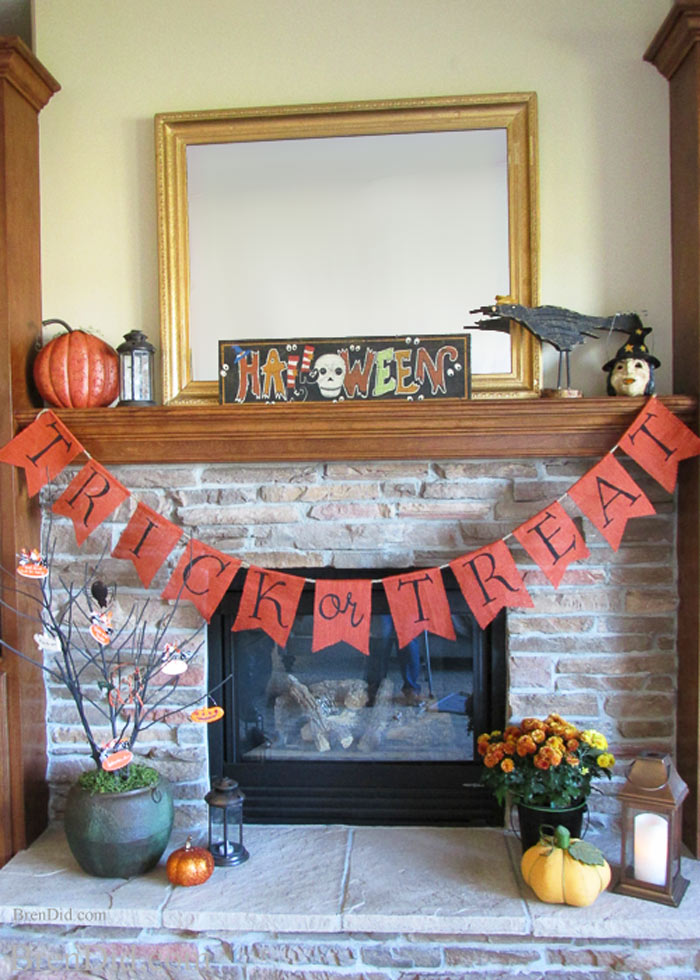
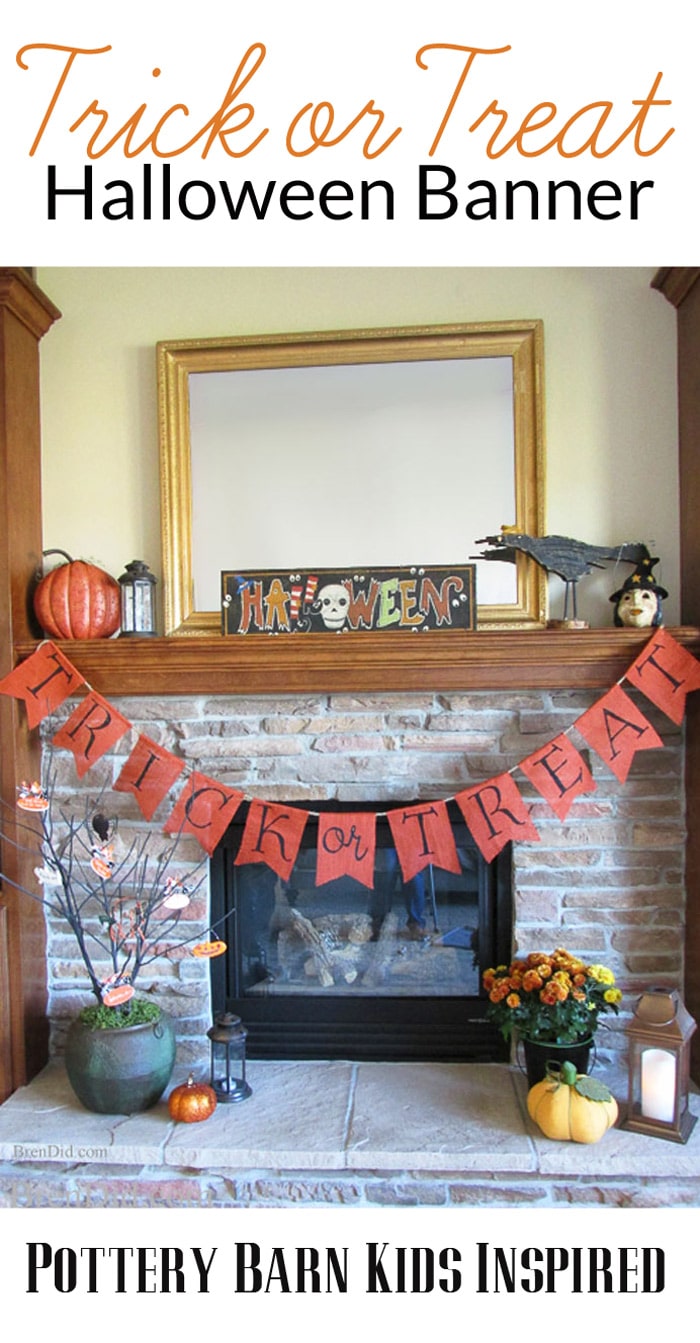
Adorable Halloween banners ahead! Grab some burlap and twine for this easy Trick or Treat Halloween Banner DIY that is inspired by Pottery Barn Kids.
Pottery Barn Crafts
I’m obsessed with Pottery Barn Kids. I love paging through their Halloween décor catalogs and occasionally imagine selling all of our children’s furniture on Craigslist so I can redecorate. That doesn’t mean I have a problem, does it?
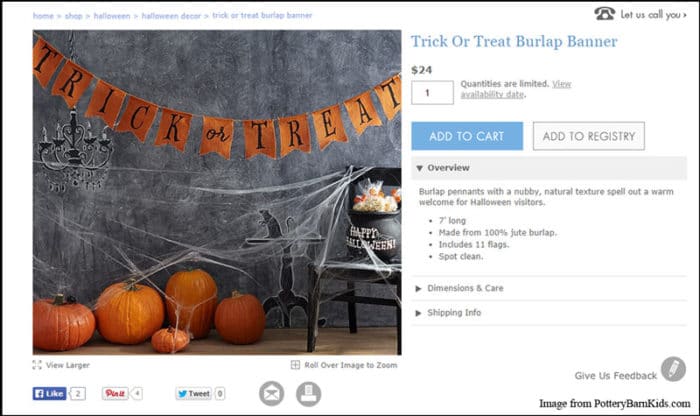
I took one look at the banner and its price tag, $24.00, and knew I could do better. It’s made of jute (code name BURLAP). Burlap is CHEAP! It runs around $3.99 a yard at Michaels, Joanne, Hancock, etc. Plus you only need ½ a yard to make this banner!
I sat down with my trusty graphics editing program and came up with a printable pattern you can use to make your very own Pottery Barn Kids Inspired Trick or Treat Banner. I’m also including a cut file, in case you own a Silhouette cutter.
How to Make a Halloween Banner
Let’s take a look at how EASY this project is…. I bet your house is going to be draped in burlap banners this Halloween.
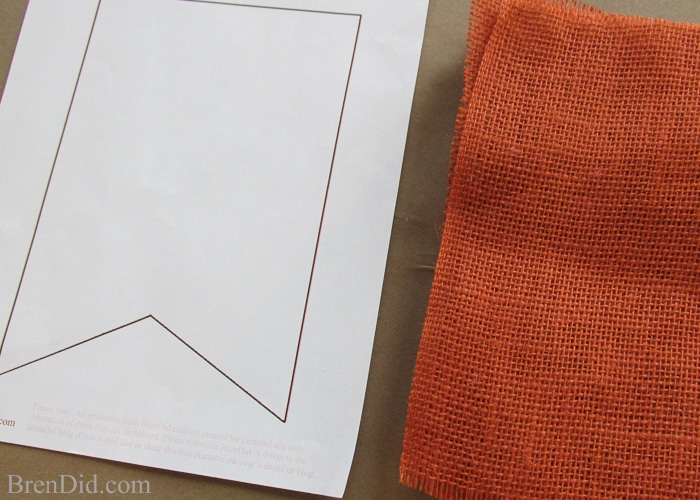
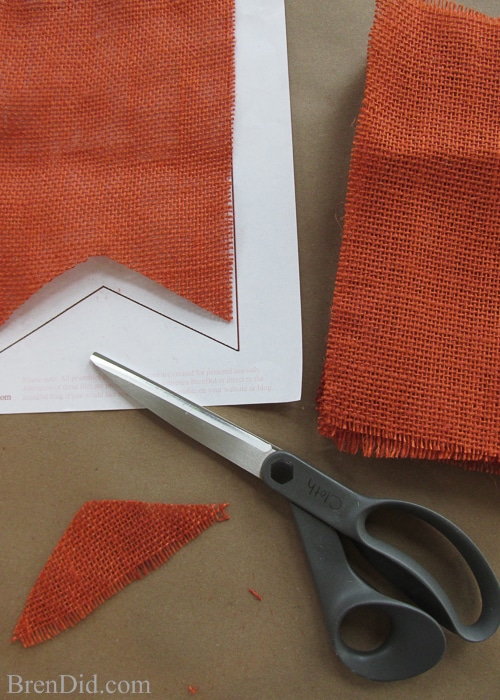
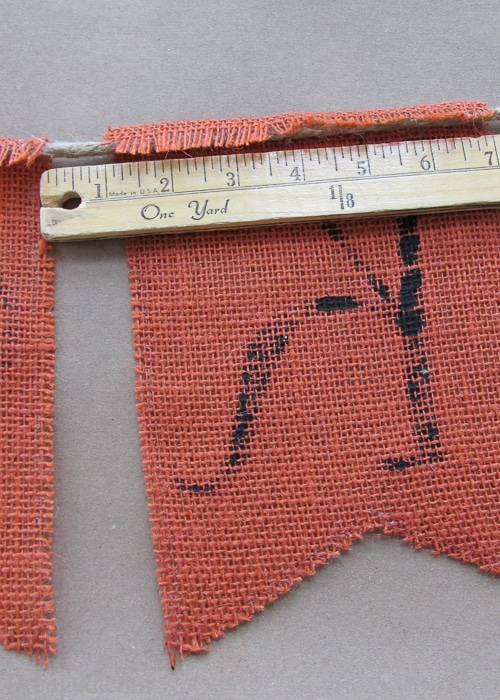
- Download and print the PDF pattern. Cut 11 pennants from burlap. They are 6” wide by 8.5” tall (use the pattern in the printable). If you have never cut burlap before, check out this easy tip for cutting perfectly, it makes this project go FAST.
- Notch each pennant.
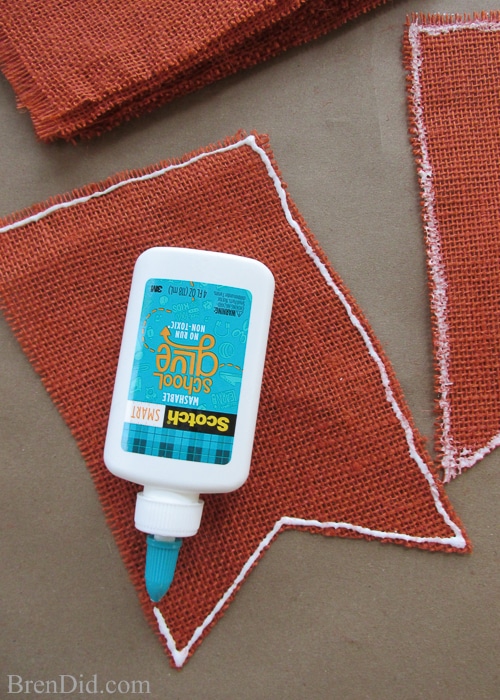
- Use school glue to stop the edges of the burlap from fraying. I squeeze on a thin line and then use my finger to rub it gently into the material. You can also use a fray-stopping product, but school glue is more affordable.
- Download the PDF pattern then print and cut stencils. There are several ways to make your stencils:
- Trace your stencils onto contact paper by hand and then cut them out by hand.
- Use a Silhouette machine to cut the vinyl for you. (Get the free cutting files.)
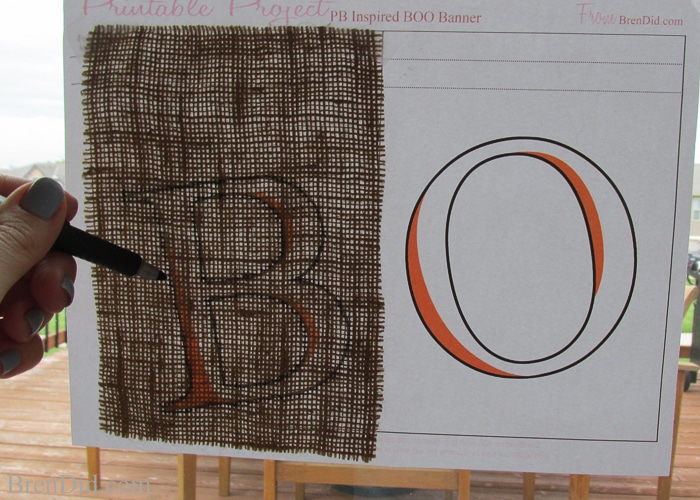
- You can skip the stencils altogether and trace your pattern onto the burlap by hanging it on a window and using a permanent marker.
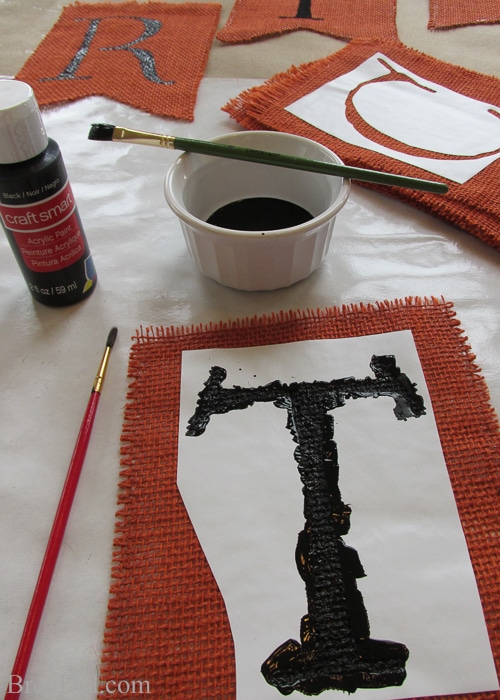
- Use acrylic craft paint and a small brush to stencil your design. Work from the edge of the stencil inward to prevent the paint from being forced under your stencil. I lined my work area with freezer paper to keep the paint from making a mess, it tends to bleed through the burlap a bit.
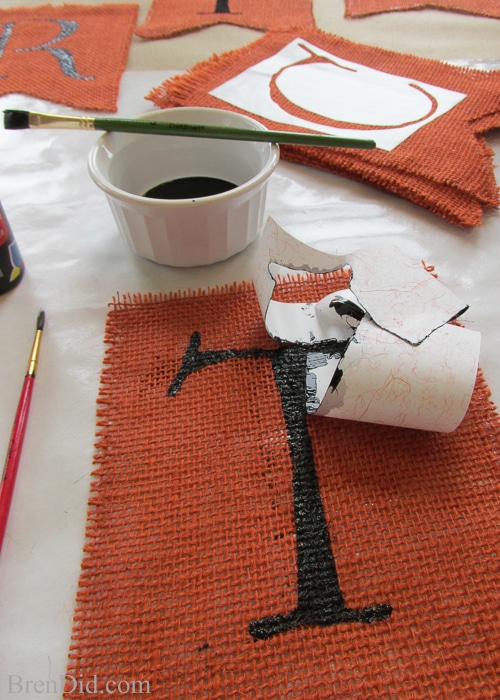
- Let the paint dry for a few minutes and remove your stencils.
- Cut the twine. I use a 10 foot piece of twine because I like to have extra length at each end to attach the banner. The finished PB banner is 7 feet long, if you want a shorter banner use an 8 foot piece of twine, the ends will have a lop that takes up several inches.
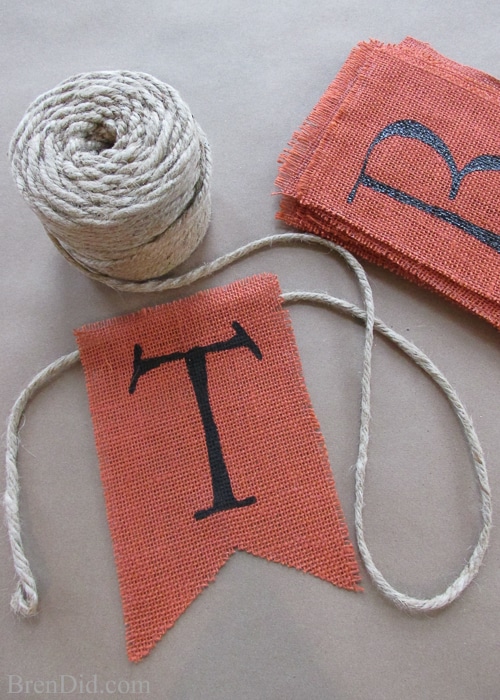
- Once the paint is completely dry use a glue gun to attach your pennants to the twine. I use an iron to crease my pennants ½ inch from the top. This makes a straight line to place the glue and twine. Go lightly on the glue, you do not want extra leaking out through the loose weave of the burlap.
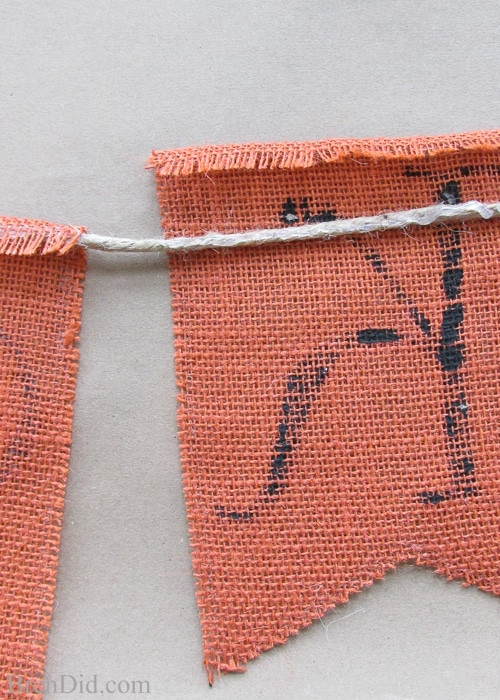
- Space each pennant 1 inch apart. Tip: start from the middle of your twine and work out. This ensures your banner is centered.
- Knot cord at the end to make a hanger.
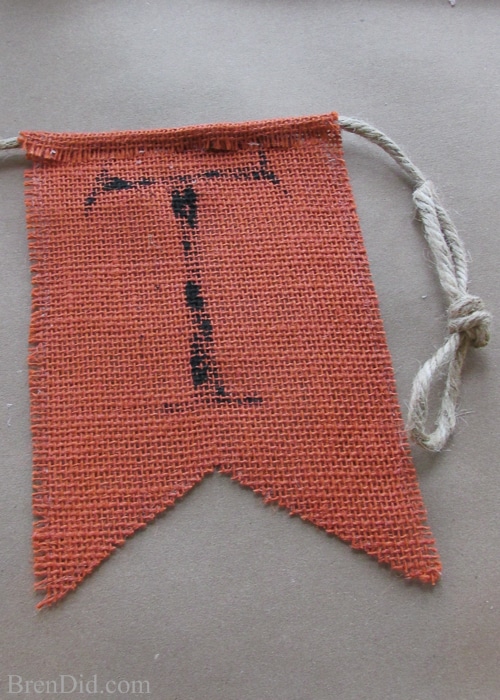
- Enjoy your new creation!
Halloween Banner DIY Costs
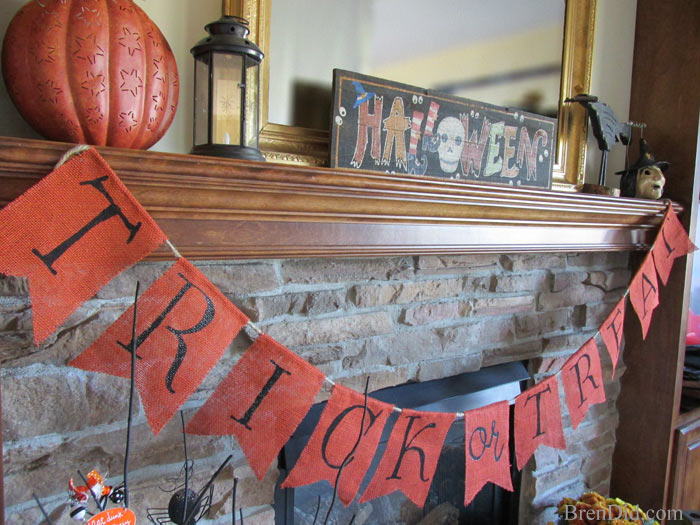
I love my new banner! You can use it to decorate a fireplace, bookcase, toy room or porch. It would be adorable at a school party.
PLUS, I didn’t have to part with $24 to get it!
Here’s the cost breakdown for my version:
- 3/4 yard Dark Orange Burlap – $2.00 (I bought extra in case I made a cutting error)
- Contact paper for stencil, $2.00 (you can use any color, check the Dollar Tree to save)
- Black Acrylic Paint $0.69 (used ½) – $0.35
- 10 feet of 1/4 inch natural jute twine – $2.00
- Glue Stick – $0.10
Total price= $6.45
That’s a $17.55 savings (73% off if you’re into math).
I LOVE those savings even more than Pottery Barn Kids!
Get More Knock Off Halloween Crafts
Looking for more Halloween craft inspiration? Get these great knockoff tutorials.
- Pottery Barn Kids Inspired Bat Chandelier
- Pottery Barn Inspired Happy Halloween Banner
- Pottery Barn Inspired Trick or Treat Banner in Black
I hope you try one of my projects this fall!

NiftyBetty
I have always wondered if there was someone out there that took a catalog (like Pottery Barn or Pier 1) and did their own DIY which turns out looking the same or even better. Bren Did! Thanks for the tutorial. Love it!
Bren
Oh, Ludavia, you are too kind! I am that crazy lady who sees catalogs as a challenge… much to my husband’s dismay!
Julie S
Super cute Bren! Hope we have time to make this!
Bren
Thanks Julie! It was a fun project. I have a few more banner tutorials coming in the next 6 days including Happy Halloween, BOO, and another version of Trick or Treat.