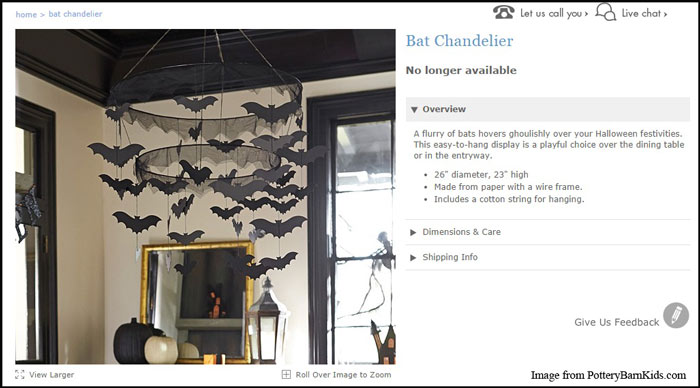
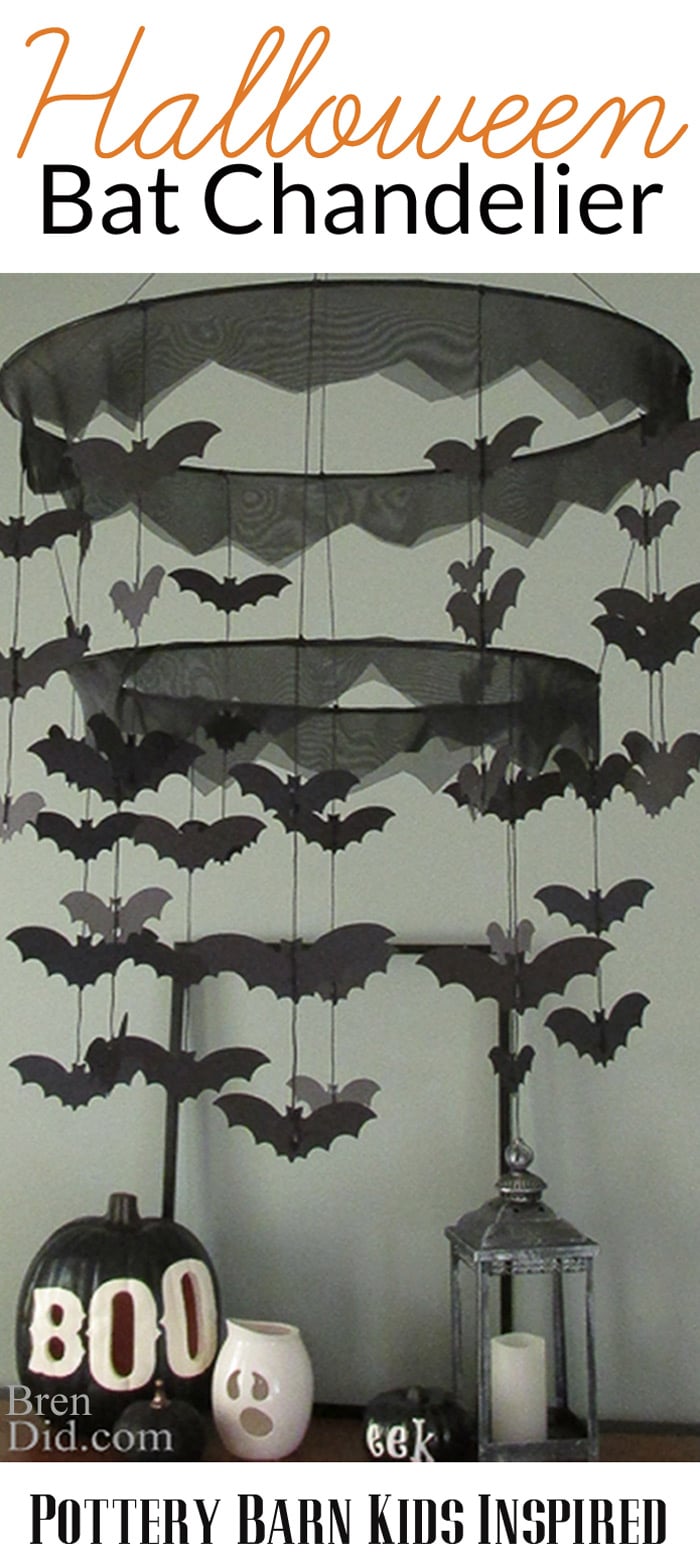
I love Halloween decorations that are interesting, but not necessarily gory or scary. This year I’m completely taken with the Pottery Barn Kids Bat Halloween Chandelier, you might even say I’m BATTY for it (chuckle, chuckle, snort). It’s a haunting addition to any room and it is light enough to hang from your light fixture.
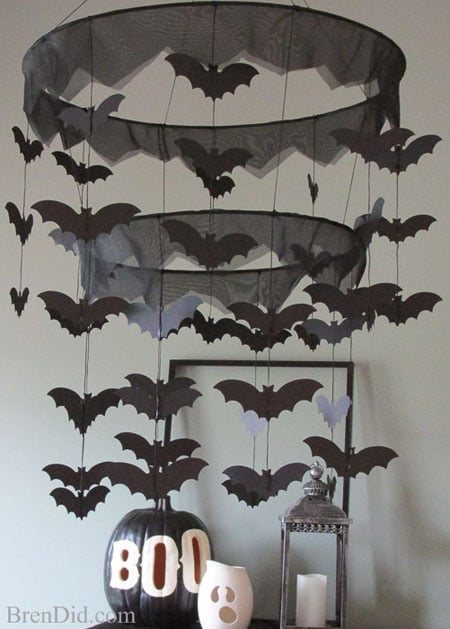
I took one look at the chandelier and knew I wanted it… then I noticed its price tag, $59.00. After I nearly spit out my coffee read the description, I saw that it was made from paper, wire and cotton string. None of these raw materials added up to $59 in my mind! I knew I could make a nearly identical chandelier for a much cheaper price (as long as I supplied the creativity and labor).
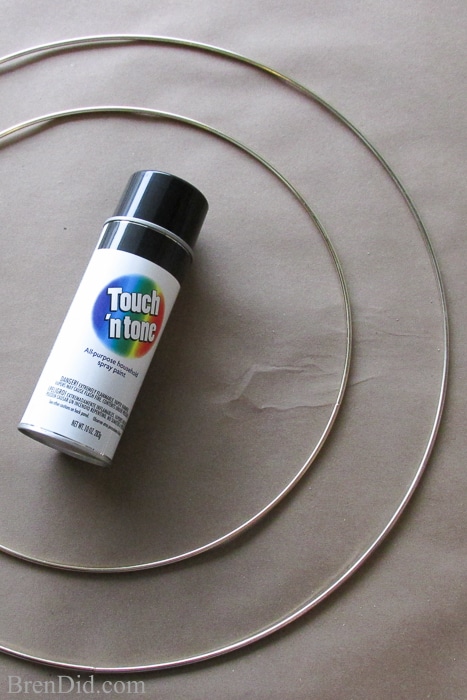
The first problem was finding the metal rings that make up the base of the mobile. I made a pilgrimage to several local craft stores and found metal macramé rings at Joanne Fabric and Crafts. The rings were 19 inches and 14 inches in diameter, a bit smaller than the measurement of the original chandelier, and came in gold tone. The price was too good to pass up at $4.99 and $2.99. I knew I could make them work perfectly.
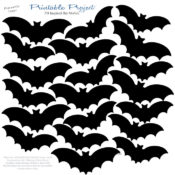
Next I sat down with my favorite graphics editing program and came up with a printable pattern you can use to make your very own Pottery Barn Kids bat shapes. I’m also including a cut file, in case you own a Silhouette cutter.
Kids could help with this easy project. I am considering making extra strands of bats to hang from our window sills. One can never have too many paper bats!
Bat Halloween Chandelier Instructions
- Paint the gold hoops black using spray paint. Lightly sanding the hoops will make the paint stick better. (I didn’t do this, I just used several coats of spray paint!) Make sure to cover your work surface and paint in a well-ventilated area. I like to spray paint in the garage (with my car safely parked in the driveway).
- Cut out the bats. You will have 16 strands of bats with three bats each or 48 bats. Download the PDF or the Silhouette files and cut them from black cardstock.
- Cut your sheer black fabric into two pieces, each 7 ½ inches long x 60 inches (all the way across the width of the fabric). I ironed mine with a cool iron before cutting as it wrinkles easily.
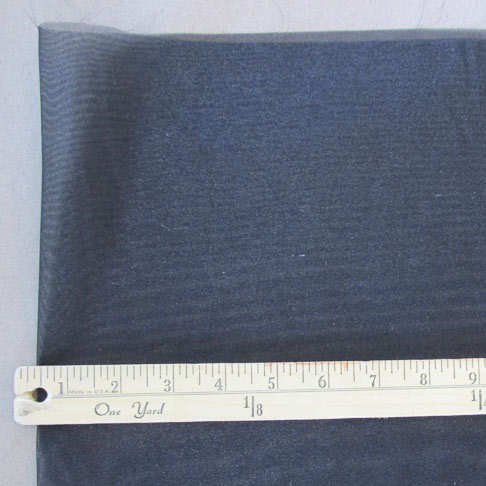
- To easily cut the jagged edge your fabric needs try folding the fabric in half multiple times. (Think paper dolls.) Cut a notch at the bottom.
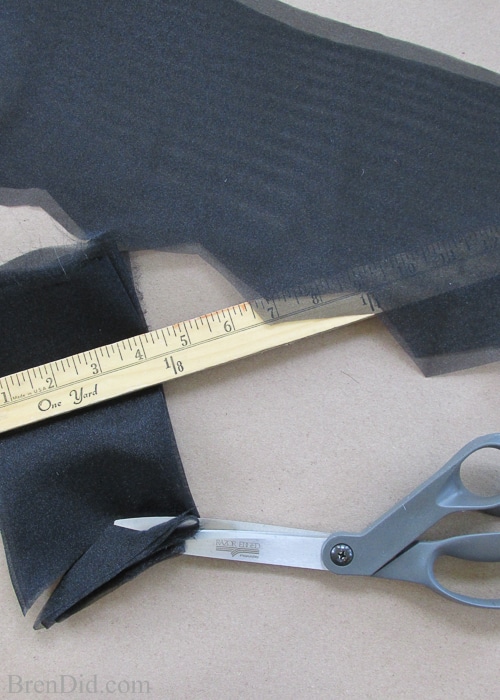
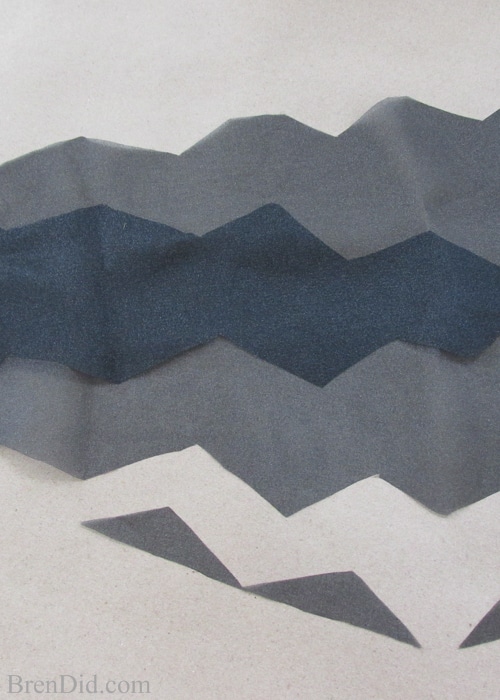
- Turn the folded fabric and cut a notch in the top. When you unfold your fabric it should look like the picture below. Use your scissor to make any jagged point more neat.
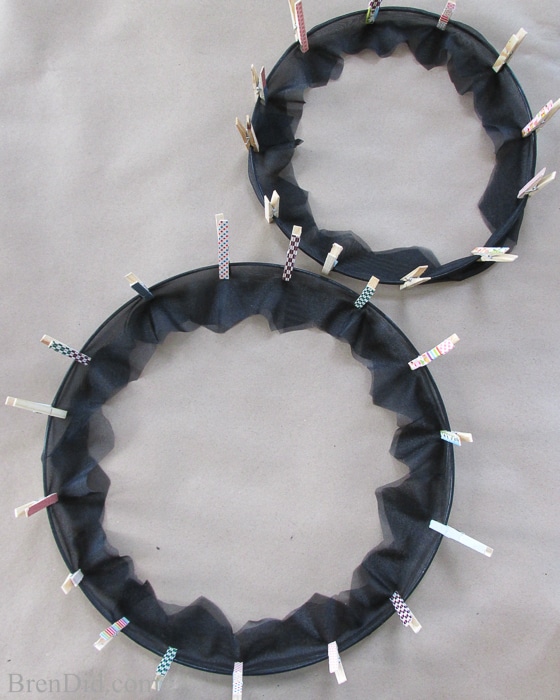
- Drape fabric over the dry hoop. (Make sure your paint is completely dry, I let mine dry overnight.) Secure the fabric with clothespins or small clips, paying careful attention that the fabric is tight to the hoop and that the ends of the fabric meet.
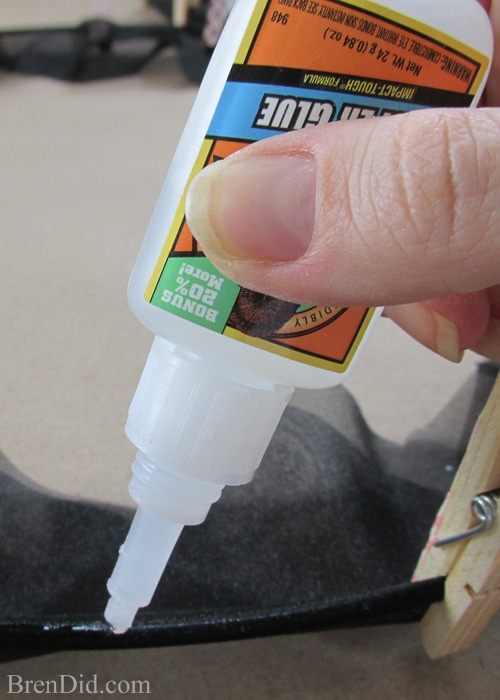
- Use super glue to attach the fabric to the rings. You can glue right through the sheer fabric! Don’t go overboard, you don’t want drips.
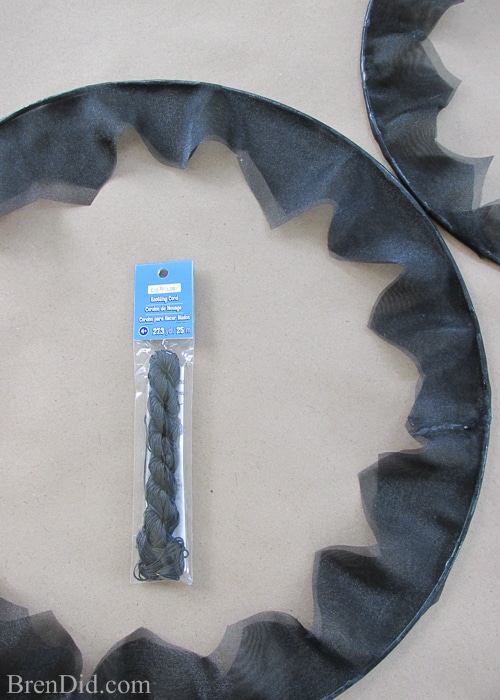
- Cut four 36 inch pieces of cotton knotting thread to make the hangers for your chandelier.
- Attach the thread hangers starting with the small hoop. Use a large embroidery needle to go through the sheer fabric and around the hoop several times, tie a knot toward the inside of the hoop.
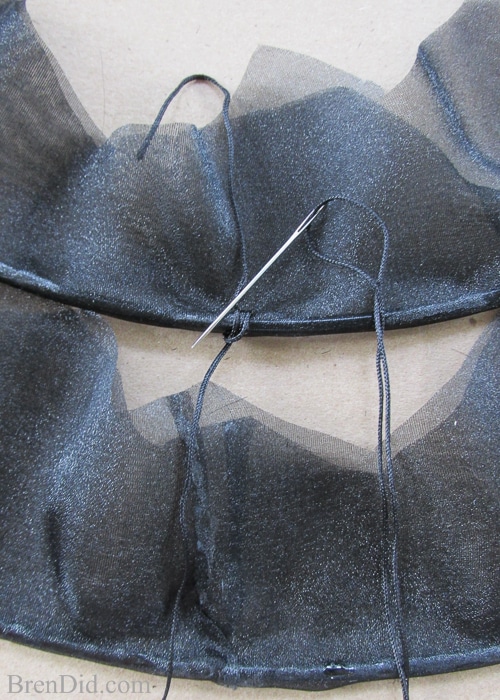
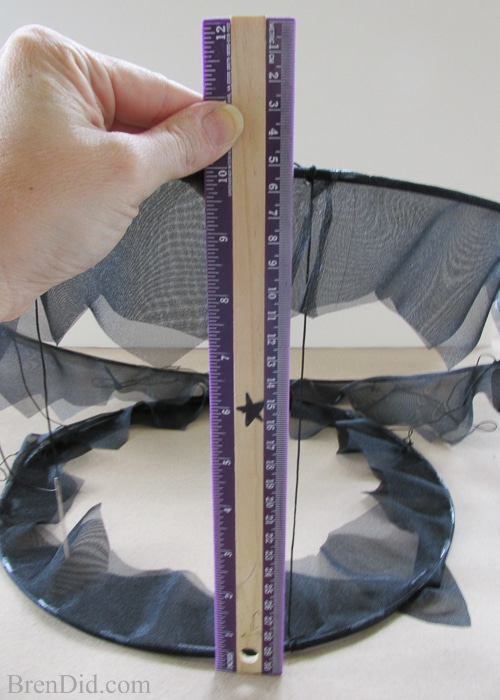
- Measure 10 inches of thread slack between the two hoops, then use a large embroidery needle to go through the sheer fabric and around the hoop several times, tie a knot toward the inside of the hoop. Leave extra thread at the top of the hoop to make the hanger. Repeat step 9 on three equally spaced sides of the hoop with the remaining tread.
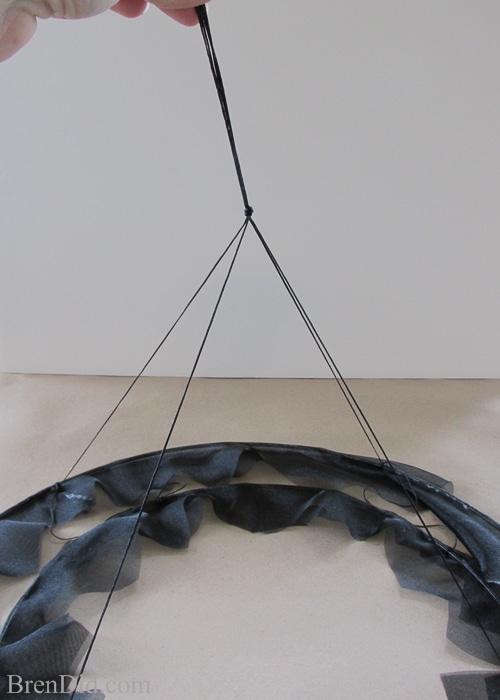
- Tie all four threads together at the top and hang your chandelier. ( I hung mine to my kitchen light fixture with an “S” hook.)
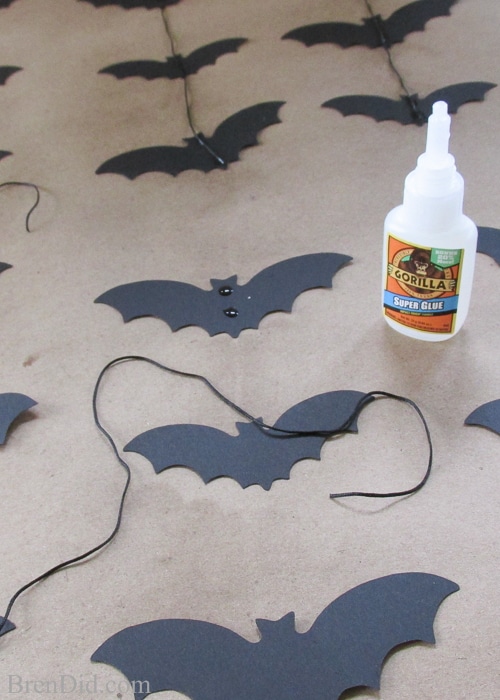
- Cut 16 strands of thread 14 inches long. Use two small dots of super glue to attach each bat. I made 8 strands of small bats, large bat, small bat and 8 strands of large bat, small bat, large bat.
- Attach 8 strands, evenly spaced to the lower hoop and 8 strands, evenly spaced to the larger hoop. Using a needle (like in step 7). It’s easiest to do this with that chandelier hanging at eye level.
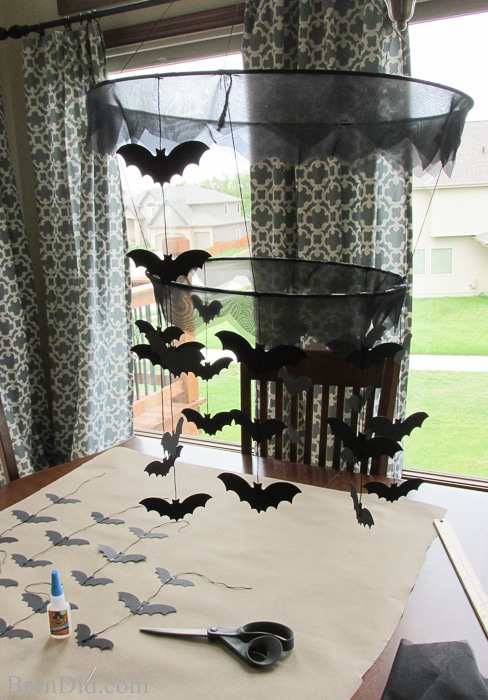
- Hang your chandelier and enjoy.
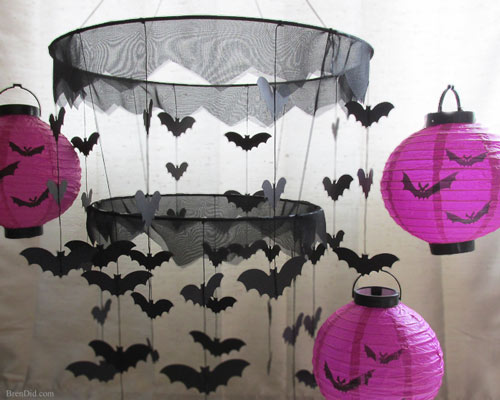
Bat Halloween Chandelier Cost
I love my new chandelier! I found some purple bat lanterns at the Dollar Tree that look cute with it too. It takes my Halloween decorations to a new level.
PLUS, I didn’t have to part with $59 to get it!
Here’s the BrenDid cost breakdown:
- Metal macrame ring, 19” – $4.99
- Metal macrame ring, 14″ – $2.99
- Black spray paint – $1.00 (only partially used) – $0.40
- Crepon sheer fabric, ½ yard of 60″ width – $2.50
- Black knotting cord – $1.99 (only partially used) – $1.00
- Black card stock, 3 sheets – $0.30
- Gorilla Super Glue – $3.50 (only partially used) – $1.00
Total price= $13.18
That’s $45.82 in savings (77% off if you’re into savings percentages).
I LOVE those savings even more than Pottery Barn Kids!
Get More Knock Off Halloween Crafts
See more Halloween knock off decor:
- Pottery Barn Kids Inspired Orange Trick or Treat Banner
- Pottery Barn Inspired Happy Halloween Banner
- Pottery Barn Inspired Trick or Treat Banner in Black
- Pottery Barn Inspired Boo Banner
I hope you try making a Halloween chandelier. If you have kids try calling it a Bat Mobile and watch them roll their eyes each time you mention you’re building it in the kitchen.



Amanda Taft
I love your bat chandelier! I came across the same one last year at the PB Kids store and immediately knew I could make it myself. I was too lazy to go out and buy supplies, so I just used stuff around the house. I used wire clothes hangers for the hoops, but other than that, we pretty much did the same thing. It was such a great addition to my Halloween decor! Glad to see someone else make it too!
Bren
Thanks Amanda! I guess great minds think alike! LOL! Thanks for stopping by the blog.