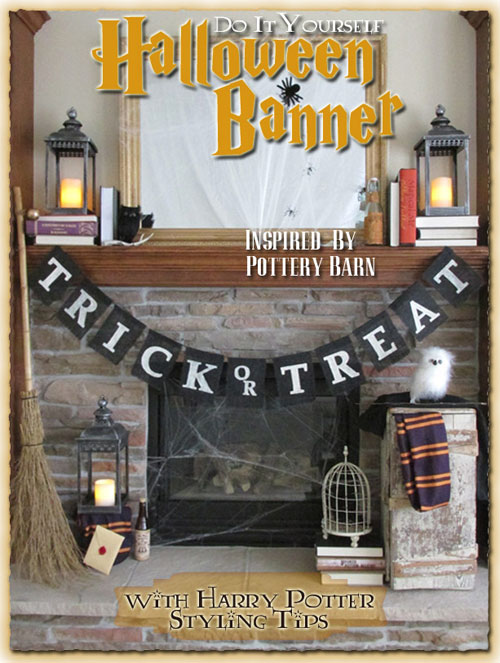
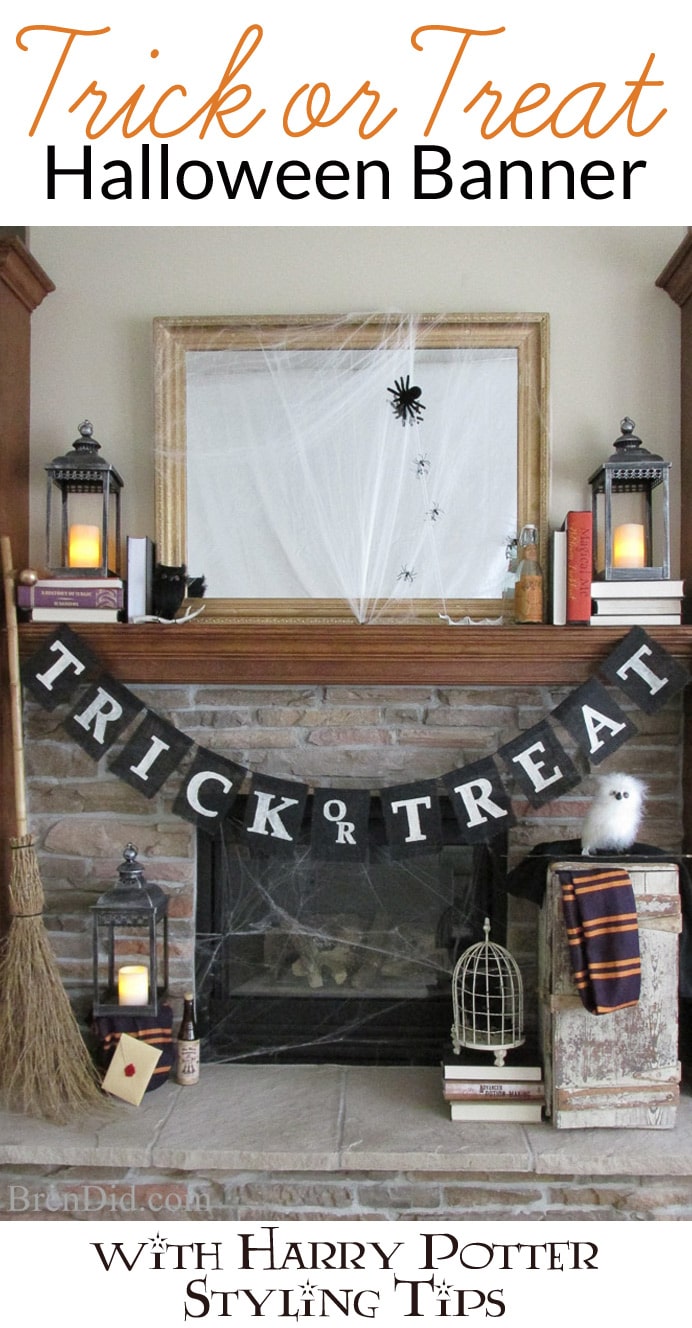
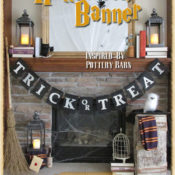
Add this easy DIY Trick or Treat Halloween Banner to your home decor for less than $4! It’s perfect for a magical Halloween party. Plus check out my tips for adding Harry Potter Inspired touches to Halloween decorations.
This post uses affiliate links. They don’t cost you a thing and help us bring you creative projects. Read more in Policies & Disclosures.
Trick or Treat Halloween Banner
I am crazy for all things burlap & twine! Add this to my love of seasonal banners on the mantle and you can see why I love this Pottery Barn style banner.
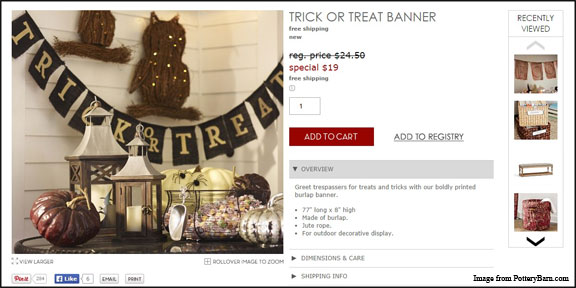
It called to me from the catalog…. “I will be the perfect addition to your Halloween décor!”
Then the banner’s lovely cry was drowned out by the price tag of $24.50.
Yikes!
Since the original banner was made of jute (a fancy catalog way of saying burlap) I knew it could be made for CHEAP: burlap is around $4 a yard, acrylic paint is less than a dollar a tube, and twine is around $0.10 a foot.
I sat down to design a pattern and in no time at all I had the banner assembled! (Keep reading to grab the printable PDF pattern and/or a Silhouette cut file you can use to make your very own Pottery Barn Inspired Black Track or Treat Banner.)
Halloween Banner Instructions
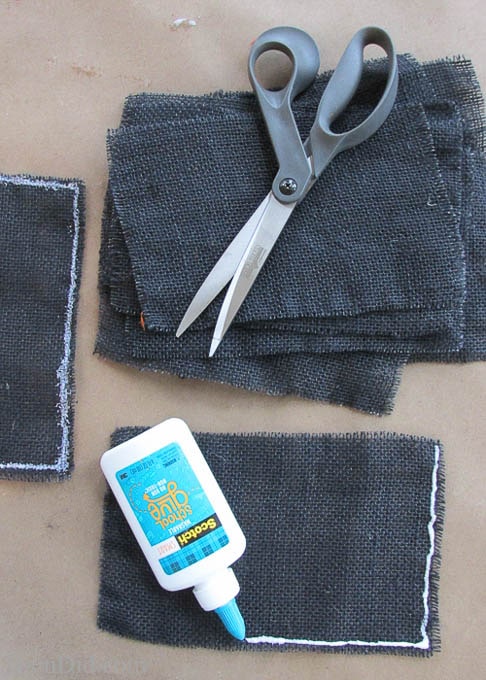
- Cut 12 burlap pennants, using the printable PDF pattern. (Check out this easy tip for cutting burlap perfectly.) Next, use school glue to stop the edges of the burlap from fraying: simply squeeze on a thin line and then use your finger to rub it gently into the material. (You can also use a fray-stopping product.)
- Print and cut the letter stencils. Chose your favorite method:
- Trace your stencils onto contact paper by hand and then cut them out by hand.
- Use a Silhouette machine to cut the vinyl for you. Get the free cut files.
- Run contact paper through your printer (here’s an easy tutorial).
- Creates a base layer for your paint (so you get a nice crisp edge on the lettering) using Modge Podge or a mixture of 2/3 school glue and 1/3 water (I use glue and water). Work from the edge of the stencil inward to prevent the glue from leaking under your stencil. Allow the glue dry for at least an hour.
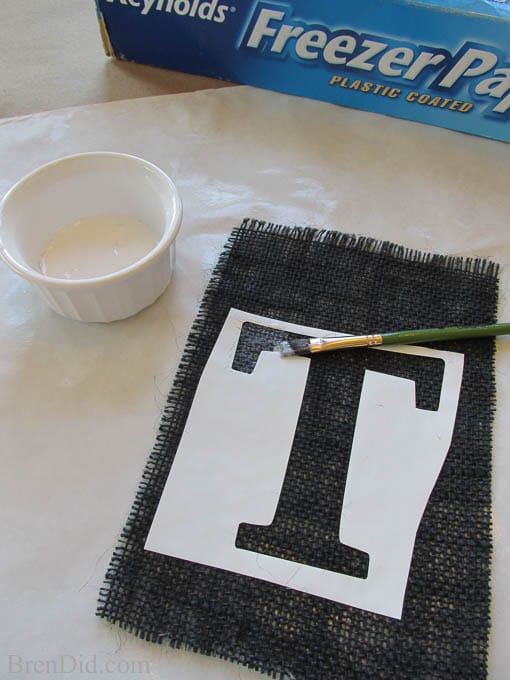
- Use acrylic paint and a small brush to stencil the letter onto the burlap using cream acrylic paint. Work from the edge of the stencil inward to prevent the paint from being forced under your stencil.
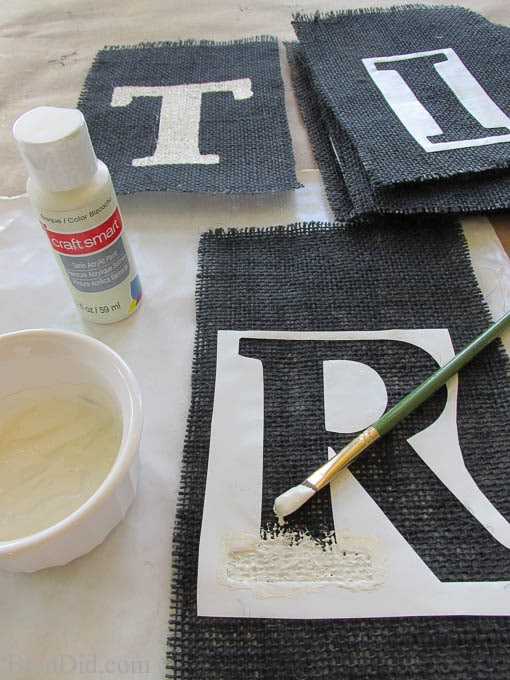
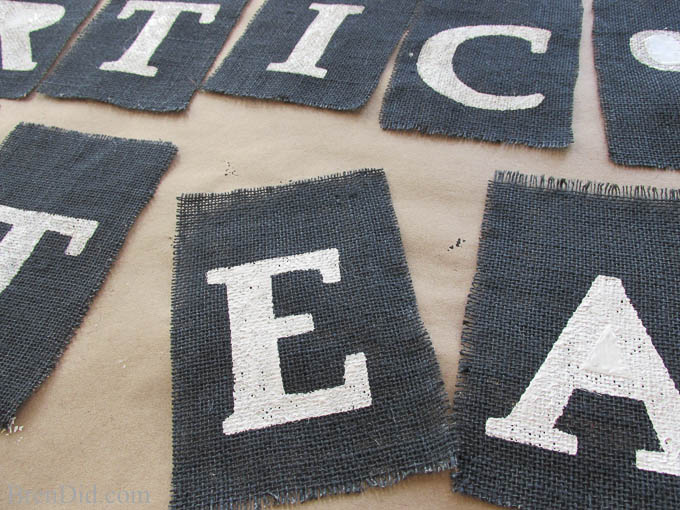
- Allow the paint dry for a few minutes then remove the stencils. (I let the insides of the letters dry a bit longer to keep from creating smudges.) Use a toothpick to make them easier to remove.
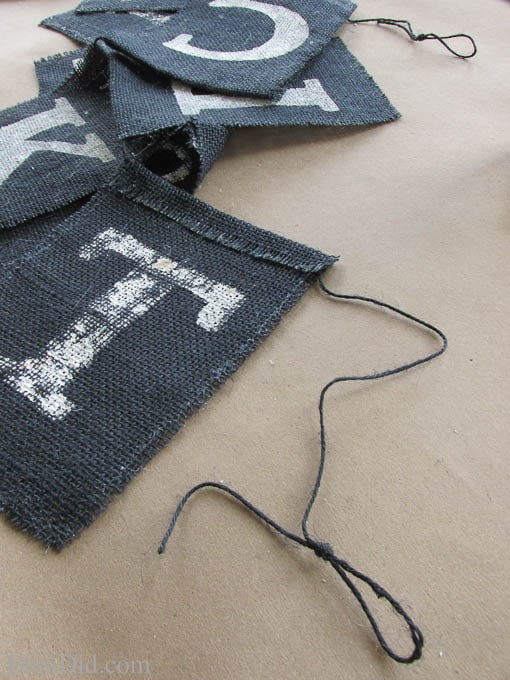
6. Cut the twin to hang the pendants. The finished PB banner is 77 inches long, but I use a 9 foot piece of twine so I have extra length at each end to hang the banner. If you want a shorter banner use an 8 foot piece of twine, the ends will have a loop that takes up several inches.
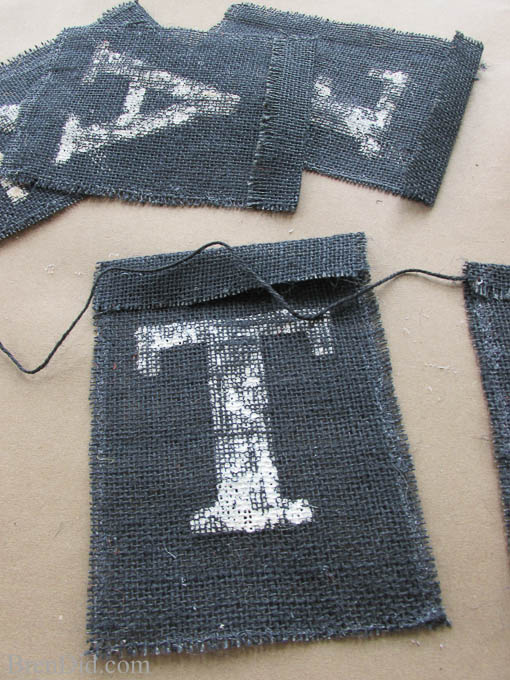
- Use a glue gun to attach the dry pennants to the twine. (Tip: use an iron to crease the pennants ½ inch from the top. This makes a straight line to guide the glue and twine placement.)Space each pennant 1/2 inch apart. Leave 1 inch between words. (Tip: start attaching letters to the middle of the twine and work out to ensures the banner is centered.) Knot the twine at the end to make a hanger.
8. Enjoy your new creation!
Halloween Banner Cost
I love the Trick or Treat Halloween banner and the SAVINGS! The Pottery Barn price is $24.50, mine was about 85% off…. $3.75!
Supplies
- Black Burlap – $2.00
- Acrylic Paint – $0.69 (used ½) – $0.30
- White glue – $0.75 (used 1/3) – $0.25
- Black Jute Twine – $1.10
- Glue Stick – $0.10
Total price= $3.75
Harry Potter Décor
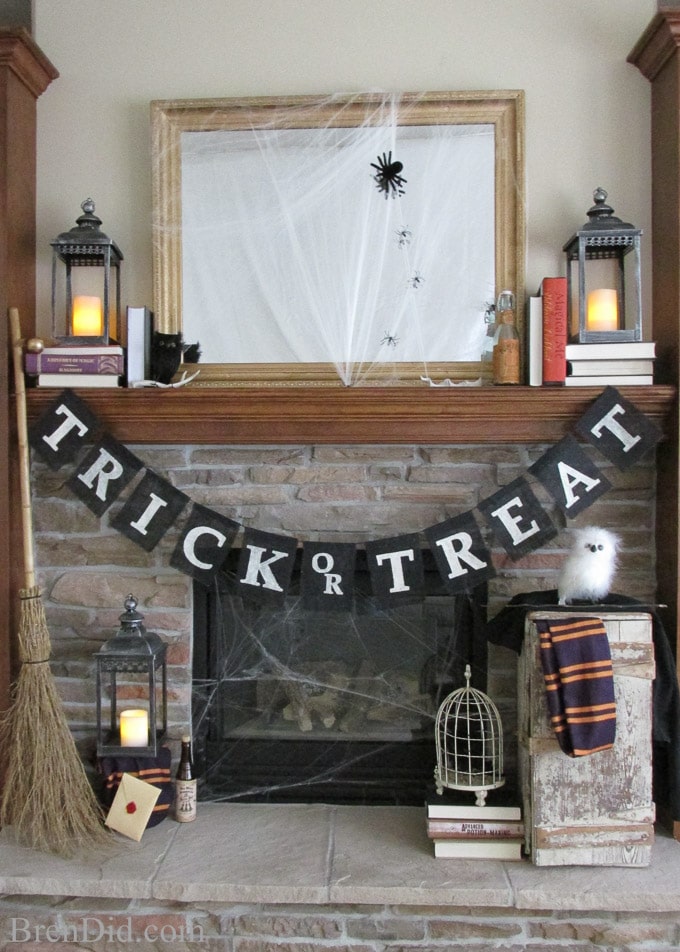
I’m crazy for all things Harry Potter so I added some magical touches to to my Halloween mantle.
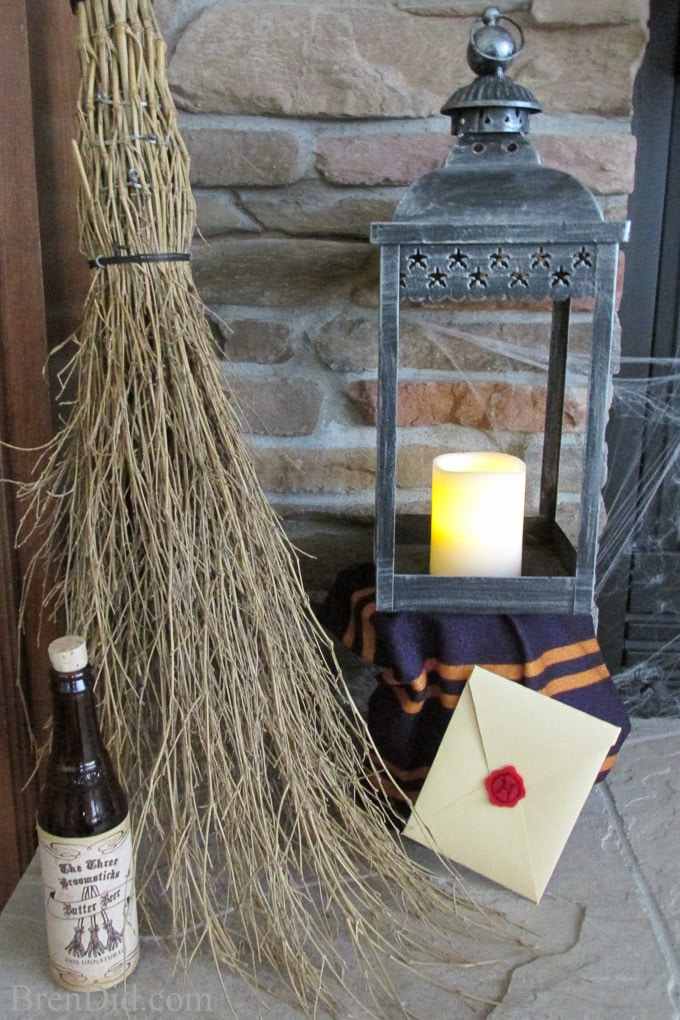
- An invitation to Hogwarts. Folded cream parchment into an envelope shape and cut a “wax” seal from a piece of felt. Draw the “H” on with a permanent marker.
- Nimbus 2000. (I’m old school in my broom tastes, you can also use a Firebolt or a Cleansweep). Buy a twig gardening broom on Etsy or grab a broom at a Halloween costume shop.
- Butterbeer. These free printable labels from Confetti Prints are so adorable when glued to brown glass bottles. I stuck in a piece of wine cork to make it look unopened.
- Candles. Use flameless candlesas the decorations tend to attract little folks!
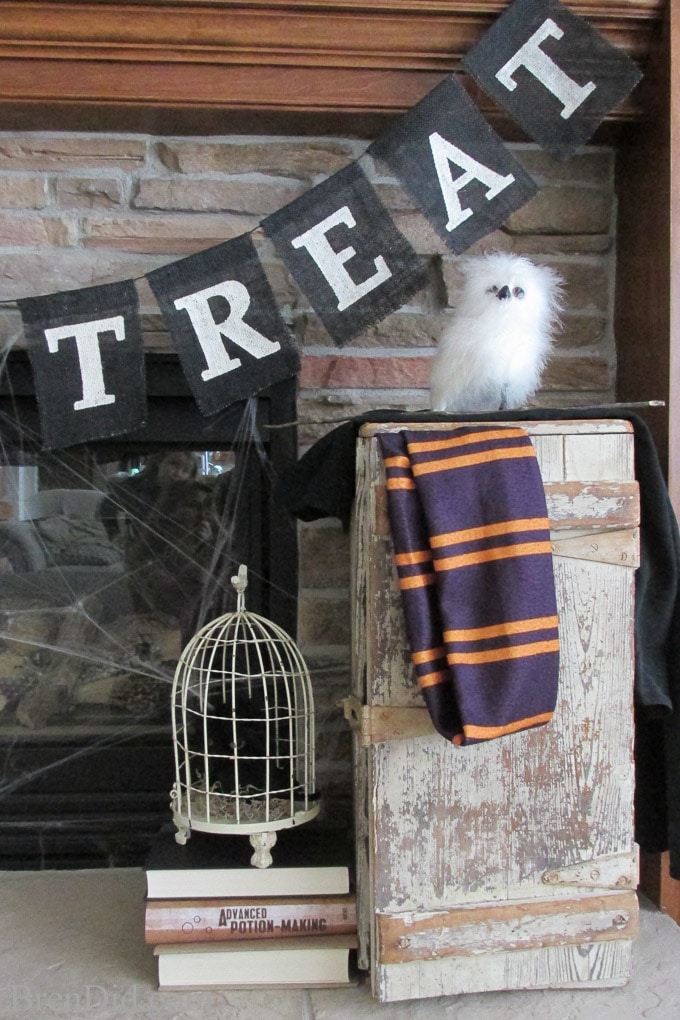
- Owls and more owls! A few fake owls set the scene: there is a snowy white Hedwig, a black owl we’ll call Hermes (a nod to our favorite family the Weasely’s), and a little black owl in the cage (we’re calling him Owl-bert Einstein due to his unfortunate feather styling).
- An Owl Cage. This lovely bird cage came from Michael’s a few years ago, they have other similar styles.
- A Wand. If you can’t stop by Ollivanders all you need is a nice straight twig. (It’s at Hedwig’s feet in the pictures.)
- A Gryffindor Scarf and Robe. These are leftovers from a Harry Potter Halloween costume. Again, try a Halloween store or just use fabric.
- A Trunk. No Hogwarts student would show up at Platform 9 ¾ with a suitcase! If you don’t have a trunk use a plastic cauldron.
- A Huge Mirror. Mine looks pretty ancient, we’ll call it the Mirror of Erised.
- A Big Spider . Add one large spider (a young Aragog, perhaps?) and some little ones to the mirror with cobwebs. They’re fleeing the basilisk! The big spider is from Michaels, the little ones I cut from spider rings I bought at the Dollar Tree. The cobwebs are also from the Dollar Tree.
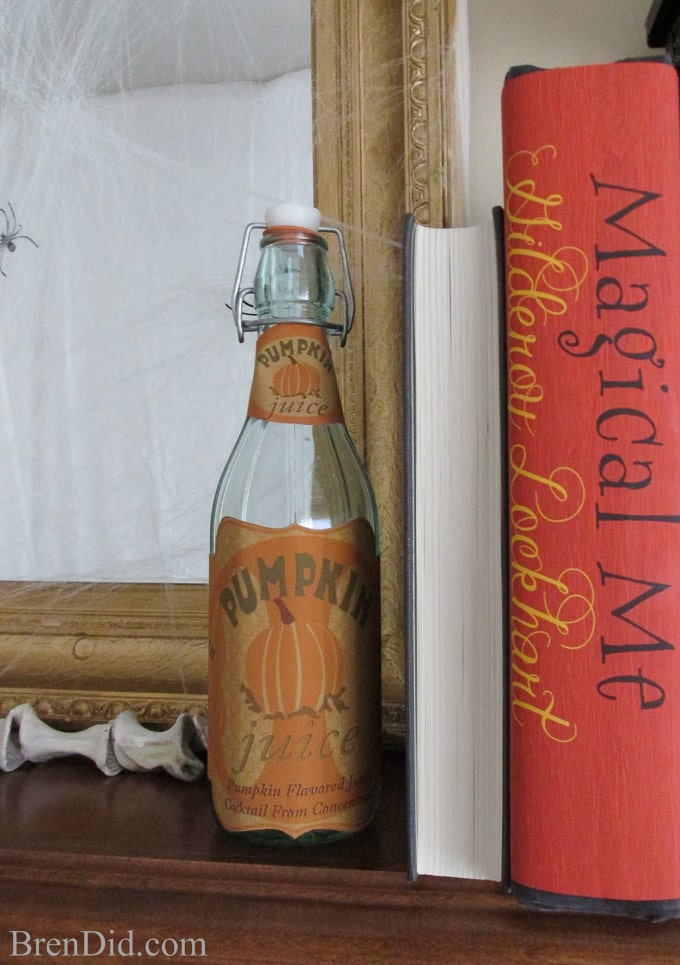
- Pumpkin Juice. Print this free label and attach it to a bottle. I used a bottle with a wire bail lid, I love the old-fashioned look.
- A Unicorn Horn. Place several sea shells together (beside the pumpkin juice).
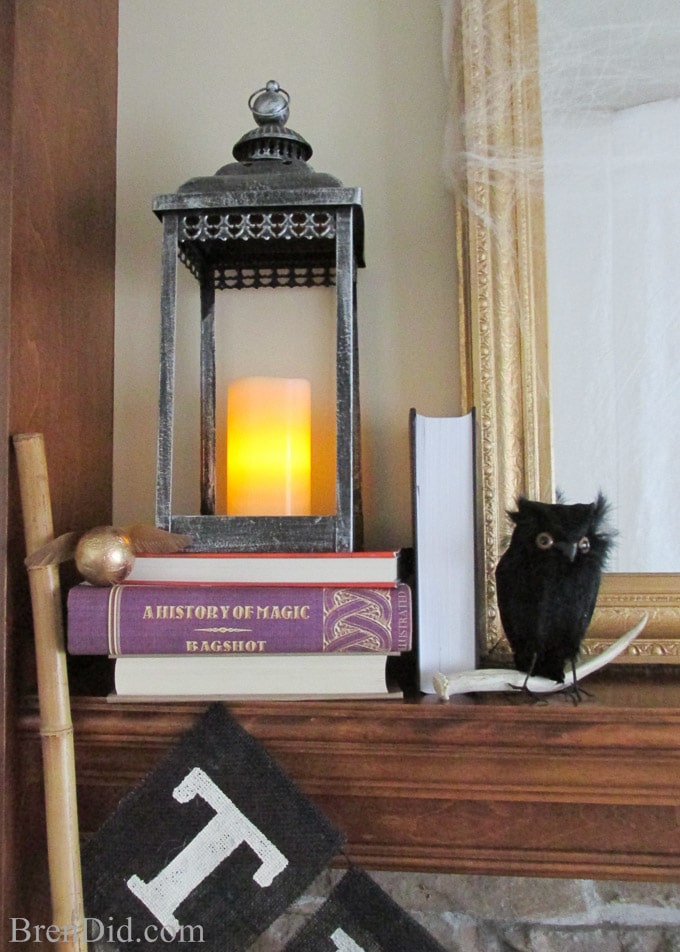
- The Golden Snitch. Made from a rubber ball with some thin plastic wings (cut from a recycled food container) attached with super glue then spray painted gold.
- Lanterns. You can’t explore the Forbidden Forest without a trust lantern! I also added an antler I found on a hike as an owl perch. I like the rustic/creepy element it adds.
- Magical School Books. Print some great spines at the Hideous! Dreadful! Stinky! craft blog. I wrapped a few other books in brown craft paper and added a few books with colorful cover edges.
Magical Treats
If you love Harry Potter you’ll enjoy these magical recipes:
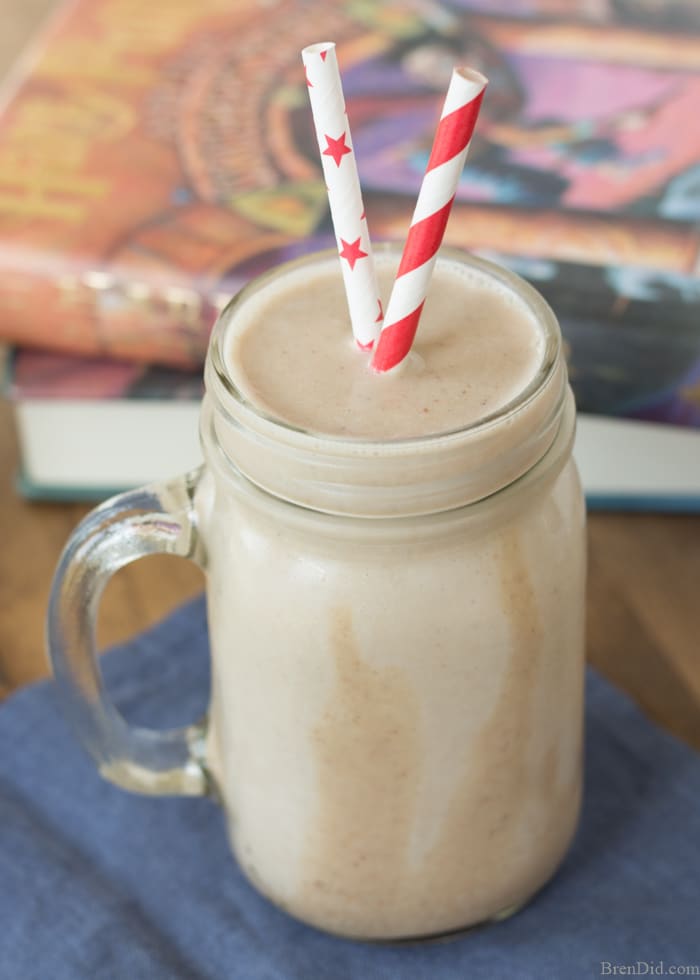
- Harry Potter Inspired Pumpkin Juice – This warm, tasty cider is made with real pumpkin and no refined sugar.

- Healthy Butterbeer Smoothie – Kids love these butterbeer smoothies made with fruit and dates. Bonus: they contain no sugar or dairy!
Get More Knock Off Halloween Crafts
I love Halloween crafts! Check out these favorites:
- Pottery Barn Kids Inspired Orange Trick or Treat Banner
- Pottery Barn Kids Inspired Bat Chandelier
- Pottery Barn Inspired Happy Halloween Banner
- Pottery Barn Inspired Boo Banner
I hope you try making a Pottery Barn Inspired Trick or Treat Banner or one of my other knock-off decorations this Halloween!



Leave a Reply