I love Halloween decorations and I especially love a fun Halloween banner DIY. It’s a relatively recent obsession, one I blame entirely on my friend Melanie. She’s Halloween CRAZY and each October her house looks like it was just staged for a Pottery Barn Halloween catalog photo shoot. A quick look at my Halloween décor made me realize that it was looking a little dated. I pursued the Pottery Barn catalog for inspiration (and a few new items), but quickly realized that my love for their holiday decorations was greater than my budget.
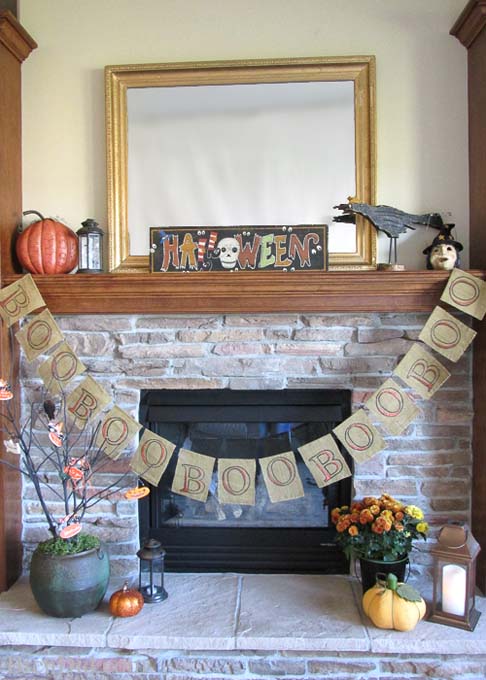
Fortunately, with a little creativity (and my trusty glue gun) I knew I could make similar decorations for a much lower price. I started with the BOO banner that I knew would look perfect in our mudroom/garage entryway. The banner is made out of burlap (jute cloth if you’re being fancy) and strung with rough twine.( If you’ve read my blog you know that I love banners, burlap, and twine.)
The Pottery Barn Boo Banner is adorably rustic and the design is so simple it can be made in less than an hour! I’m including a printable PDF pattern you can use to make your very own banner; all you need is burlap, twine, a permanent marker and some glue! I hope you try making it or one of my other Halloween decorations.
Instructions
- Cut 12 pennants from burlap (I had extra burlap so I made mine 15 pennants long – you’re can be anywhere from 3 pennants to 300) . They are 5” wide by 7” tall. (If you have never cut burlap before, check out this easy tip for cutting perfectly, it makes this step go FAST.)
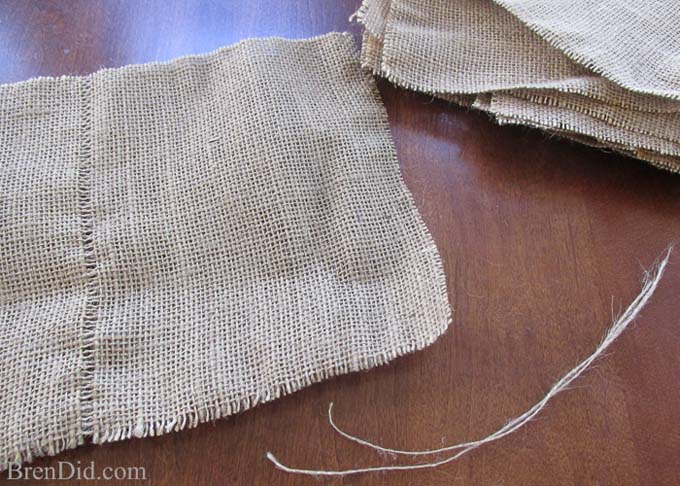
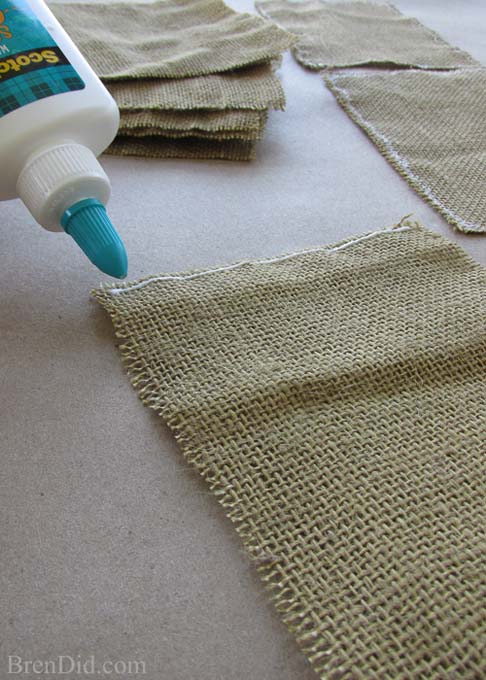
- Use school glue to stop the edges of the burlap from fraying. I squeeze on a thin line and then use my finger to rub it gently into the material. You can also use a fray stopping product, but school glue is more affordable.
- Print the PDF banner lettering pattern.
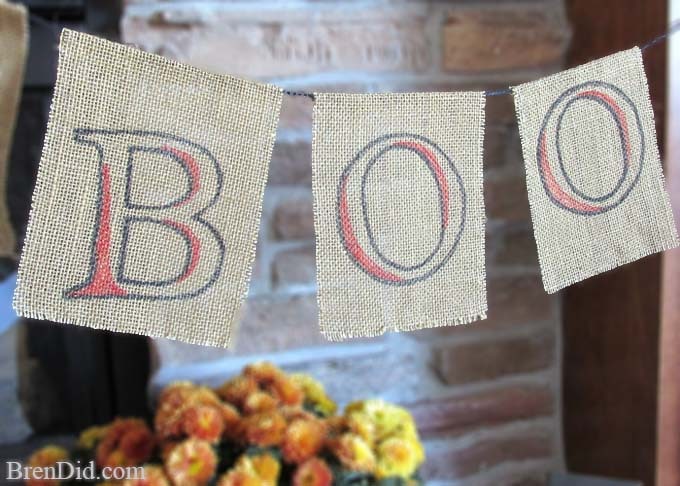
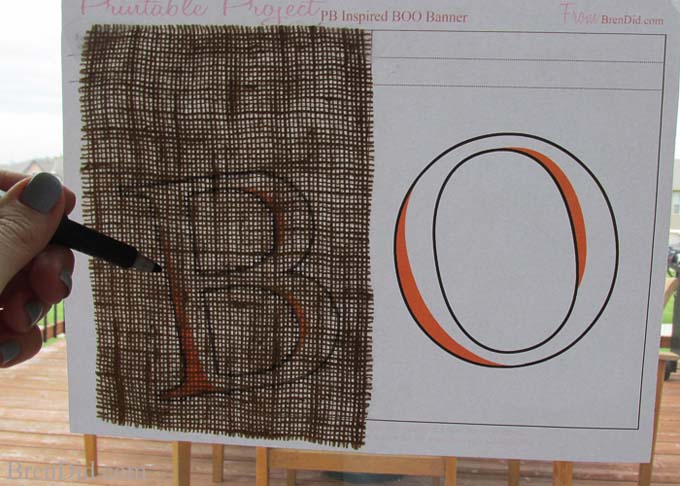
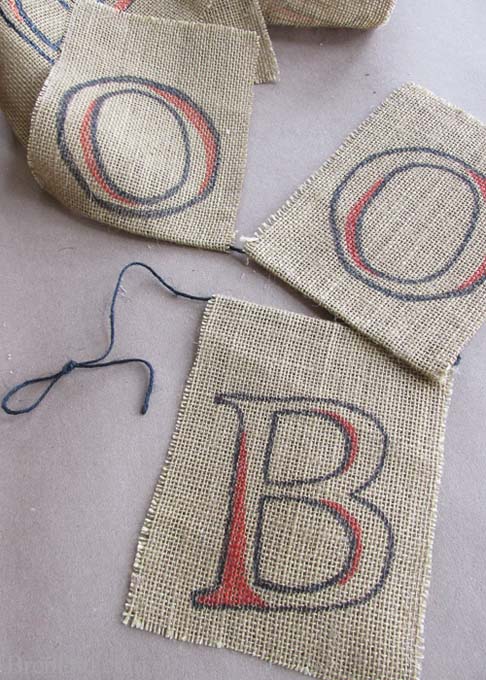
- Trace each letter onto the burlap by hanging it on a window and using a permanent marker. Notice that the O’s ascend on the pennants (there are 2 different O patterns). Don’t make them all the same!
- Retrace your lines to darken them and fill in the orange sections. (Sit down, grab a cup of coffee and a good podcast or tv show.)
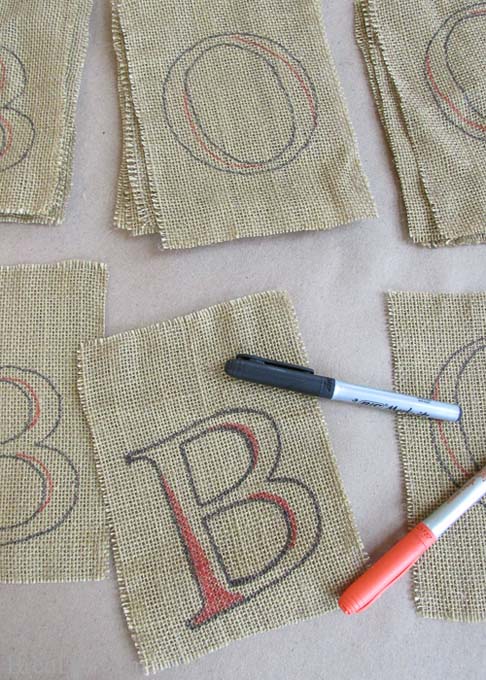
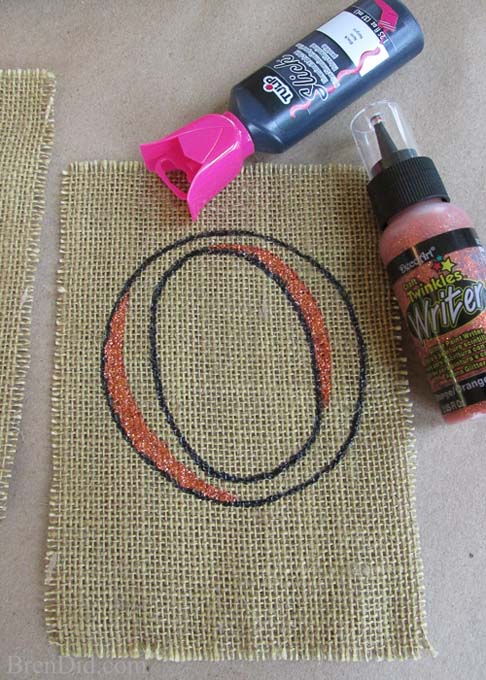
- Now you have the basic design found on the Pottery Barn banner. You can use fabric paint (Hello puffy paint! Where have you been since college?) to trace the outlines. I used glitter paint for the orange sections. This really makes the design stand out and adds some bling! (This step is completely optional. I did half of my BOO’s, I didn’t want to get TOO glittery!). Let the paint dry completely.
- Cut 8 feet of black cord (if you are using more or less pennants, add or subtract 18 inches per “BOO”). The finished PB banner about 6 feet long. I used more twine because I like to have extra length at each end to attach the banner. If you want a shorter banner use 7 feet of cord, the ends will have a hanging loop that takes up several inches. Use a glue gun to attach your pennants to the cord. I use an iron to crease my pennants ½ inch from the top. This makes a straight line to place the glue and twine. Go lightly on the glue, you do not want extra leaking out through the loose weave of the burlap. Space each pennant 1/4-1/2 inch apart. Tip: start from the middle of your cord and work out. This ensures that your message is centered on your banner.
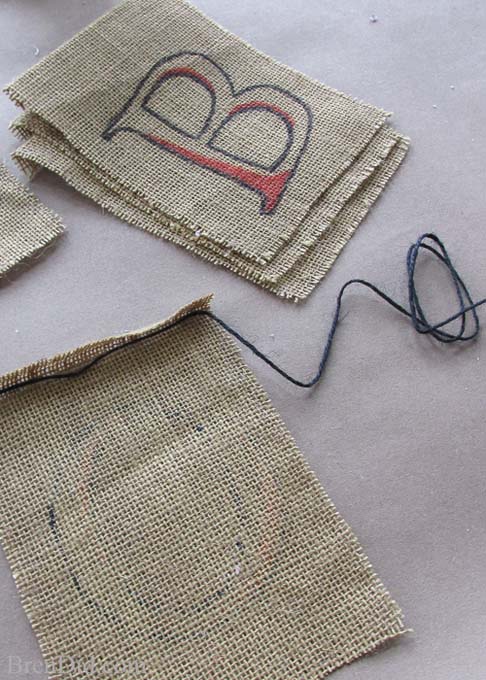
- Knot cord at the end to make a hanger.
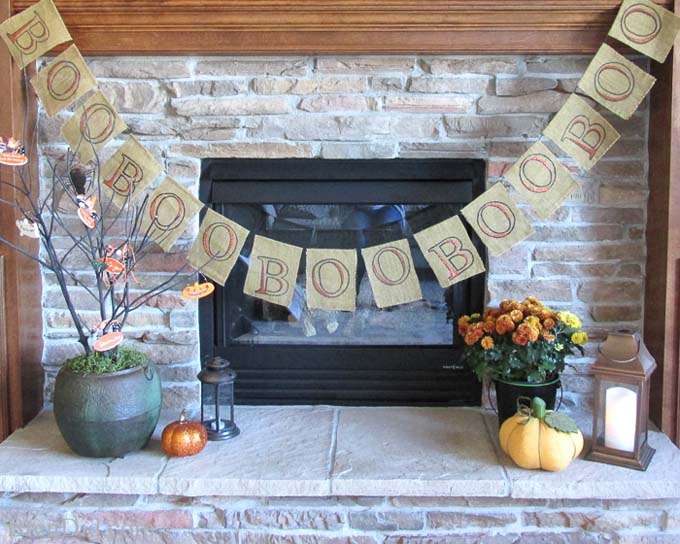
- Enjoy your new creation!
Halloween Banner DIY Cost
This adorable banner added the perfect Halloween touch to any area of your home. I love that you can make “mini” BOO Banners to fit in tight spaces or make a HUGE string for a deck or party room. The best part? You don’t have to part with $24.50 to add it to your Halloween collection!
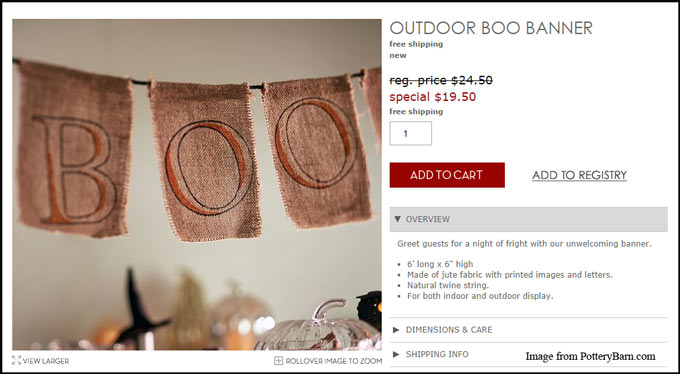
Here’s the BrenDid cost breakdown:
Halloween Banner DIY Supplies:
- 1/3 yard of Natural/Tan Burlap – (JoAnne Fabric, $2.99 a yard), $1.00
- Permanent Markers, black and orange – (already owned), $0.65 each
- Black Tulip Fabric Paint – ($1.39, used ½, Hancock Fabric), $0.70
- Orange Glitter Fabric Paint ($0.75 on clearance, used ½. Hancock Fabric), $0.38
- 8 feet Black Jute Twine – (black jute twine, JoAnne fabric, $2.99 for 150 feet), $0.96
- Glue stick – $0.10
Total price= $4.40
That’s a $20.10 savings (82% off).
I LOVE the savings even more than my new banner!
Get More Halloween Crafts
I hope you add one of my easy craft to your Halloween décor!
- Pottery Barn Kids Inspired Orange Trick or Treat Banner
- Pottery Barn Kids Inspired Bat Chandelier
- Pottery Barn Inspired Trick or Treat Banner in Black (with Harry Potter Inspired Decor)
- Pottery Barn Inspired Happy Halloween Banner
Subscribe to my free newsletter below and never miss a holiday craft project.


Lisa Ing
Thank you for the BOO template!
I did not have any burlap, but had ready made square linen banner so I used it.
Turned out so CUTE!
Bren
I love linen, bet the banner is adorable!