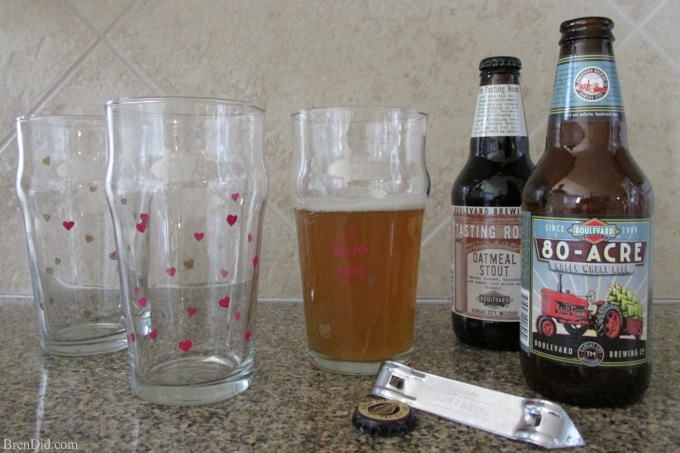
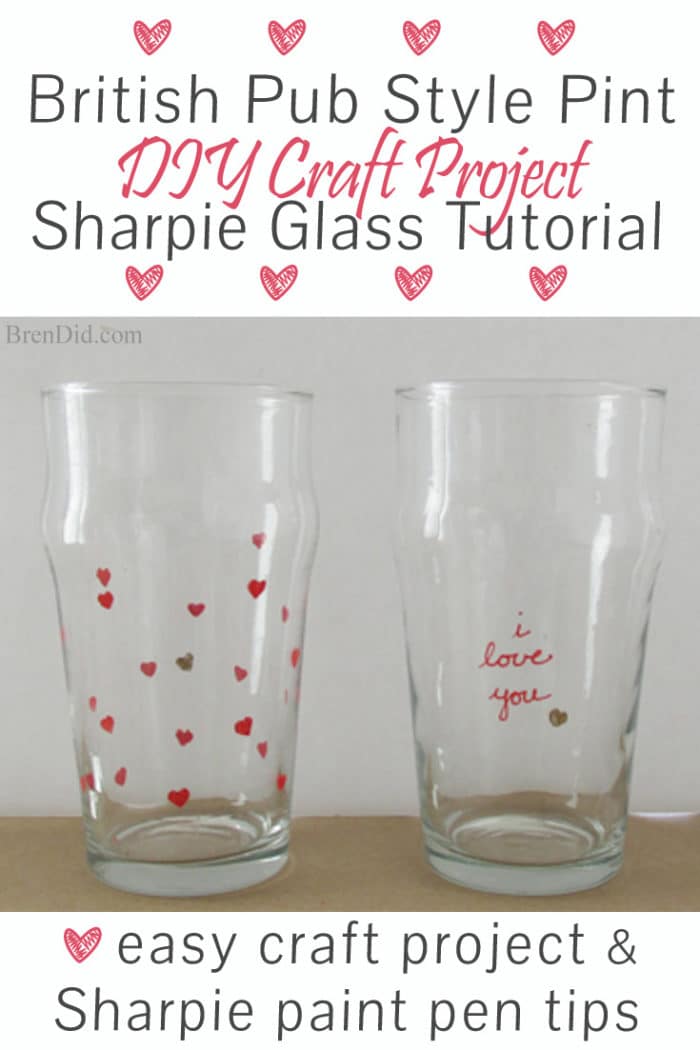
Make a Sharpie Pint Glass for the beer lover in your life. It’s the perfect DIY gift for Vaentine’s Day, Father’s Day, birthdays, and more!
This post contains affiliate links. They don’t cost you a thing, but help us bring you creative projects. Read more at Policies & Disclosures.
Have you seen all the gorgeous Sharpie projects on Pinterest? I have been itching to try using paint pens on glass and decide to make a Valentine Sharpie Pint Glass for my hubby.
Crafty vs Artistic
Quick admission…
I love making crafts but I am not the most artistic person.
Seriously, my kids are better at drawing with pencil and paper than I am.
This lack of artistic skill means that when I set out to make a new project I have to figure out easy hacks to make it look nice without much talent.
No Skills Needed
There are thousands of beautiful Sharpie paint pen projects online but most of them require free hand lettering or drawing skills. When I attempt those projects they look like they were made by a preschooler.
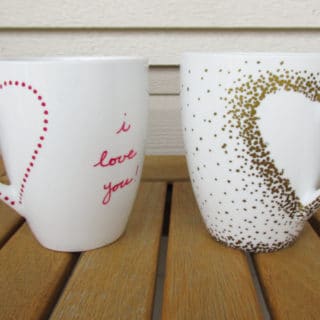
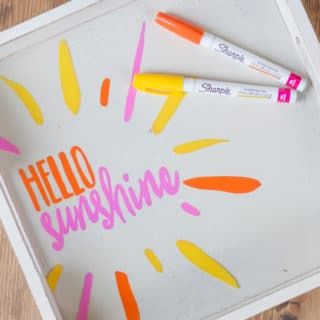
My easy Sharpie projects (including heart handle mugs and a serving tray with glasses) all use simple hacks like tracing, stencils, or DIY stamps to create picture-perfect DIY projects…
No artistc skills needed!
How to Make Custom Pint Glasses with Sharpies
This Sharpie pint glass project uses a homemade stamp to decorate the glasses. It’s simple to create… just like carving a potato stamp for a kindergarten art project.
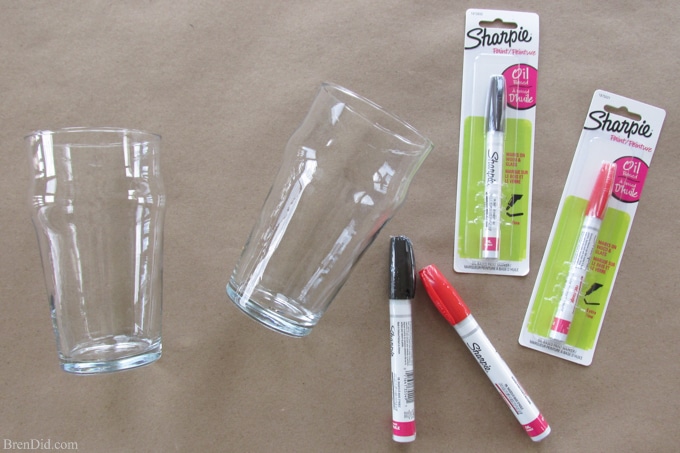
Supplies
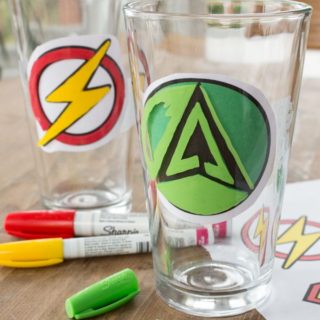
- Clear Pint Glass: British-style pint glasses have a distinct shape. I purchased my clear pint glasses at my local dollar store. (You could also use this affordable glass set.)
- Oil-Based Sharpie Paint Pens: You’ll need red and gold paint pens to create my designs. (Fine and medium tip markers work best.)
- Pencils: Use pencil erasers to make the tiny heart stamps, (optional)
- X-Acto Knife: Carve the eraser with an X-Acto (see directions below)
Directions
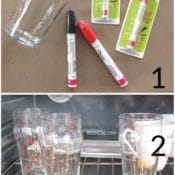
1. Prepare the glasses.
Remove all labels then wash and dry the pint glasses. Wipe the surface to be painted with rubbing alcohol or vodka to remove any oil. Allow to dry.
2. Make a mini heart stamp.
Draw a tiny heart on the eraser of a new, unused pencil. Use an X-Acto knife to carve out the heart.
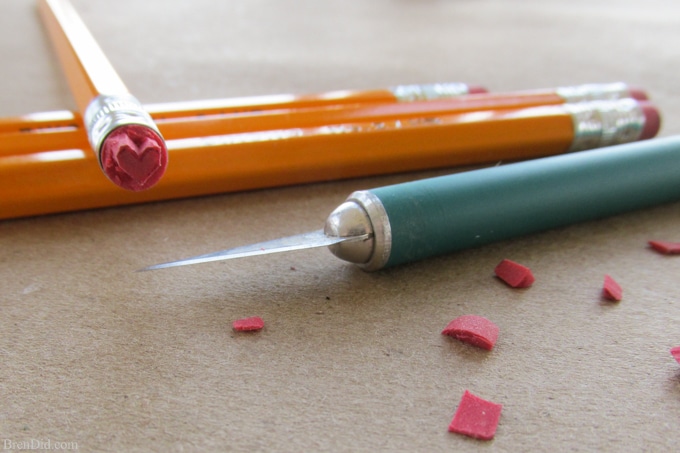
Use a marker or stamp pad to ink and test the eraser stamps while carving. This allows you to see the shape of the heart.
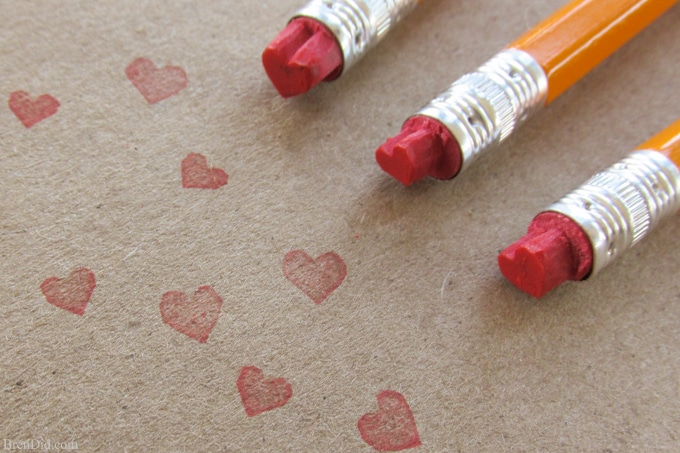
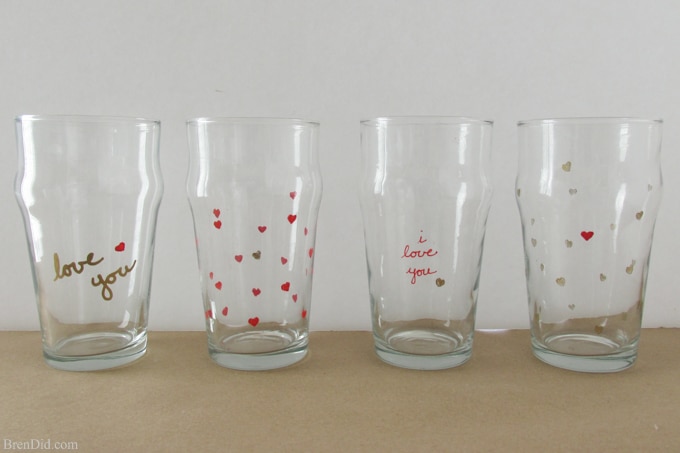
3. Stamp the pint glasses.
- Cover the top of the eraser stamp with paint from the Oil-Based Sharpie Paint Pens. The paint should be thick but not dripping.
- Press the eraser firmly against the glass. Do not push too hard or the heart shape may distort Repeat until the desired number of hearts has been stamped.
- To change colors, wipe the eraser clean with vodka or rubbing alcohol.
- Used a fine point paint pen to write a message (optional).
- Mistakes can be removed with rubbing alcohol or vodka.
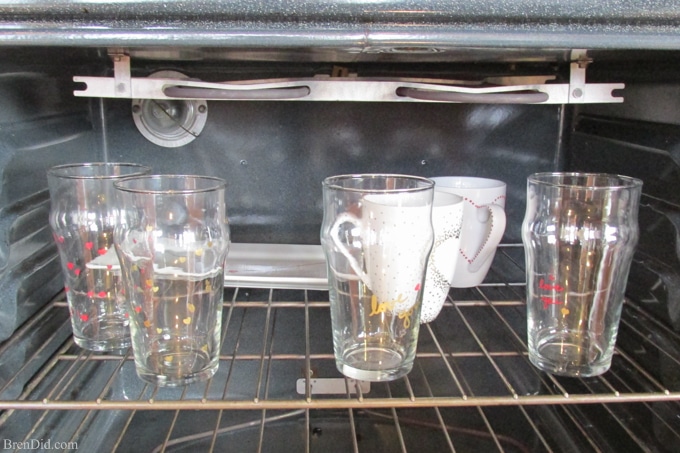
4. Bake the glasses to set the paint. (Optional)
- Allow the glasses to dry for at least 20 minutes then place in a cold over.
- Heat the oven to 350 degrees, set timer to 20 minutes, and allow the glasses to bake.
- Turn off the oven and allow the glasses to cool completely before removing.
Sharpie Project Tips
- The glasses MUST be hand washed.
- Do not decorate the inside of the glass or any parts of the glass that will come into contact with your mouth.
More Sharpie Craft Idea
Love quick craft project? Check out my other EASY Sharpie paint pen projects. Each comes with free traceable pattern:
Like my easy crafts? Sign up for my newsletter below and never miss a thing!

Kara
I decorated my wine glasses with the red sharpie oil based pen and it turned hot pink in the oven. How do I get it to keep red?
Bren
You can try not baking and see if it stays on or add a second layer of red after the glasses are baked.
Anna
I did what it said to bake it, had a couple drinks with ice, I can wipe it off , the marker is not staying on what to do
Bren
I’m not sure of a solution, Anna. You can try not baking the glasses or using a top coat like I use in my mug project. Make sure to hand wash!
Leslie
I saw a cake stand that a friend bought on Etsy. It has a hand printed family recipe. She said she scanned a hand printed recipe and sent to them. The Etsy vendor then somehow printed it onto cake stands. Any idea how? My daughters said they’d love one, but I don’t have $75 each to spend. Any ideas or help would be greatly appreciated!
Bren
Leslie, the plates sold on Etsy (aff link) are custom decals of your recipe that is fire it onto the pottery and covered with glaze. You could make one with a glass plate and a color copy of the recipe on the back (see instruction here) . Hope this helps!
Michelle
The Black ink fades off after baking! I’ve gone over 2x and still comes off. Is it safe not to bake it and just hand wash?
Bren
Yes, you can safe to leave them unbaked.
Susan
Have you ever mixed paint and these markers?
I am trying to figure out if baking is enough or I need a sealant too.
Any thoughts?
Bren
I have not tried mixing them so I am not sure how they would react. Maybe try a sample mug? The paint comes off with nail polish remover so you could resuse the test mug.
Eileen Barton
Enjoyed looking @ your pages I am new to this craft
Bren
Thanks, Eileen!
Happy
This prohect is real nice,what if you put outside where there is air and sunshine is it okey?
Bren
You mean sun dry instead of oven dry?
Morgan
I am trying diligently to get my oil based Sharpies to stay on glass Christmas ornaments. I have tried baking them and spraying with clear Krylon spray paint. The baking made the black ink fade and almost disappear and the spray paint made it bleed off the ornament. What am I doing wrong? Is there a certain type of clear sealant that will not adversely react to the oil based pens?
Bren
Morgan, have you tried cleaning the ornaments with alcohol or nail polish remover before decorating and then simply drying the ornaments for a few days? I think ornaments would be okay without baking or sealing because they are not being washed. Good luck!
Gail
Where on the Sharpie package does it state that the marker is oil-based? I have several packages and cannot find that designation.
Bren
There’s a big pink circle on the front of the pack. The oil based paint pens are not usually sold in the same section as regular Sharpie markers.
Angie
The 20 minute cooking time – is that 20 minutes once you turn on oven or 20 minutes after oven reaches temp of 350? Love the ideas.
Bren
I time 20 minutes from when I turn on the oven.
Sherice
Help! My black is not adhering to the glass. The color sharpies are fine but when I put them in the oven the black cooks off. What am I doing wrong?
Bren
Have you checked to make sure the black marker is an oil-based Sharpie paint pen? They do make other paint pins that look very similar. If it is an oil based Sharpie it should work unless you got a defective marker. I would get another black Sharpie paint pen and try again. Sorry! I’ve never had the black cook off and I have made dozens of mugs.
K
I really want to try this as an xmas present for a friend who'[s really into craft beers. How long will the designs hold with regular use? Is there any kind of sealant coating I can use to make it last longer?
Bren
K, you can read my experiment with sealers in the Sharpie Mugs post. I wouldn’t use them on glass. The design should last quite a while with hand washing.
Susan
What if you have a gas oven, will that hurt the glass?
Bren
I have never baked them in a gas oven. I do not think it will hurt the glass, you may want to try a lower temperature if your gas oven is extra hot.
Kim
Has anyone had an experience when after baking the painted glass that the paint color fades and doesn’t look the original color?
Bren
My red color was a bit more pink / magenta after baking. The rest stayed true.
Diana Mets
I also have used sharpies, I decorated my bathroom mirror. My husband thought I bought it that way. I did this 4 years ago and it still looks great. I have done other things also and I have pictures if you are interested.
maurita
Definitely wanna try this but I’m so scared to put these in the oven. I know glass can go in the oven but I hear stories of the glass bursting.
Bren
The glass should be fine if you start the oven cold with the glass inside, bake at 350, and then allow them to fully cool in the oven. Bursting glass usually occurs when you rapidly change the temperature, like putting cold glass in a hot oven or removing hot glass from the oven to a cool room. Do what you are comfortable doing!
Sophie Horner
I know the article is about a “British pub style pint” but is the temperature Celsius or Fahrenheit?
Thanks
Bren
Sophie, the temperature is in Fahrenheit.
Ann
Love them all! This is one project I will definitely try….
Bren
Thanks Ann! Hope you have great results!
Magu Arrom
Love that project. You used a oil based marker for some reason? 🙂
Bren
Magu, oild based Sharpies are supposed to adhere better to glass or ceramics.