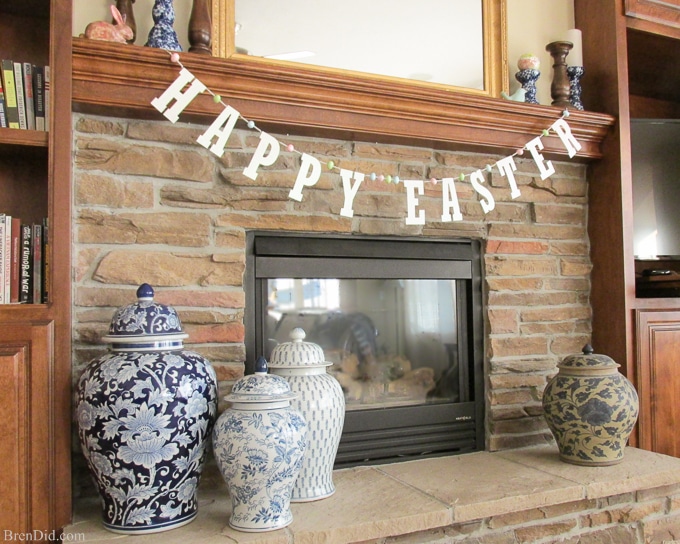
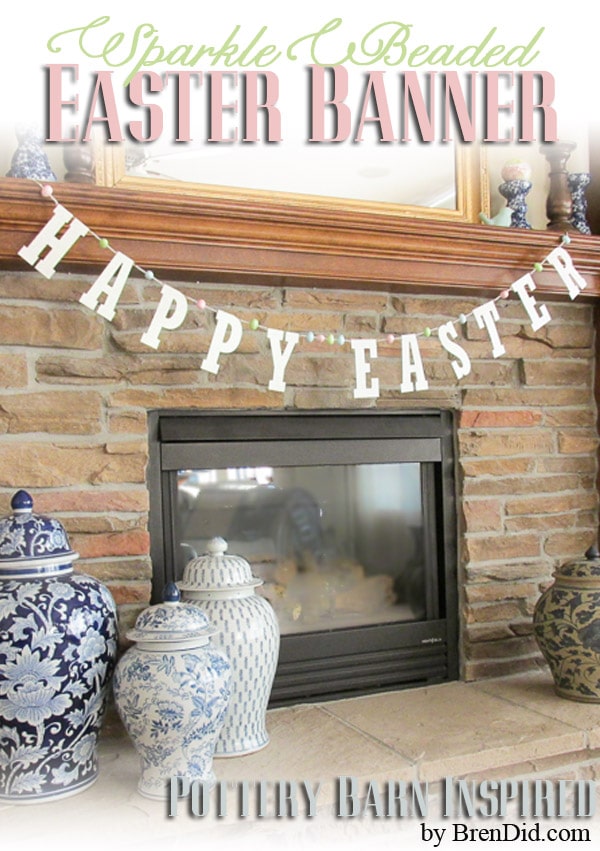
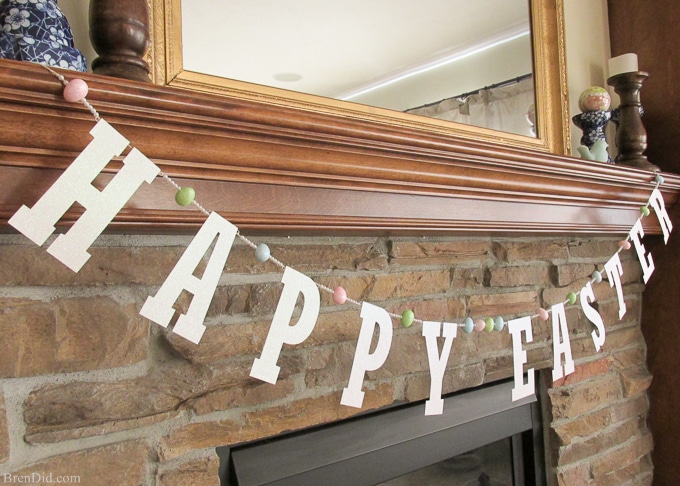
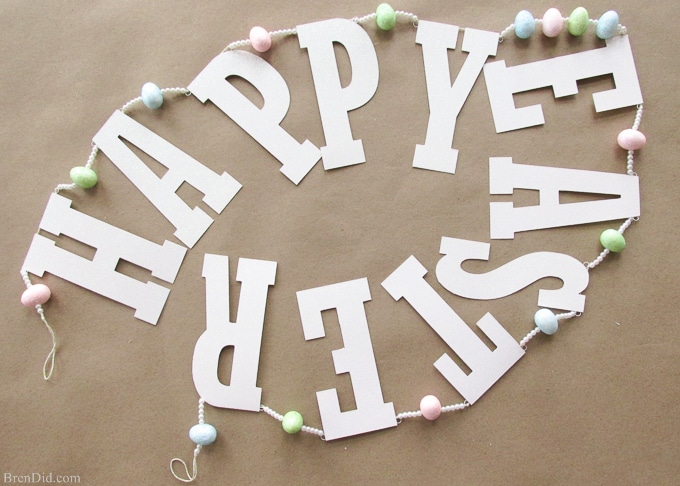
This Pottery Barn Kids-inspired glitter Happy Easter banner is made from cardstock, twine, beads, and glitter styrofoam eggs. It takes only a few minutes to assemble and adds a special touch to any Easter décor. Another bonus, it only costs a few dollars to make your own banner!
Holiday Banner Love
Garlands and banners are a fun way to dress up your fireplace mantel, bookshelf, staircase or even front porch for the holidays. I love banners for several reasons: it only takes a few minutes to hang a banner, they don’t take up much storage room in the off-season, and they aren’t much of an investment.
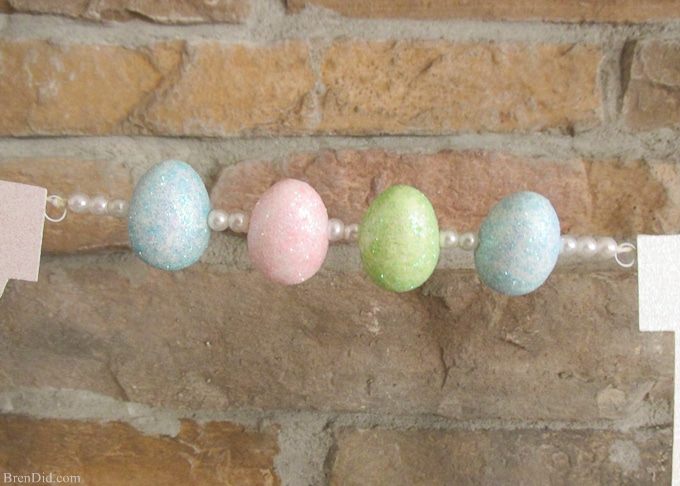
One of my favorite sources for banners is Pottery Barn. I love their simple yet interesting designs. Every season at least one of their designs catches my eye. I love the tiny details that make their banners extra special such as beads and glittered eggs.
Make vs Buy
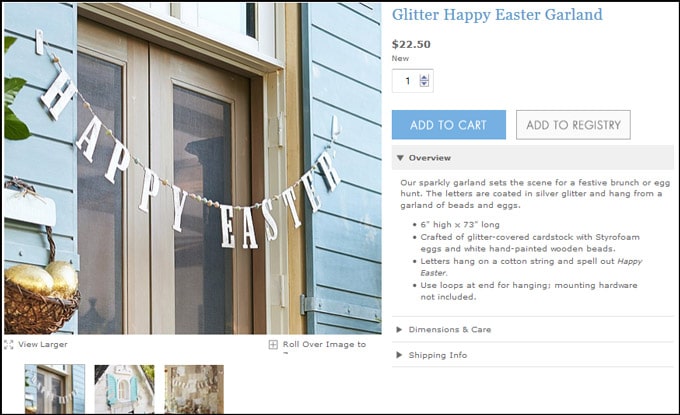
As much as I love their holiday banners and garlands, I would rather save my money for big-ticket Pottery Barn items such as furniture. When I read the catalog description of this banner I discovered that it is made of cardstock and cotton twine. Since neither of these supplies cost much I decided to try making the banner.
How to Make a Glitter Happy Easter Banner
Supplies
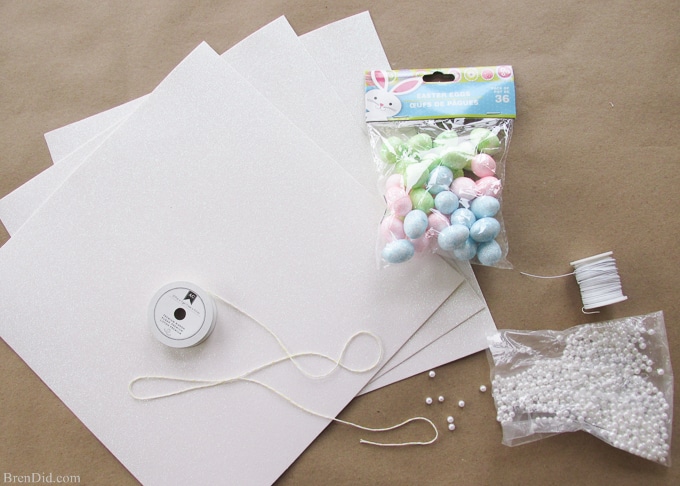
• Free PDF pattern or Silhouette cut file
• 2 -12 x12 sheets of glitter cardstock ($2.00 each)
• 15 – 1 inch Styrofoam Easter eggs ($1.00 for 36)
• 116 – 5 or 6 mm pearl beads ($3.50 for 750)
• 8 feet baker’s twine, I used yellow ($3.00 for 120 feet)
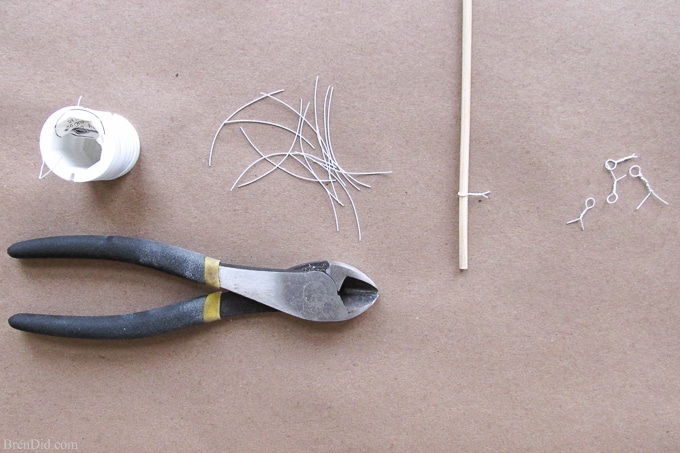
• 24 gauge wire, $4.00 for 25 yards (10 inches used)
• Hot glue and hot glue gun
Directions
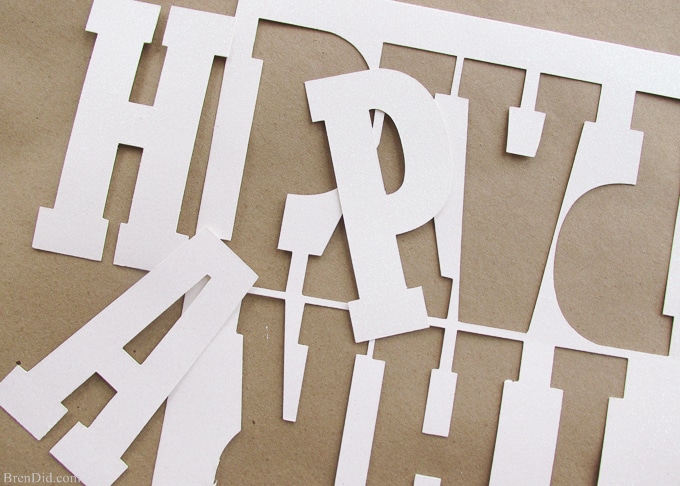
- Print the free PDF pattern and trace shapes onto the back of the glitter cardstock (make sure to trace them backward). Cut out the shapes. You can also use the Silhouette cutting file if you own a Silhouette cutter.
- Cut 1/3-1/2 inch long pieces of wire, twist them around a pencil or bbq skewer to make round rings.
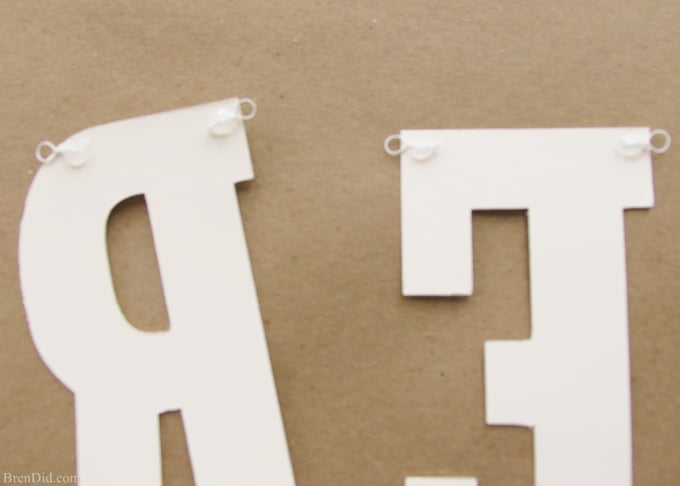
- Glue two round wire rings to each letter using hot glue.
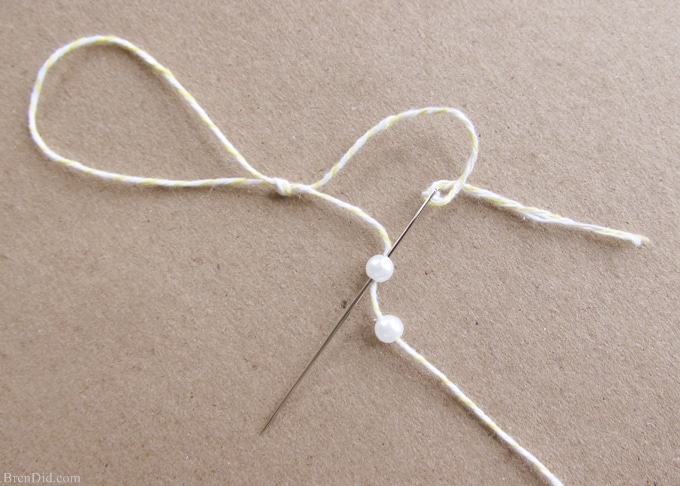
- Cut an 8-foot long piece of baker’s twine. Loop and knot one end 3 inches from the end. Thread two pearls against the knot. Trim off the excess tail of thread.
- Add a Styrofoam egg.
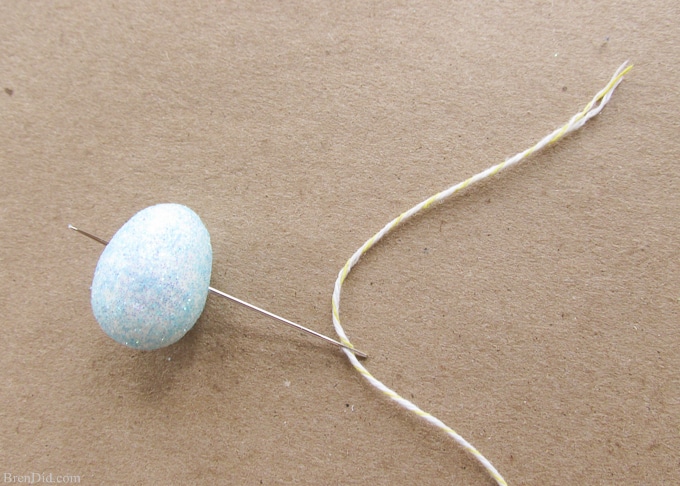
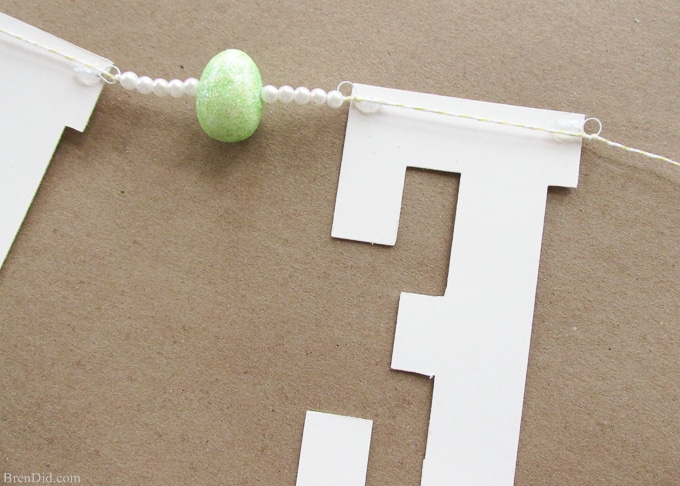
- Add five beads and then the letter “R”.
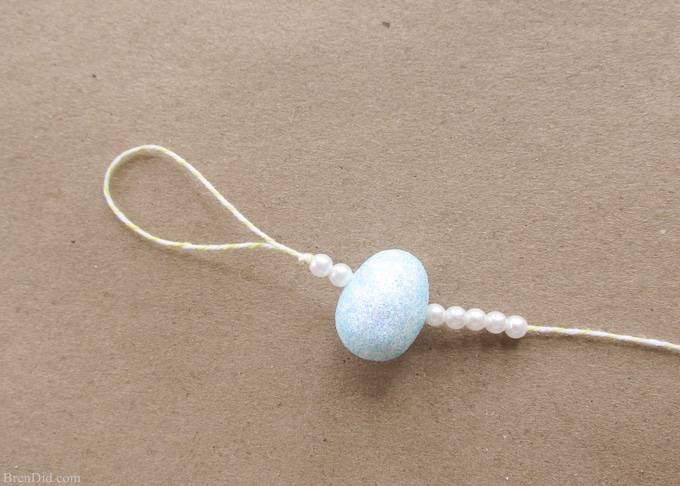
- Tie the thread to each ring with a simple knot to keep the letters from sliding. (Remember you are working backward in your message so you start with the “R” in Happy Easter.)
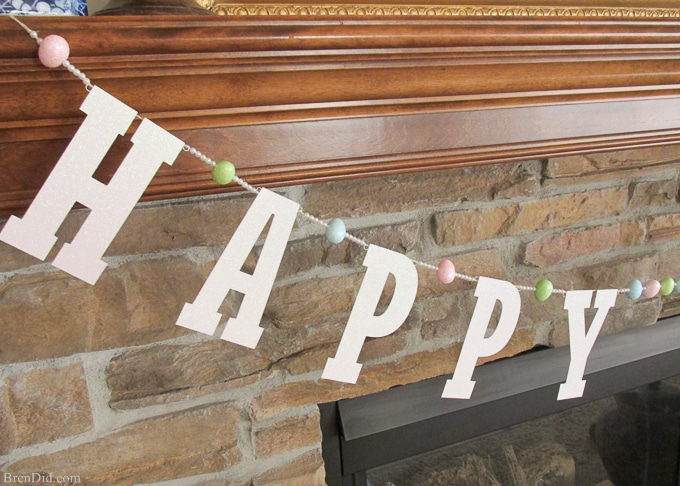
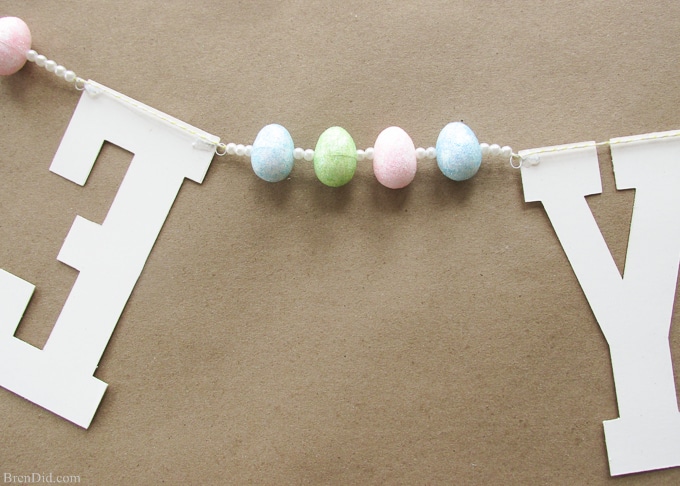
- Continue the pattern with five beads, an egg, five beads, and then a letter. When you finish the “E” in Easter string on three beads, an egg, two beads, and repeat 4 times ($ eggs total). End the center pattern with 3 beads then the letter Y.
- You will add 5 beads, an egg, 5 beads, and a letter until you finish the word “Happy.”
- Complete the banner with 5 beads, an egg, 2 beads, and a 3-inch loop (like the beginning of the banner). Thread the excess tail under the final two beads and trim the excess.
Cost Savings
The original Pottery Barn Kids banner costs $22.50. My banner cost $5.30 and only took about an hour to make. That’s a savings of more than 76%! You can save even more if you wait for a cardstock sale, I can often purchase the glitter cardstock for $1 a sheet making the banner only $3.30!
- Glitter cardstock – $4.00
- Glitter Styrofoam Easter eggs – $0.41
- White pearl beads – $0.54
- Baker’s twine – $0.20
- 24 gauge wire – $0.05
- Hot glue and hot glue gun – $0.10
- Total cost: $5.30
Those savings make me very HAPPY!
Like my easy garlands? Sign up for my newsletter below and never miss a thing!



jody
Hi What font did you use? I tried to download the silhouette file, but it won’t download. Thanks
Bren
Jody, I used Rockwell Condensed.
If you are having trouble with the download please be aware that the print preview on box.com may not be loading due to your computer system or internet security. Even without the preview loading you can hover over the blank page and should see a grey rectangle at the bottom of the page that contains different controls including a printer icon. Hover over the printer icon and the words “printable version” will appear.
Click on this printer icon and the PDF will automatically download a version that can be printed or saved. Hope this helps!