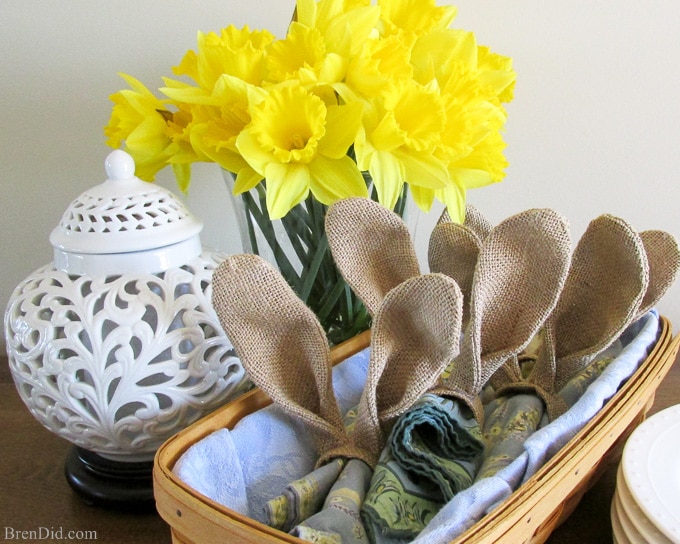
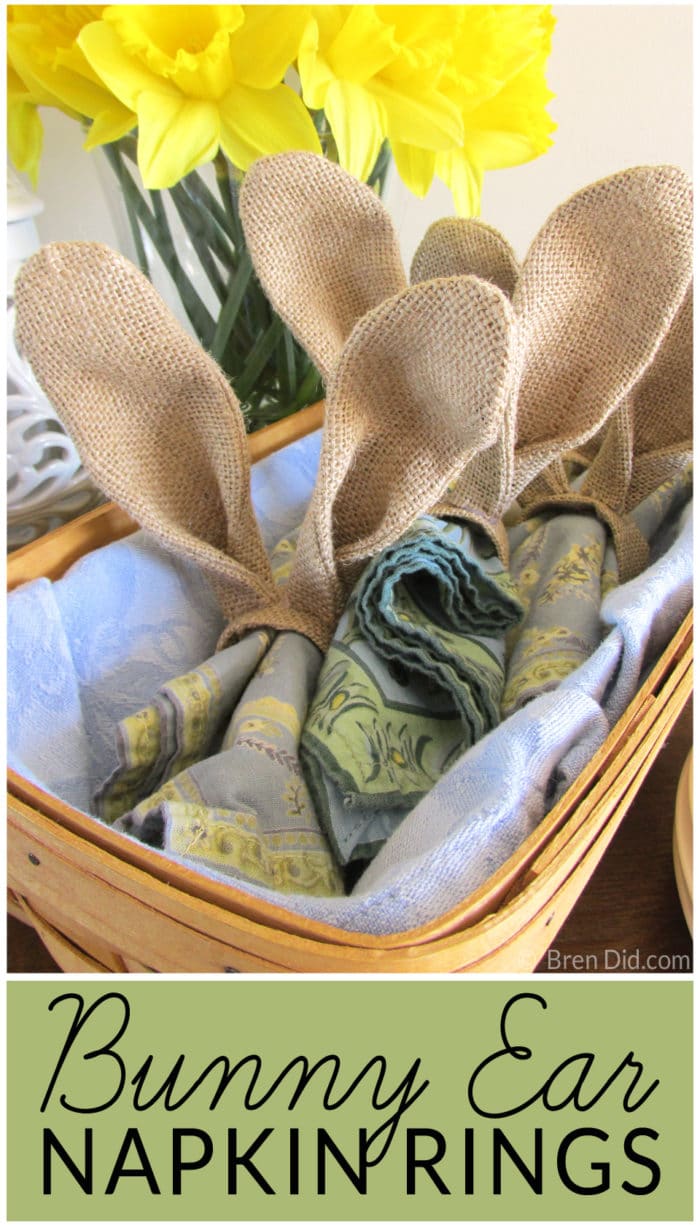
Adorable PB Inspired Easter Bunny Napkin Rings add character to any table. The simple napkin rings are made of burlap and cardboard so they cost only $0.40 each! I hope you try this easy Easter DIY and add some bunny whimsy to your Easter decor.
This post uses affiliate links. They don’t cost you a thing and help us bring you creative projects. Read more in Policies & Disclosures.
Easter Brunch Decor
Easter brunch is one of my favorite occasions to celebrate with family and friends. We love to host a big meal for friends since we live far from our extended families. The crowd involves families with little children, so I like to keep our young guests in mind when planning my table decor.
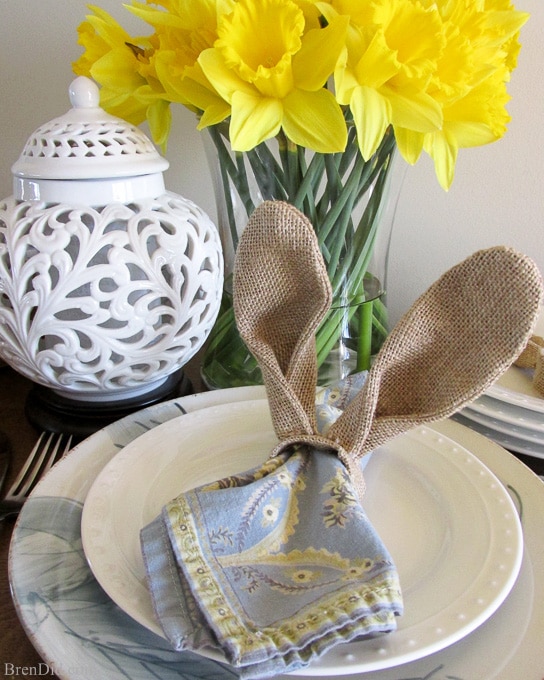
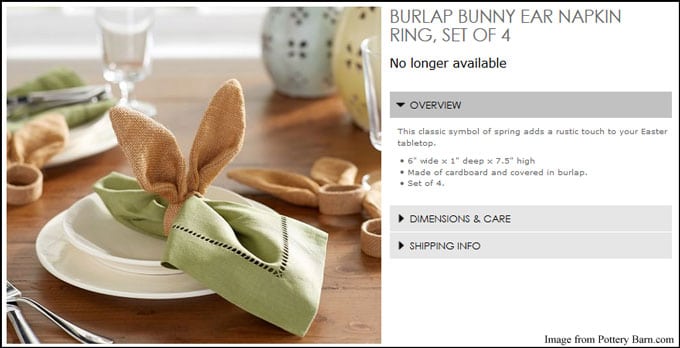
Last Easter saw the most adorable bunny ear burlap napkin rings at Pottery Barn and fell in love.
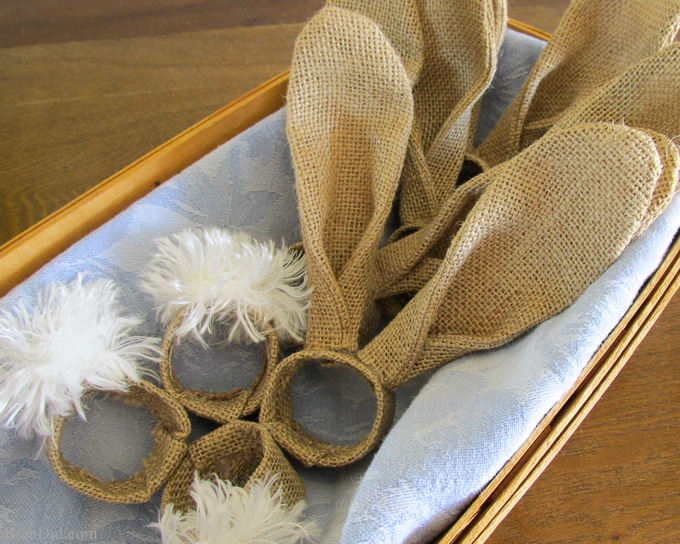
I knew the Easter Bunny Napkin Rings would be a big hit with both children and adults. And love the a touch of whimsy bunnies add to any table setting. (You can also see my tutorial for Easter Bunny Tail Burlap Napkin Rings with for napkin rings with matching bunny tails.)
I was all set to add a pair of the Pottery Barn ears to each place setting…. then I saw the price…. $32 for a set of four cardboard and burlap napkin rings! It was time for some Easter DIY.
Simple Crafting Skills Needed
To make the Easter Bunny Napkin Rings you need to be able to sew a simple line around the ears, zig zag the edges (to help prevent fraying), and glue the ring together.
The napkin rings do take a little time to assemble, but if you work in an assembly line way (cut them all out, stitch them all, glue them all) it will go quickly.
Note, there are lots of online tutorials available for making the Easter Bunny Napkin Rings. My version is a bit different because I add craft wire to make the ears stand up straight (and bendable!). This extra step makes the napkin rings look polished, not homemade.
How to Make Easter Bunny Napkin Rings
Supplies
- Free printable PDF pattern
- Tan Burlap, 8×8 inch piece per napkin ring (This is a great choice.)
- White, tan or clear thread and sewing machine
- Cardboard tube
- 24 gauge wire, 20 inches per napkin ring (This is a great choice.)
- Hot glue gun and glue sticks
Directions
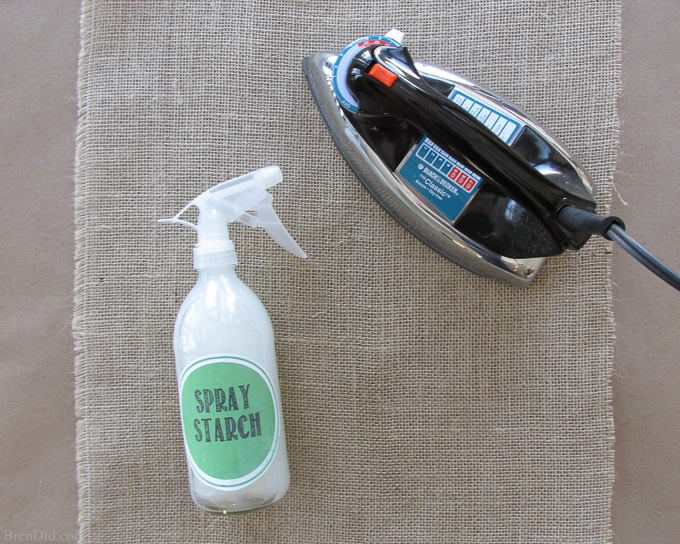
- Iron your burlap. (Get my easy directions to prepare burlap for crafts.)
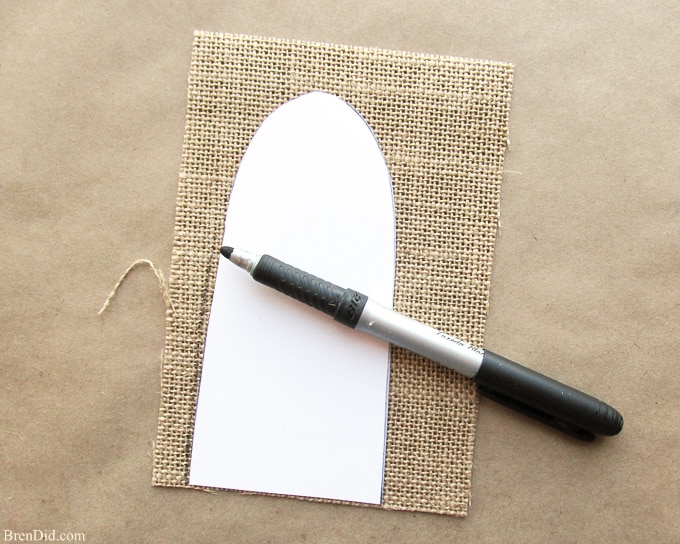
- Print out the pattern, cut out the ear shape, and trace the ears onto burlap.
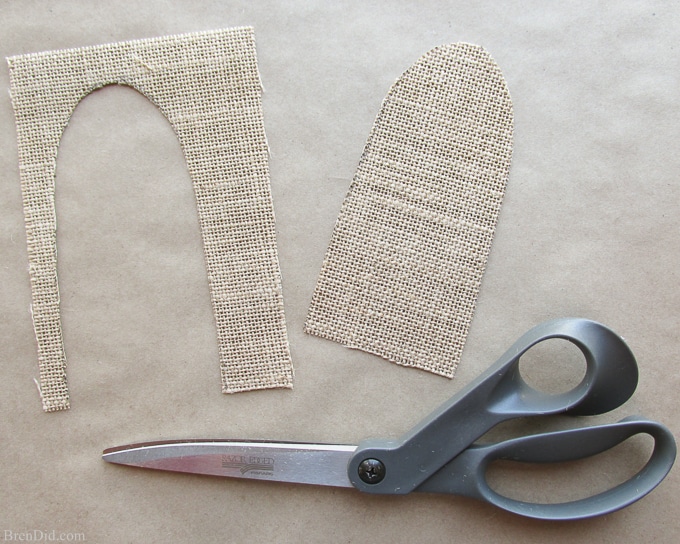
- Cut out the burlap shapes. You should have four ear shapes for each napkin ring.
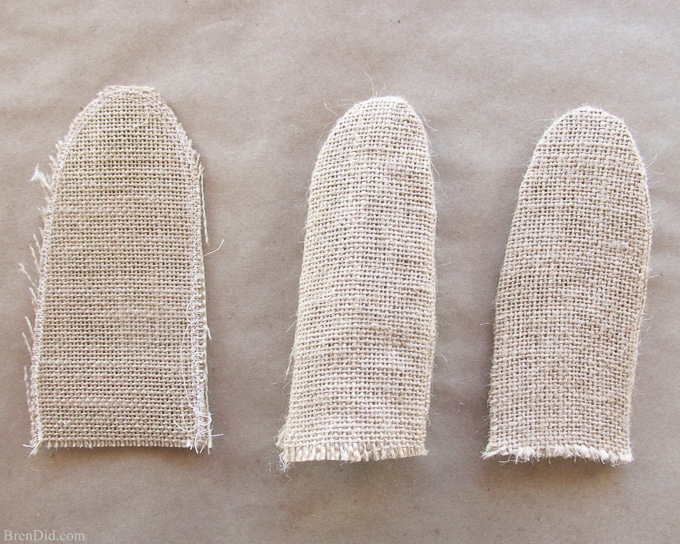
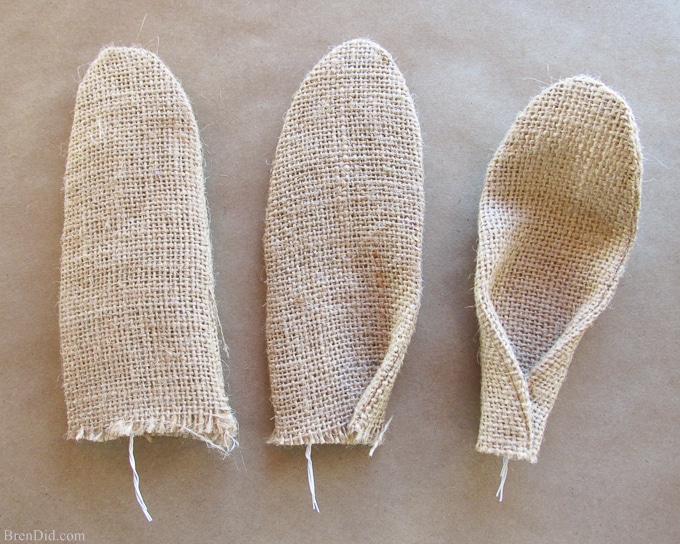
- Stitch the ears together. Stitched around the edge at .25 then zig-zag stitched around the outer edge to reinforce and prevent fraying. Do not stitch the bottom closed. Turn the ears inside out (use a pencil with an eraser to gently help the seams completely turn). Press the ears flat with a warm iron.
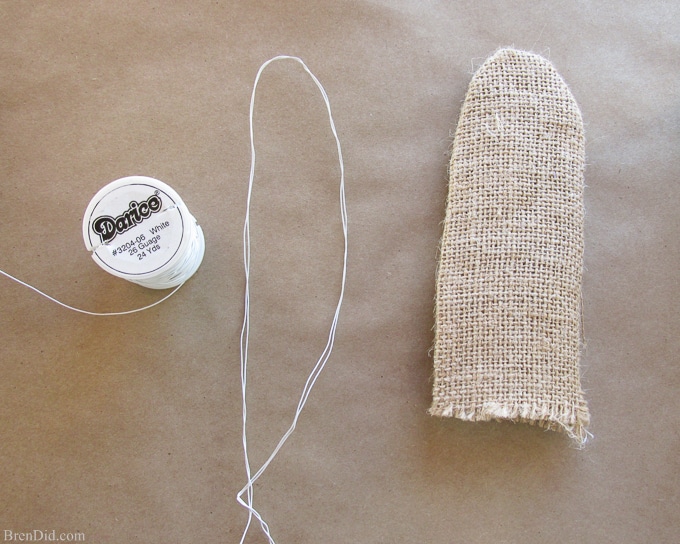
- Cut a piece of wire 2.25 times the length of your ears. Bend the wire in half to double up and then bend it into an ear shape. Insert a wire shape into each ear. Approximately 1 inch of wire should stick out of the bottom of the ear.
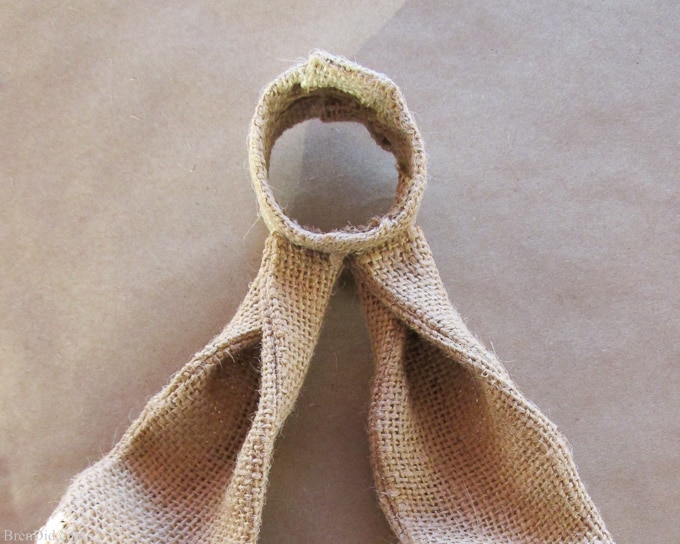
- Fold the right side of the ear into the center and glue. Fold the left side of the ear into the center and glue. Use the wire inside the ear to bend it slightly into a rabbit-ear shape. Adjust the internal wire as needed.
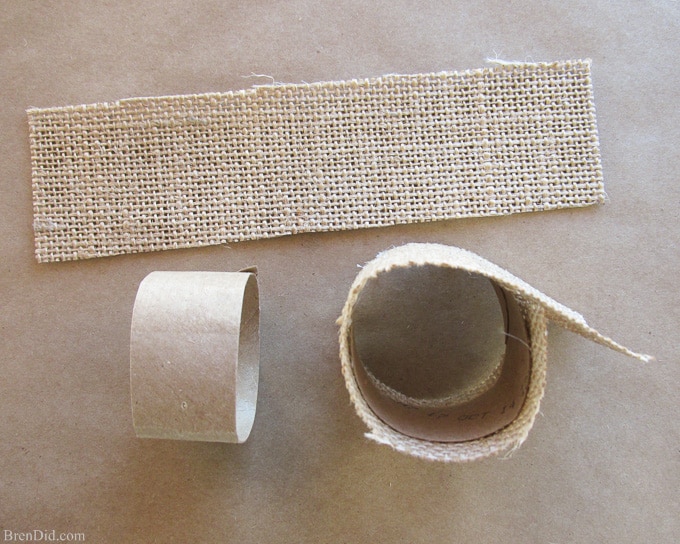
- Cut a 1-inch section of tube for each napkin ring.

- Use a needle to poke holes in the cardboard rings approximately 1.25 inches apart.

- Cut a 3×6 inch piece of burlap to wrap around the cardboard ring. (You should measure your ring to make sure this size will cover it completely before cutting).
- Use small dots of hot glue to secure the burlap to the cardboard. Do not use too much, you do not want glue to ooze through the loose weave of the fabric.
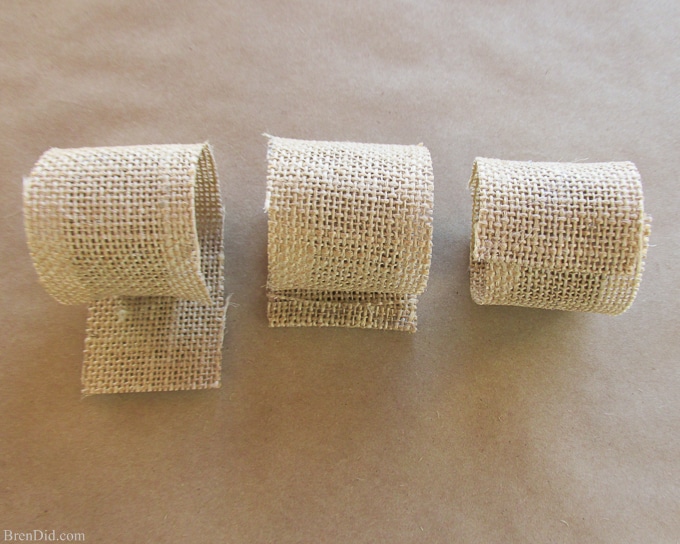
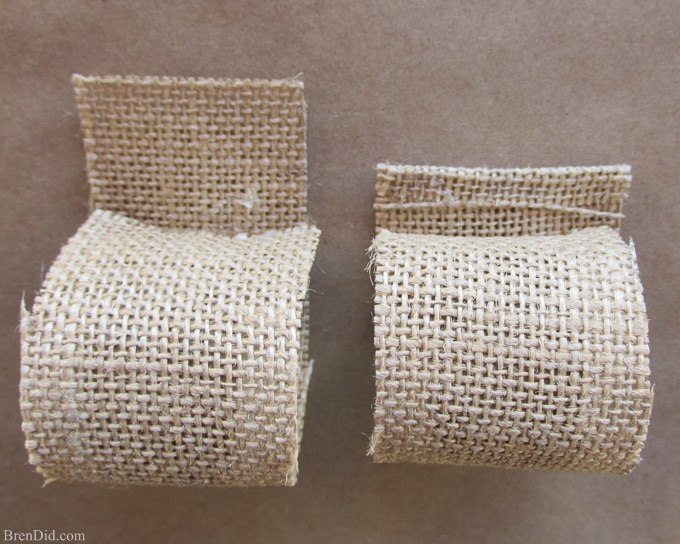
- Fold the end under and glue to finish the edge before gluing down.
- Insert the wire from the ears through the burlap and cardboard using your pre-made holes. Look inside the ring to find the holes. Place a tiny dab of glue under each ear and press it tightly to the burlap ring as it cools.
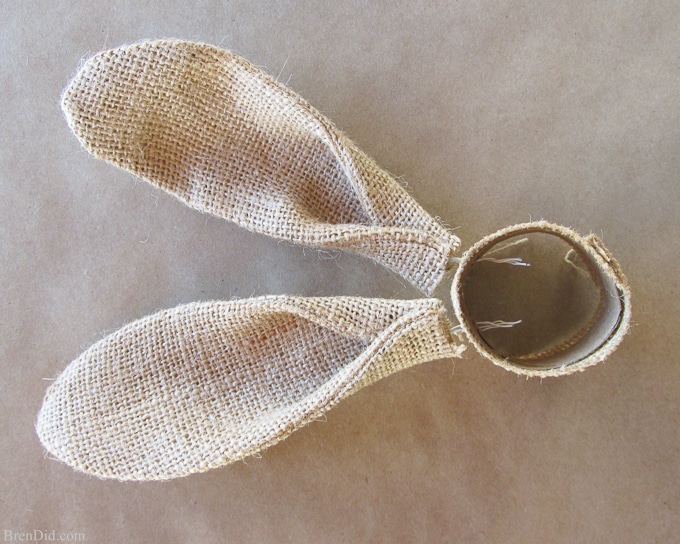
- Fold the wires down inside the cardboard tube. Push them down to the side, making sure they are flat against the tube. Cut a small scrap of burlap and use it to secure the wires down with hot glue. The ears should now be very secure.
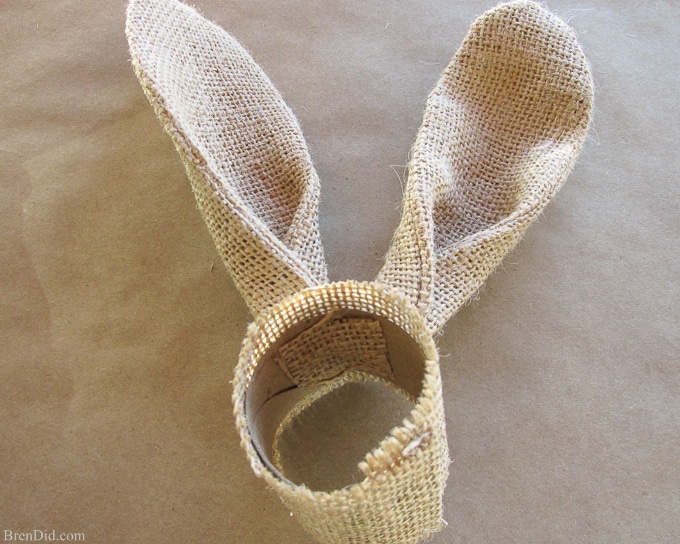
- Fold the edges of the burlap into the center tube and secure with hot glue.
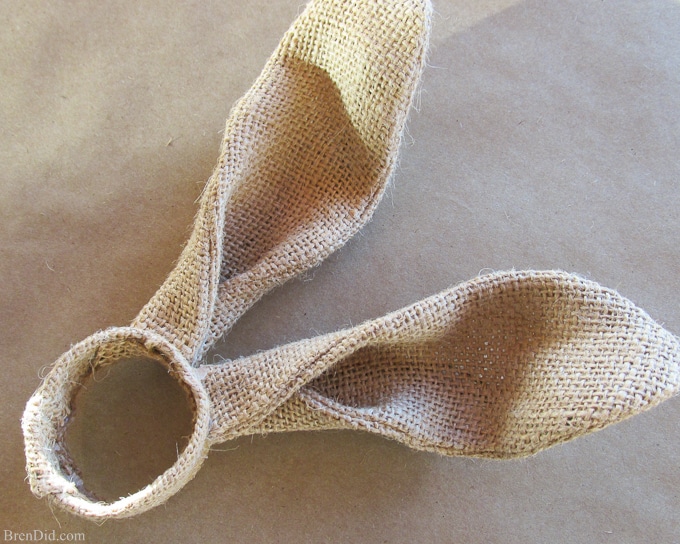
- Fold the ears into the desired shape using the inner wire. Enjoy your PB Inspired Easter Bunny Napkin Rings!
Napkin Rings Cost
Here’s the napkin ring cost breakdown:
- Tan Burlap, 1/2 yard: $2.00 (makes approximately 10 napkin rings) – $0.20
- White, tan or clear thread: $2.99 a spool (partially used) – $0.10
- Cardboard tubes (use toilet paper or paper towel tubes) – $0.00
- 24 gauge wire: $4.00 for 25 yards (partially used) – $0.05
- Hot glue gun and glue sticks: $0.10 each (used 1/2 per napkin ring) – $0.05
Total cost per napkin ring= $0.40 ($1.60 for a set of 4)
That’s a $30.40 savings (95% off).
I LOVE the savings even more than my new Easter Bunny napkin rings!
More Easy Easter Crafts
Want to add more bunnies to your Easter decor? Try this PB Inspired Easter Bunny Banner. The bunnies have the cutest pom pom tails!

Mix and match your Easter Bunny napkin rings with Easter Bunny Tail Burlap Napkin Rings. I love the fluffy bunny tails.
Like my easy crafts? Sign up for my free weekly newsletter and never miss another project.

Beryl
I love your Easter bunnies but please do not advocate the use of toilet roll middles, especially near food! They have been sitting in the toilet area for a while and are not healthy!!
Bren
Beryl, any paper tube will work. You can use a paper towel rolls or buy unused toilet paper rolls at the craft store.
Kimber
Now these are just ridiculously cute! I love how easy it is!! So glad to meet you at Snap!
Bren
Thanks, Kimber! It was great to meet you too!
Kristen from The Road to Domestication
Oh, how I love the versatility of burlap! These are ADORABLE!!! Thanks so much for taking the time to join us over at the #HomeMattersParty – we hope to see you again next week! Feel free to bring a friend 🙂
Bren
I agree Kristen, burlap has so many uses!
Creatively Homespun
How sweet are these??!! Love them!!! And I loooove how detailed your tutorial is…. great job!!! Pinning for sure!