Fresh plum juice, sugar and fruit pectin are all that you need to make delicious jewel colored jars of homemade easy wild plum jelly. Try making your own homemade preserves and enjoy jelly with no artificial colors or preservatives… just like Grandma makes!
This post uses affiliate links. They don’t cost you a thing and help us bring you creative projects. Read more in Policies & Disclosures.
Homemade Jelly
Making homemade jelly is a task that seems momentous until you try it for the first time. While it takes a bit of planning, making jelly is quite simple! You simple stir, boil, stir, boil, and store.
I love making my own jelly. While it does contain a hefty dose of sugar, it does not contain any artificial ingredients so you know exactly what your family is eating! I especially love jelly recipes that can seal on the counter top and do not require a boiling water process to store.
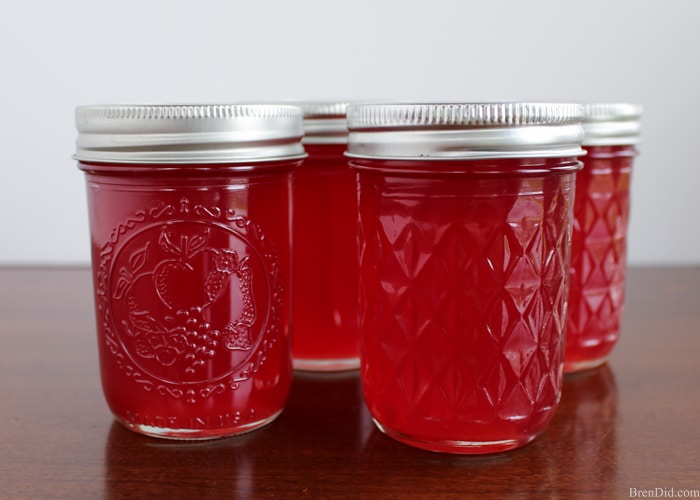
Plum Jelly
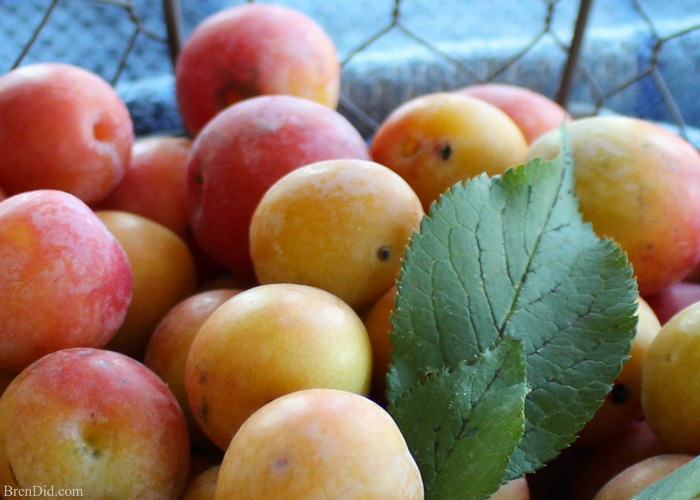
Have you ever tried making jelly? It’s a great use of fall fruits picked from your garden, gathered in the wild, or even purchased cheaply at a local farmer’s market.
Plum jelly is a family favorite. The taste is amazing, it is a beautiful ruby color, and it makes wonderful Christmas gifts. You can learn more in my post about wild plums… and, as a bonus, you can make plum fruit leather with the leftover fruit pulp.
Easy Wild Plum Jelly Supplies
- 10 – 8 ounce canning jars, screw lids, and flat lids.
- 1/3 cup fruit pectin
- 6 cup fresh plum juice, wild or domestic (learn how to make wild plum juice)
- 6 cup white sugar
Easy Plum Jelly Directions
Step 1 – Prepare
1 – Prepare plum juice (get directions to make plum juice) and pour into a large pan (6 quarts or larger).
2 – Prepare canning jars. Wash 10 – 8 ounce canning jars, screw bands, and lids in hot soapy water and rinse. Place bands and jars in pans of hot, nearly boiling water over low heat. (Make sure to drain completely before filling.)
Step 2 – Make the Jelly
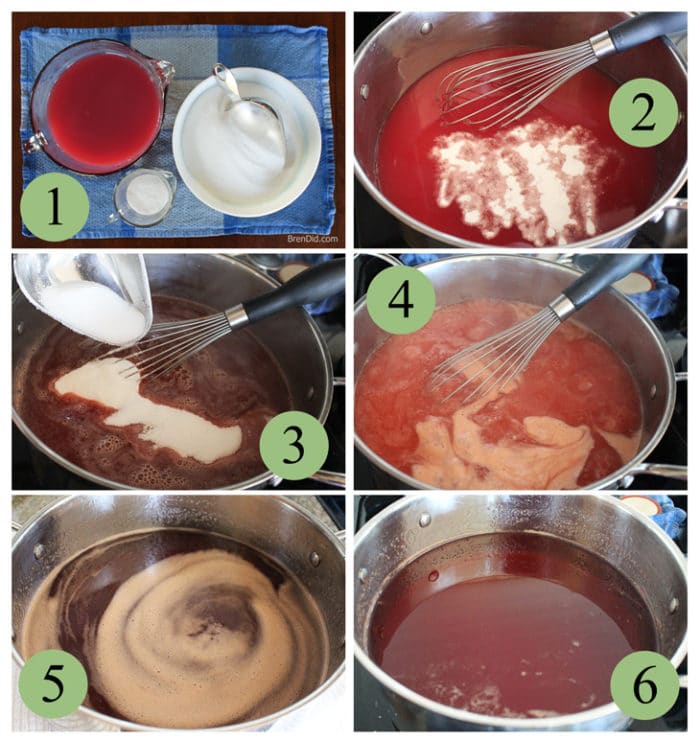
1 – Pre-measure your ingredients.
2 – Whisk fruit pectin into cold or room temperature plum juice in a large pan (6 quarts or larger).
3 – Bring juice to a boil then stir sugar into juice.
4 – Bring juice and sugar to a rolling boil. Make sure to stir frequently while heating the juice and sugar. Boil jelly exactly one minute!
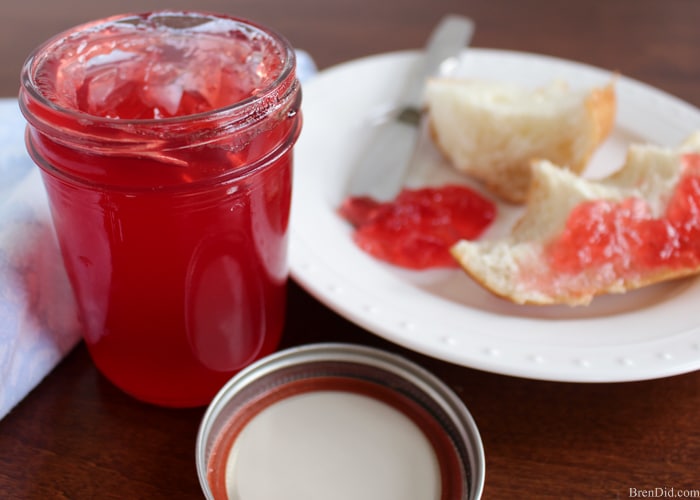
5 – Remove jelly pan from heat and skim off foaming spots to make sure your jars of jelly are crystal clear (Save the foamy jelly for your toast, it is delicious even if it’s not beautiful!)
6 – Jar prepared jelly immediately while still hot.
Step 3 – Can the Jelly
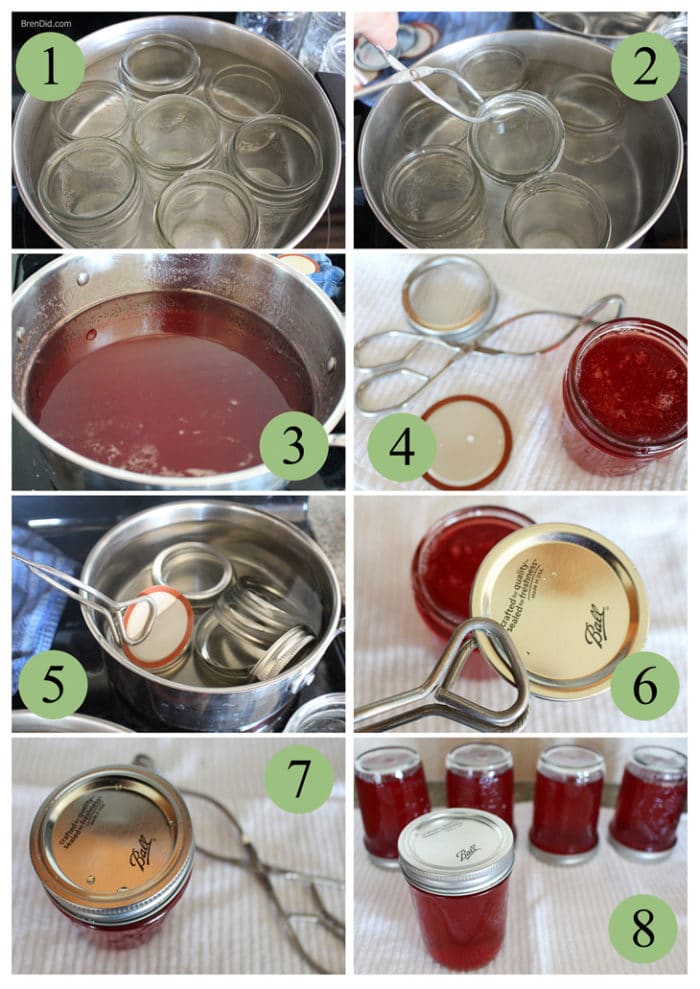
1 – Make sure canning jars are hot, in simmering water.
2 – Drain a canning jar well (use tongs).
3 – Use the hot jelly you just prepared.
4 – Fill the jar close to the top (within 1/8 of an inch).
5 – Dip a flat lid in boiling water for a few seconds to heat it (use tongs).
6 – Place the hot flat lid on top of the jar of jelly.
7 – Remove a screw band from the hot water (use tongs) and immediately screw it tightly onto the jar.
8 – Turn the jar upside down on a clean towel to cool, this helps the jars to seal.
9 – Repeat steps 2-8 until all jars are filled.
Step 4 – Check the Seals and Store the Jelly

1 – Allow the jelly to cool for several hours upside down, you will hear “pings” as they seal.
2 – After jelly jars have cooled, check to see that they have sealed (the dimple seal on the top of the jar will be indented). Check the seals by gently pressing the middle of each lid, if the seals spring back the jelly is not sealed and you must refrigerate the jelly.
3 – Wipe sealed jelly jars clean and store in a cool place for up to a year.
Like my easy recipes? Sign up for my newsletter below and never miss a thing!


Jillian
Thank u for this recipe. Great tasting jelly. From Manitoba Canada, and have a abundance of plums!
Gloria Marsh
Your. Recipe calls for 1/3 cup of pectin,are you talking about the bulk pectin or can I use that same amount in using surejell
Bren
I use powdered pectin.