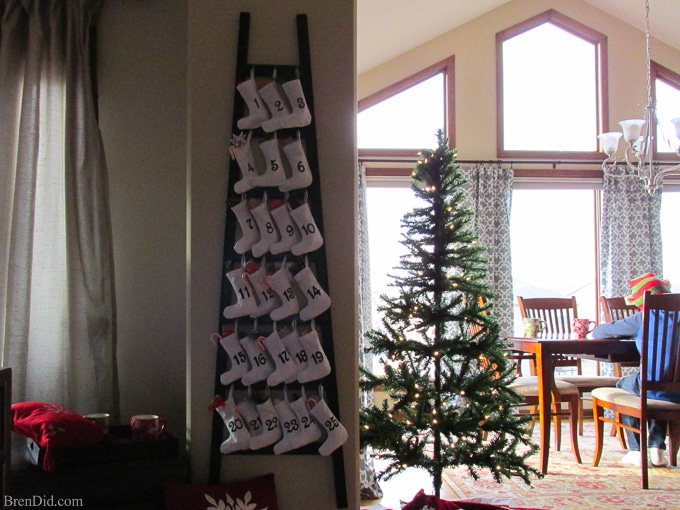
This look-alike Pottery Barn Wooden Advent Calendar with Stockings is a gorgeous holiday tradition at a bargain price. This wooden advent ladder tutorial makes a great holiday decoration that has room to hold gifts, treats, or notes for two or more children.
Disclosure: This post uses affiliate links. They don’t cost you a thing and help us bring you creative projects. Read more in Policies & Disclosures.
Christmas Advent Calendars
One of my favorite Christmas activities is the advent calendar. It fun to see the delighted faces of our children each morning as they tumble down the stairs to see what surprise awaits them! My kiddos are huge fans of the Lego advent calendars, but I also love making and filling my own advent calendar with special surprises.
Wooden Advent Calendar with Stockings
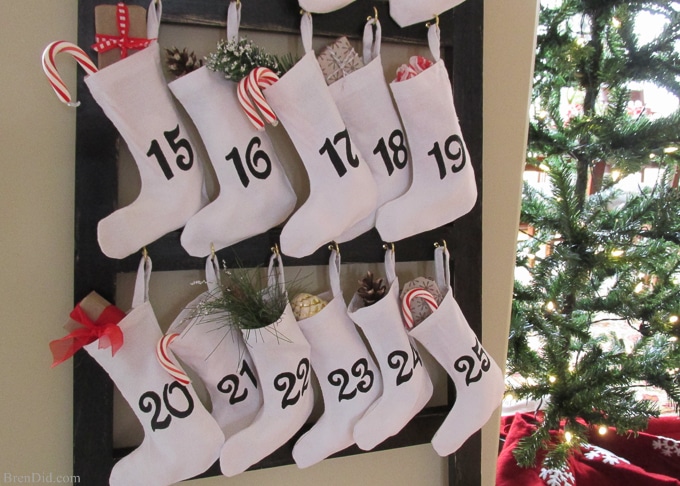
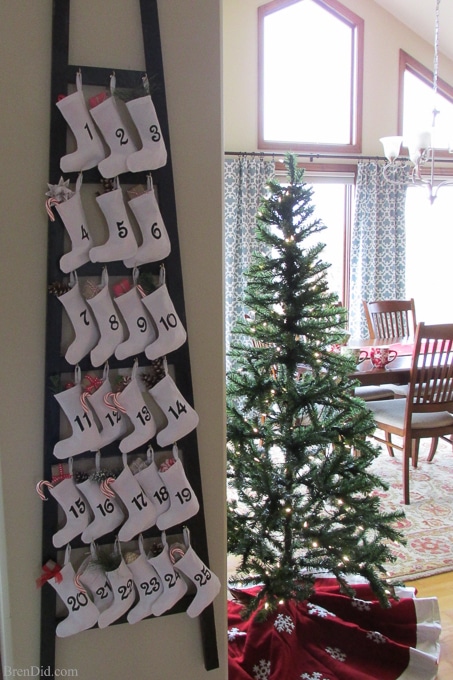
This Christmas my husband and I built an advent ladder that holds 25 mini stockings. Each day is marked by a 5 x 6 mini canvas stocking that can hold a note, treat, ornament or small gift. The ladder itself is a lovely addition to your holiday décor — at approximately 20 inches x 72 inches it makes an impressive Christmas countdown.
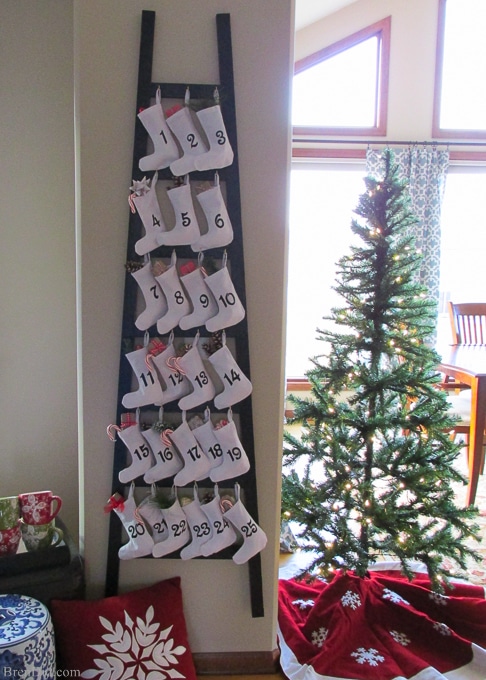
You do not have to be a skilled woodworker or seamstress to make the advent ladder! All you have to do is cut a few narrow boards (even a hand saw works), screw together the ladder, and paint it! The stockings are premade, just use a little paint marker to add the dates.
How to Make a Wooden Advent Calendar with Stockings
Ladder Supplies
- 3 – 1 in. x 2 in. x 6 ft. Pine Boards
- 14 – 2 in. Brass Flat Corner Braces (L shaped)
- Paste Wax in Java or Mahogany (I used Briwax, you can use any non-oily paste wax)
- Black latex enamel paint, flat (a few ounces)
- Sandpaper (220 grit)
- 25 – 5/8 in. Brass-Plated Cup Hooks
- Wood Putty (if needed)
- 25 – 5 x 6 in. white or cream canvas stockings
- Black paints, permanent marker, or iron-on material
Stocking Supplies
- 25 – 5 x 6 inch white or cream canvas stockings
- Black paints, permanent marker, or iron-on material
- Printable PDF pattern for numbers or Silhouette cut file
Project Cost
The Pottery Barn calendar is made of mahogany. To make the ladder more affordable (and the wood easier to cut) I used pine. The famous Pottery Barn distressed black finish is easy to achieve with paste wax and latex paint.
I found affordable pre-made canvas stockings at Oriental Trading Company which makes the project quick to complete… no sewing needed (plus they are only $6.50 a dozen)!
Ladder Instructions
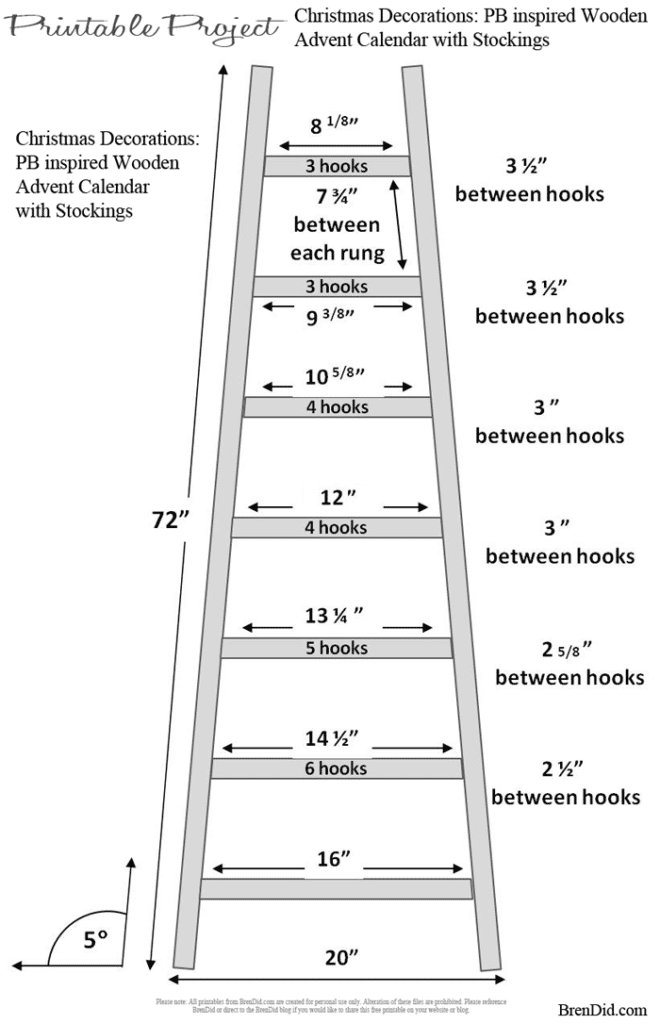
1. Cut the sideboards according to the graphic (download PDF here), you will have two 72 inch side pieces that are cut straight across the top and bottom.
72 inches is the length my boards came in at the lumber yard, make sure to check that they are not warped (lay flat and straight). You can easily test them by laying them on the floor at the store, they should not rock. It doesn’t matter if they have a few knots.
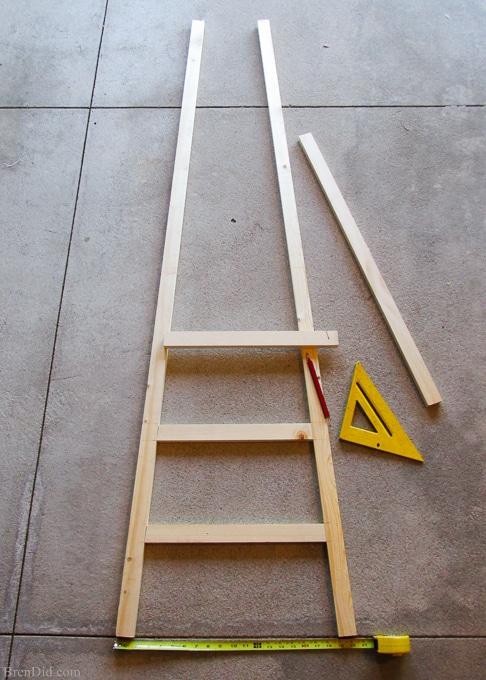
2. Cut the cross boards or rungs according to the graphic pattern above, you will have seven rungs cut at a 5% angle on the ends. This makes the angle of the ladder which is narrower at the top. The rungs are:
- 8 1/8 inches
- 9 3/8 inches
- 10 5/8 inches
- 12 inches
- 13 ¼ inches
- 14 ½ inches
- 16 inches
3. Attach the rungs to the side pieces using the L shaped flat corner braces. You can screw these directly in, there is no need to pre-drill holes in pine.
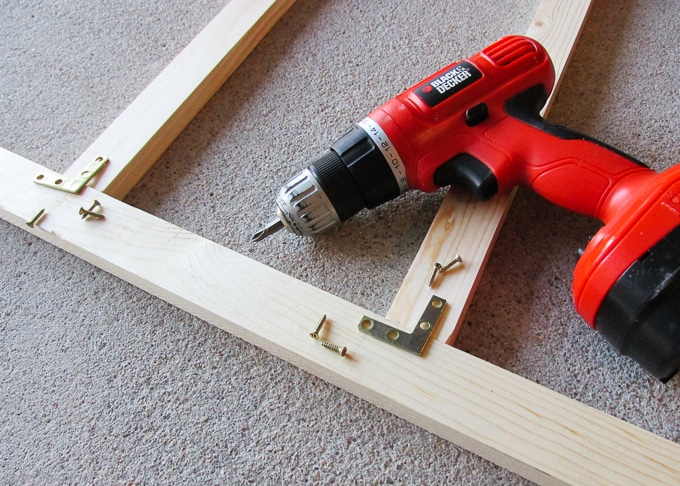
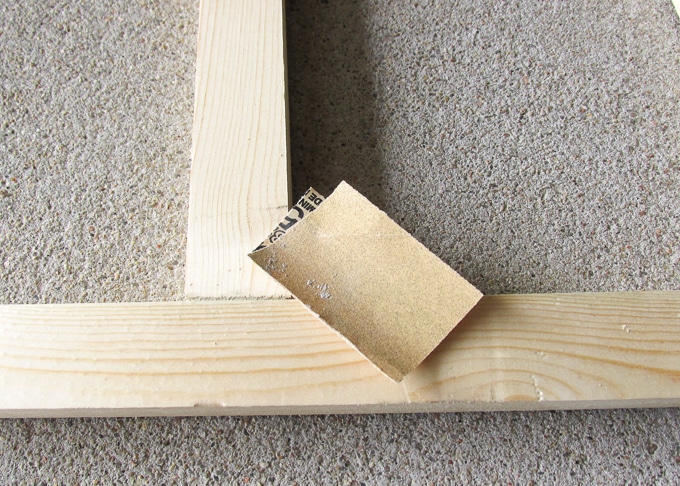
4. If needed, fill gaps between rungs and side pieces with wood putty, allow to dry and sand smooth.
5. Apply finish. First rub wax paste over the entire ladder using a soft rag. Wipe off excess. Allow to dry for at least an hour.
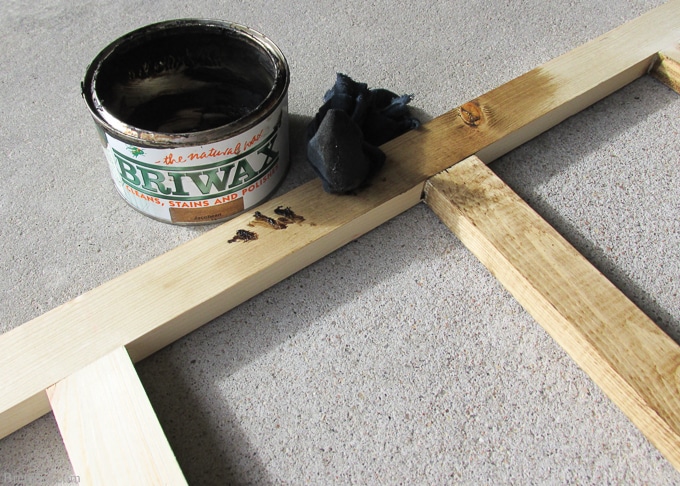
6. Apply latex paint using a paint brush. Make sure to coat the entire ladder. This should only take one coat. Allow paint to dry for at least half an hour.
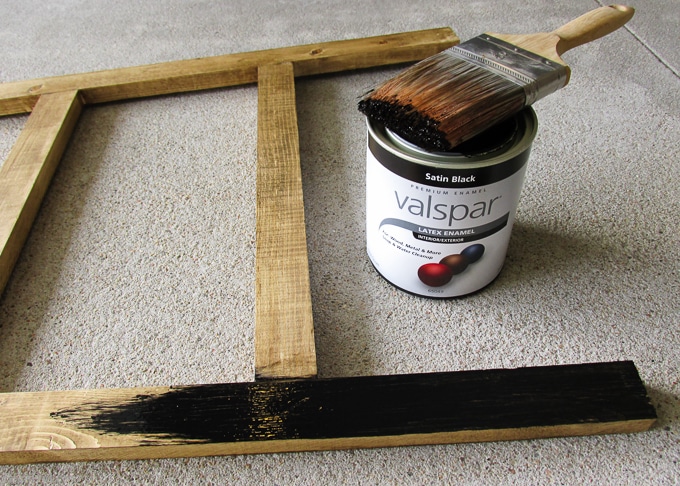
7. Use sandpaper to weather the finish (this is how you get the famous Pottery Barn distressed black finish). Concentrate on the edges of the pieces and made sure to scuff some paint off the center of the rungs and side boards. Don’t worry, if you sand off too much paint you can always add more latex paint.
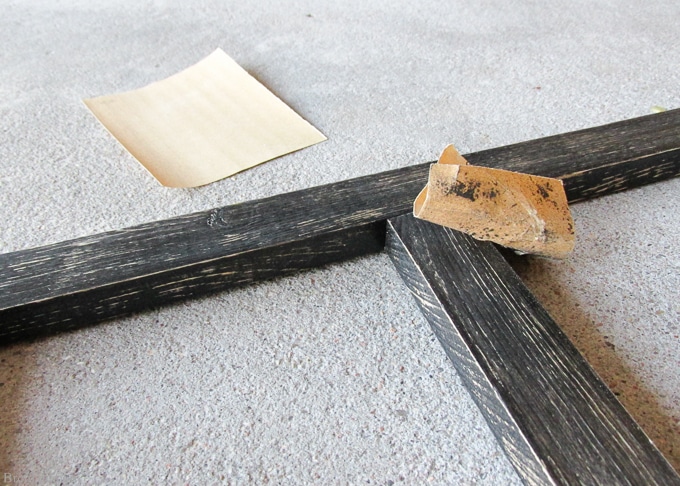
8. Attach brass-plated cup hooks according to the graphic. You can screw these in by hand, there is no need to pre-drill holes in pine.
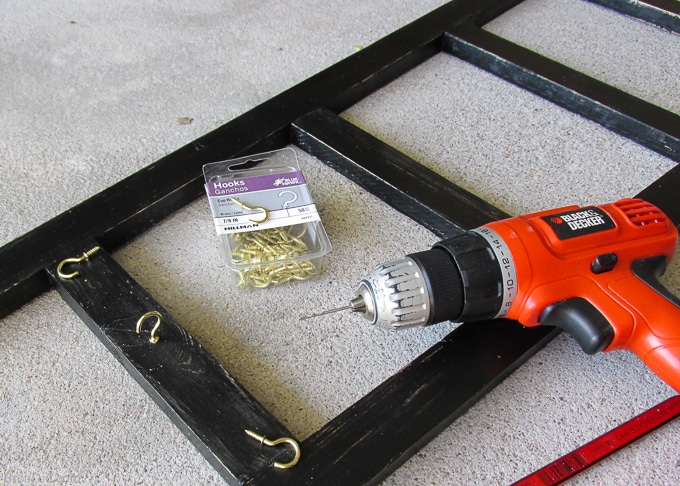
Stocking Instructions
1. Iron the stocking flat. I used my homemade spray starch to remove creases and add body.
2. Download and print the PDF file or Silhouette cut file of stocking numbers.
3. Decide if you are using iron on material, fabric or permanent marker or paint.
4. For iron on fabric: cut out the numbers and iron on to stockings using manufacturer’s instructions.
5. For paint or marker: trace the numbers onto each stocking using a black permanent marker or permanent fabric marker.
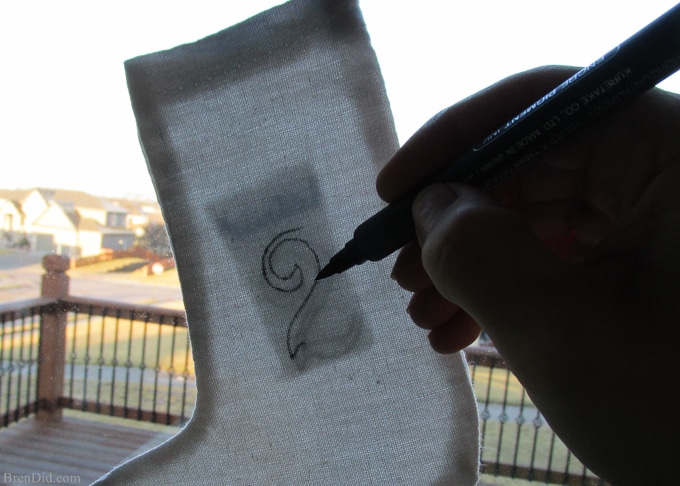
6. Fill in with acrylic paint, fabric paint, or permanent marker. Allow to dry and iron (according to manufacturer’s directions) to set the paint or marker.



7. Hang the stocking on your ladder!

Project Costs
I love how the advent calendar turned out! It looks great in our family room and can hold enough gifts for multiple kids. I also like how the ladder can be decorated with garland, ornaments, or candy canes to add more seasonal style.
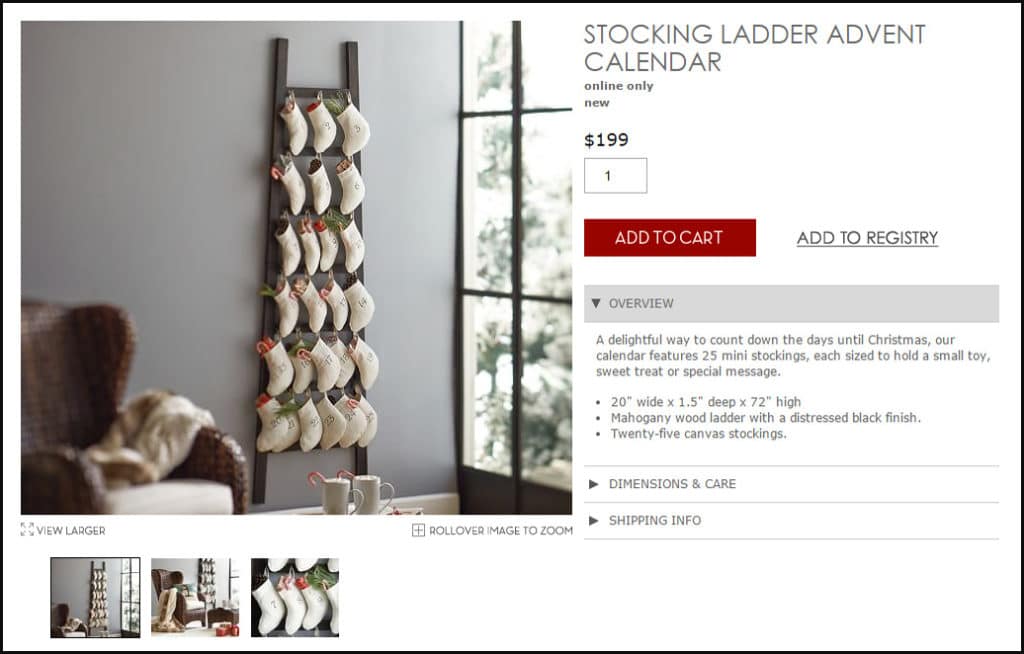
I especially love the SAVINGS! The Pottery Barn price is $199.00, mine was about 84% off…. $33.85!
Cost Breakdown
- 1 in. x 2 in. x 6 ft. Pine Boards – 3- $9.00
- Brass Flat Corner Braces – 14 – $7.00
- Paste Wax in Java or Mahogany – $8.50 for 12 oz., used 1 oz. – $0.70
- Black latex enamel paint, flat – $9.30 per quart, used 4 oz.- $1.16
- Sandpaper – $2.70 for 5 sheets, used 1 sheet – $0.54
- 5/8 in. Brass-Plated Cup Hooks – 50 for $2.00, used 25 – $1.00
- Wood Putty – $7.00 for 6 ounces, used less than ½ ounce – $0.60
- Premade Stockings – $6.50 Per Dozen- $13.50
- Black Acrylic Paint $0.69 (used ½) – $0.35
- Total price= $33.85
That’s a $165.15 savings (83% off of the original price). I LOVE those savings even more than the Christmas season!

Like my creative ideas? Sign up for my newsletter below and never miss a thing!


Rose
Hi Bren,
I am trying to replicate this but cannot seem to find affordable stockings anywhere. You haven’t seen them anywhere, have you?
Karen
I think I’ll use this for a Christmas tree I have lots of ornaments no room for a tree and the woodstove makes it not safe to have tree thanks for the idea.
Bren
What a fun idea, Karen! Thanks for commenting.
tami
do you know where the white mini stockings could be currently purchased? it appears they are no longer being sold on oriental trading company 🙁
Bren
How disappointing, Tami! I will check and see where else they can be purchased.
Cynthia
I tried this. The dimensions are wrong. I am not a woodworker by any means, but my dad is. So took the pattern to him and had him cut everything. Lengths for rungs were all wrong. Plus he had to use a 4th board to get all of them. When I brought everything together, I had a mess. Had to recut all but 2 boards, shorten the sides, and bring rungs closer together. Better than $199, but I wish I had had the tools to correct the pattern.
Bren
I’m sorry you had such a difficult time with the project, Cynthia! I double checked my ladder and dimensions of the pattern and there was one error in the original pattern, the 12 inch rung was mislabeled 12.5 inches. The rest of the pattern is true to my ladder. I’ve corrected the post and the pattern to reflect this correction. Sorry for the confusion.