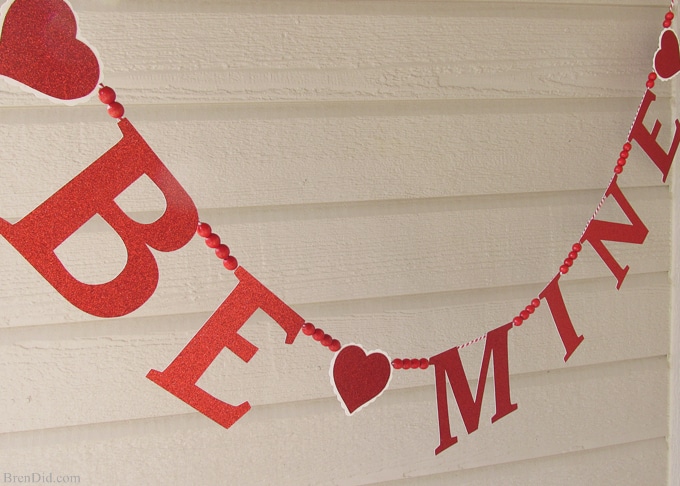
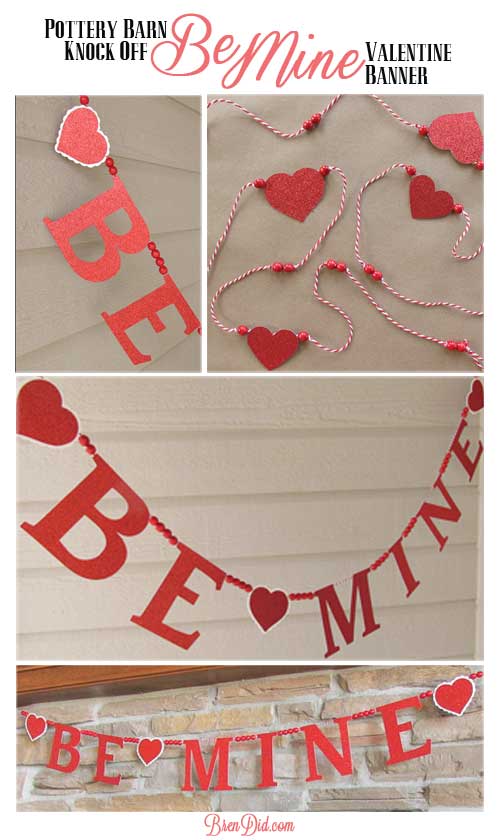
Get ready for Valentine’s Day parties and events with this glitter garland inspired by Pottery Barn Kids. This easy Knock Off DIY craft uses glitter cardstock, baker’s twine, and wooden beads to make a charming Valentine’s Day banner for under $3.
Holiday Decor
Pottery Barn Kids is one of my favorite sources for simple, whimsical decorative accents that are suitable for kids’ rooms, playrooms, and parties but classic enough to be used in other parts of your house. Each holiday they introduce new garlands and banners that are a great nod to the season without overwhelming your regular décor.
While I love their decor, I am often underwhelmed by their corresponding prices. I’ll pay top dollar for decorative items that can be used for several years or make a huge splash. However, I have a hard time shelling out lots of money for decorations I could make myself.
Holiday Banners and Garlands
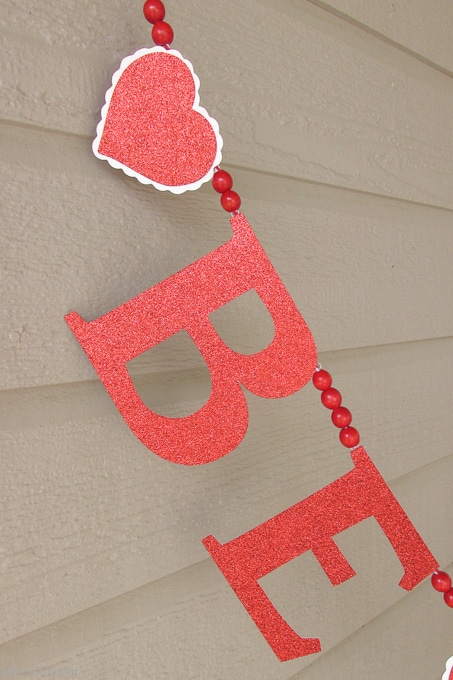
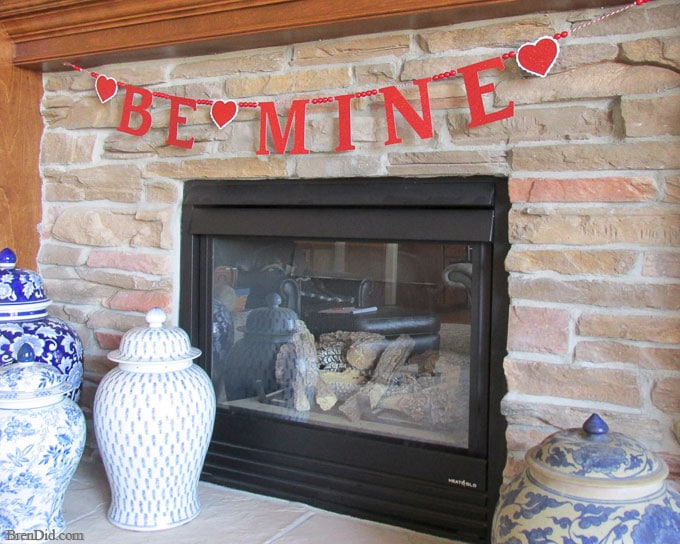
Paper banner and garlands are an item I always find adorable but find the high prices had to justify for an item made mostly of paer. For example, this years’ “Be Mine” Glitter Garland is charming with its glittered letter and sweetheart cut outlined with scalloped trim.
I loved it as soon as I opened the catalog!
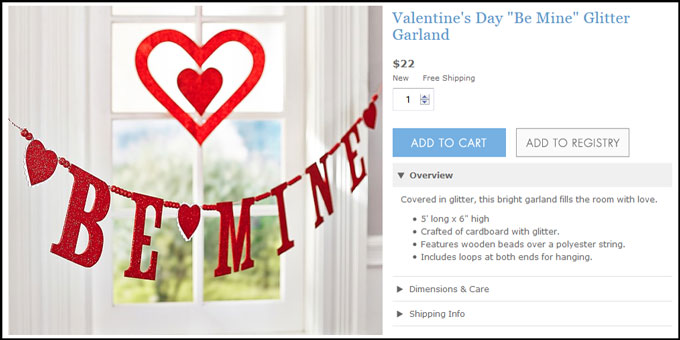
However, like many of their cardstock banners, the price left me wanting more. At $22 this banner was out of my budget. It’s made of cardstock, twine, wooden beads and metal hooks. This supply list does not add up to $22 at my favorite craft store.
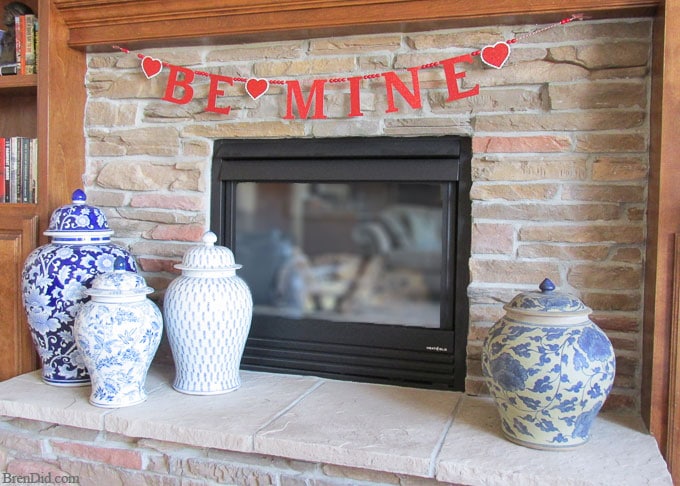
PBK Inspired Be Mine Glitter Banner
I closely examinations the catalog pictures of the banner then sat down and designed a simple version that you can make for less than $3.
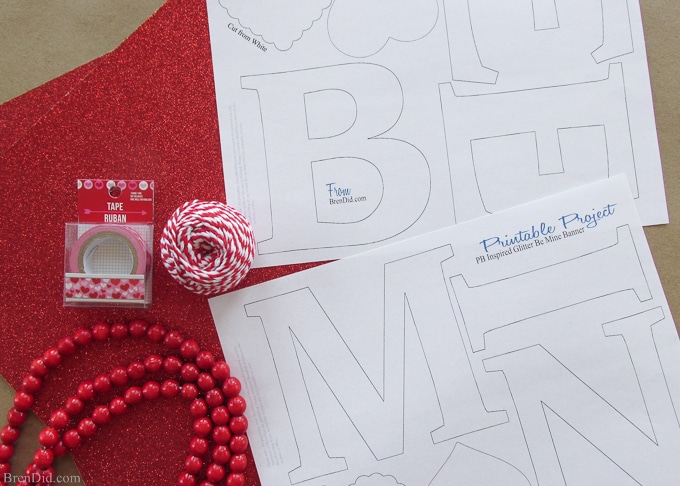
Supplies
- 12 x 12 glitter cardstock, red (1)
- white cardstock, white (I used the back of my glitter cardstock scraps as they were white)
- 40 red wooden beads, 8-11 mm
- 9 paper clips, 1 inch
- Hot glue or masking tape
- Free printable pattern or SVG cut file
Directions
- Download the free printable pattern or SVG cut file.
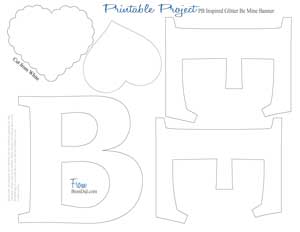
- Cut out the letters and hearts using the pattern.
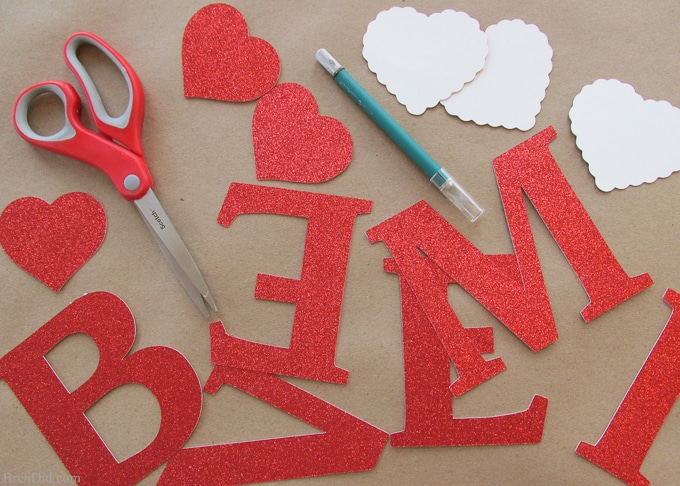
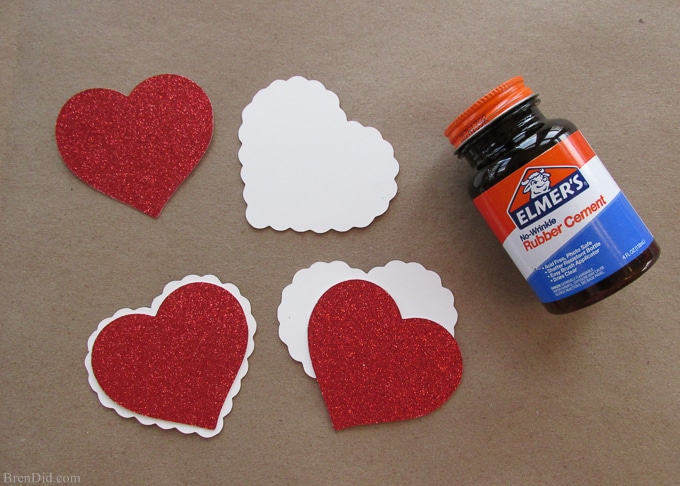
- Glue the red hearts to the white scalloped background.
- Decide if you are going to use metal loops or tape to hold the twine to the letters. The PBK banner uses metal loops.
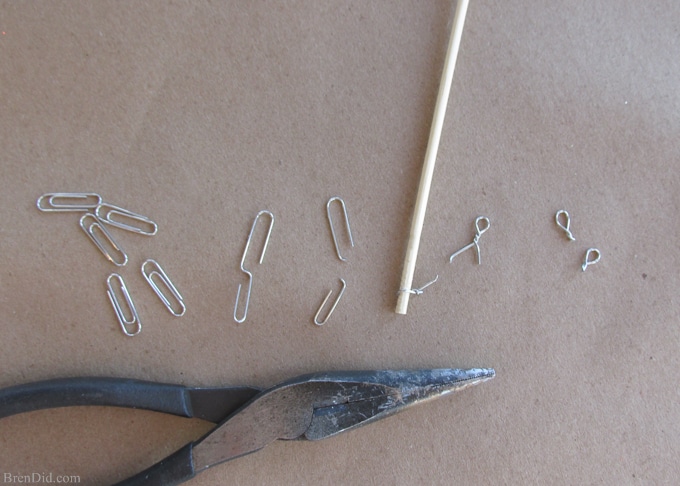
- If using metal loops: make the loops by twisting half of a paperclip around a bamboo skewer or pencil using pliers. You simply twist the ends of the paperclip around the skewer, the skewer ensures that you have a nice round loop.
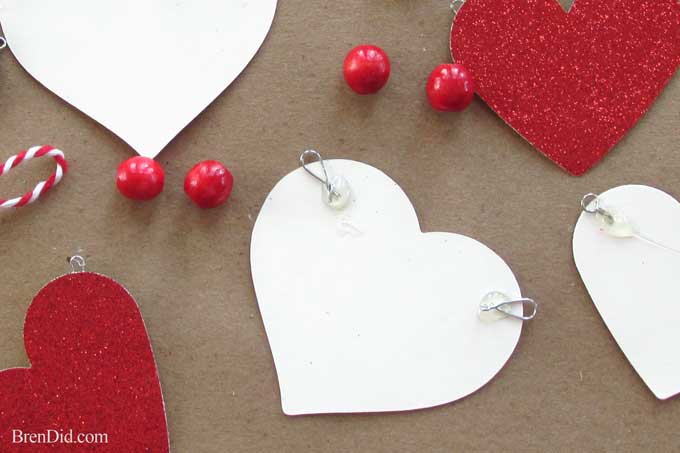
- Glue a loop to each side of the letters and hearts.
- Thread twine through a loop and across the wrong side of each letter.
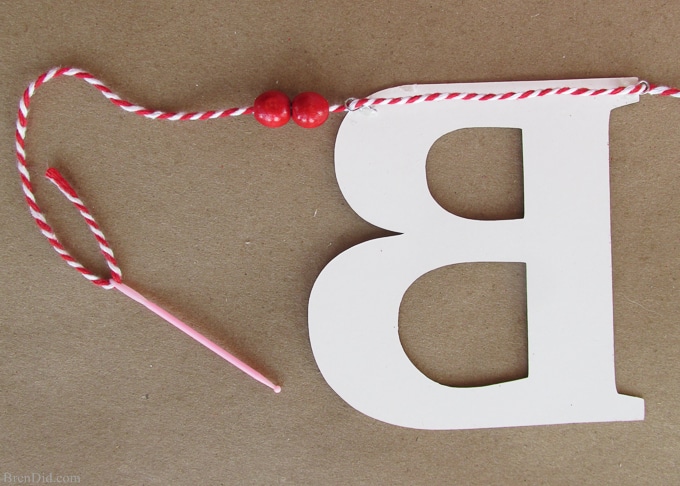
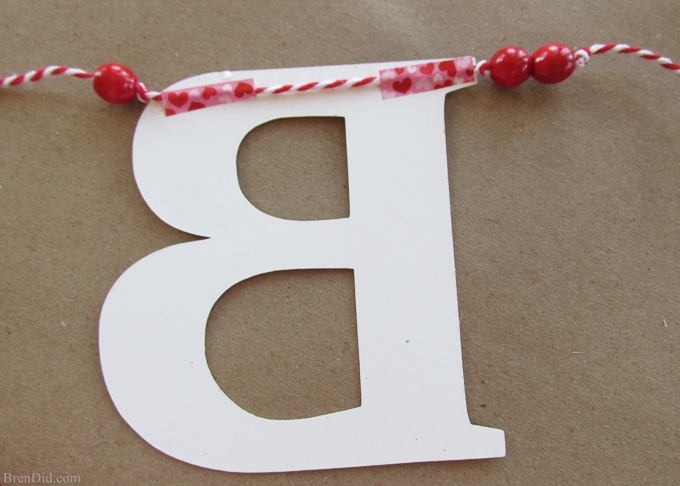
- If not using metal loops: use tape to attach the twine to each letter. I used washi tape. Knot the cord at the edge of each letter to keep the beads from sliding behind the letters.
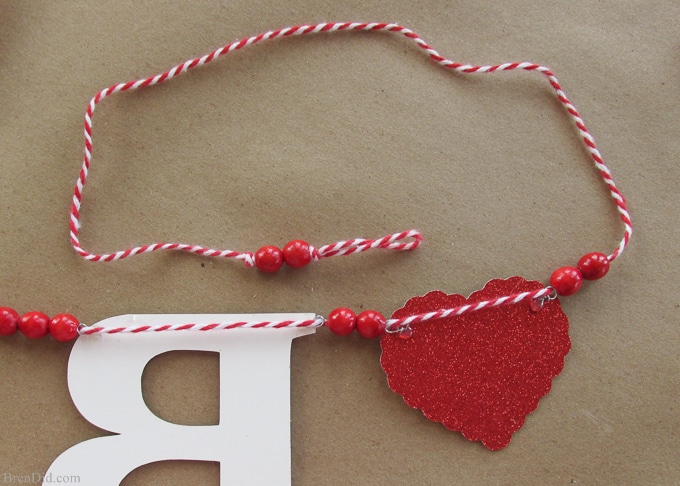
- After all your letters and beads are strung, tie a loop about 3-4 inches long at each end of the banner. Thread 2 beads onto the loops and tie tightly at the top.
- Enjoy your banner!

Mini Valentine Garland
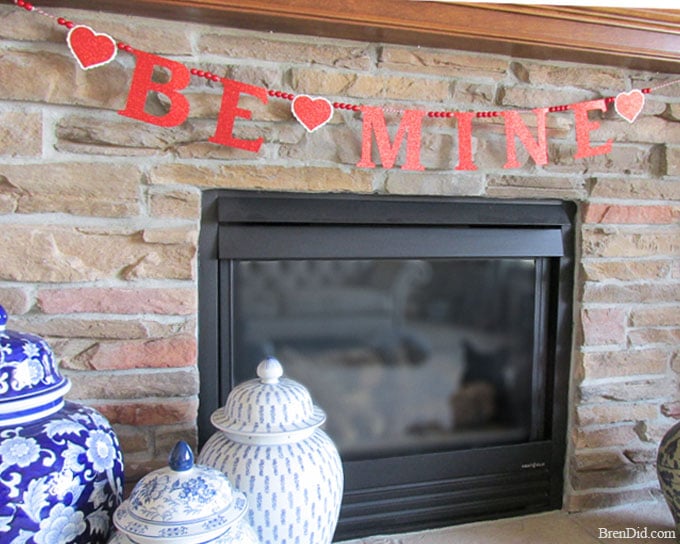
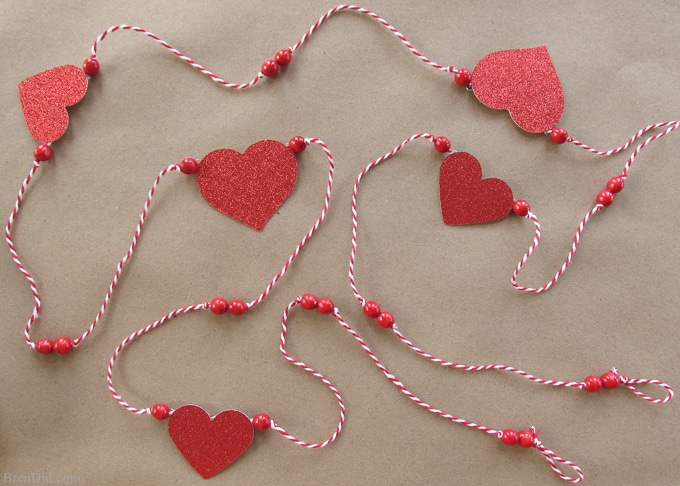
I used the leftover glitter cardstock, twine and beads to make another cute Valentine garland. This one is all hearts and beads, no words. You can make it by threading beads and hearts onto baker’s twine with 6 inches of space between each set.
Banner Costs
- 1 – 12×12 sheet of red glitter card stock (these run from $1 to $1.99 a sheet, mine was $1) – $1
- 5 to 6 feet of red baker’s twine (baker’s twine is about $0.20 a yard, I used 3 yards) – $0.60
- 9 paperclips (100 for $1.00) – $0.09
- 40 red wooden beads, 8-11 mm (mine were 8 mm, $3.49 for 140) – $0.80
- Glue stick (if using a glue gun) – $0.10
- Masking tape, pen or marker, and printer paper. (I already had these items on hand.)
Total price= $2.59
That’s a $19.41 savings (88% off). You can make lots of Valentine banners at this price!
Like my easy crafts? Sign up for my free newsletter below and never miss a project!



Deborah
I am with you…love their stuff but the prices are often out of my budget. I love this!!! GREAT JOB