Fabric-covered party hats are an easy craft and an affordable way to take your birthday party decor to the next level. With a little patterned fabric, glue, yarn, and card stock you can turn a common party decoration into something extraordinary.
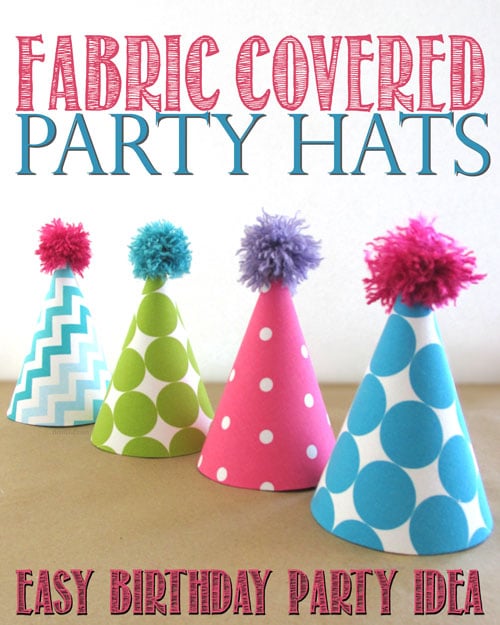
I was delighted when a dear friend asked me to help with the 1st birthday party for her youngest daughter!
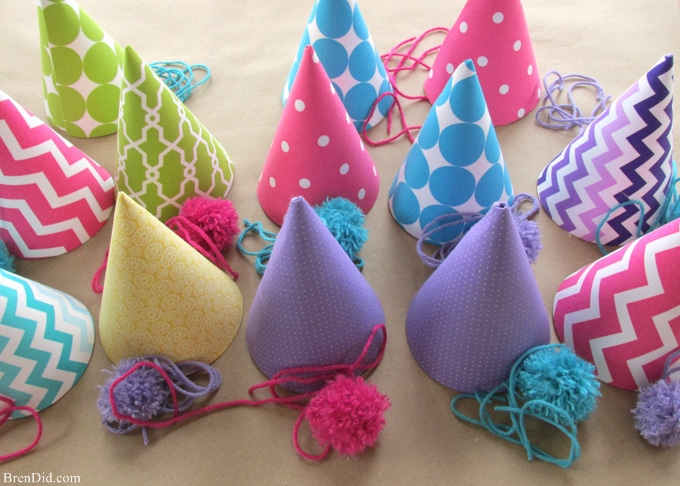
The first birthday party theme is polka dots, with an emphasis on coordinating fabrics in shades of pink, purple, green, teal, and yellow. I made invitations and decorations for the big day including fabric bunting banners and tissue paper pom-poms.
I also wanted the birthday girl to have party hats to celebrate the big day (and to take adorable first birthday pictures) but I wanted to make them extra special.
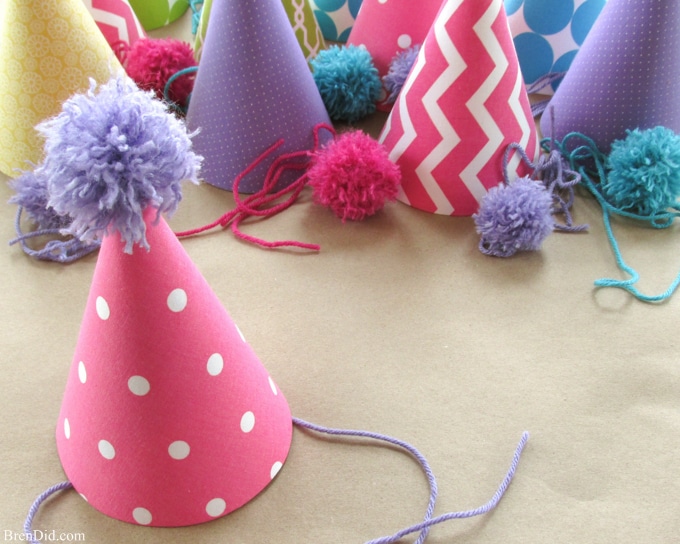
I decided to pump up traditional party hats with patterned fabric and shredded yarn pom-poms. They’re just as adorable as traditional party hats but are elevated to a new level by the fabric. They look so crisp and expensive!
How to Make Fabric Covered Party Hats
This birthday hat project is very easy; all you have to do is cut, glue and iron. Get the full directions below.
Supplies
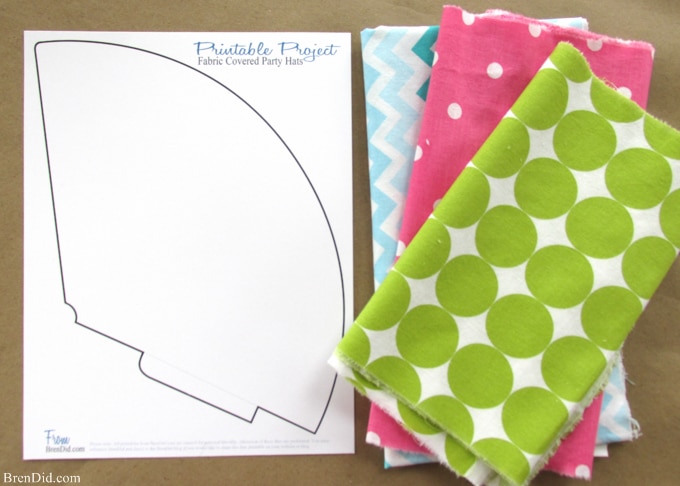
- Free printable pattern
- Calico or cotton quilting fabric washed and dried (1/4 yard of 45×36 inch fabric will make 4 hats)
- Card stock, one 8.5×11 sheet per hat
- Spray adhesive
- Yarn
- Hot glue and hot glue gun
Directions
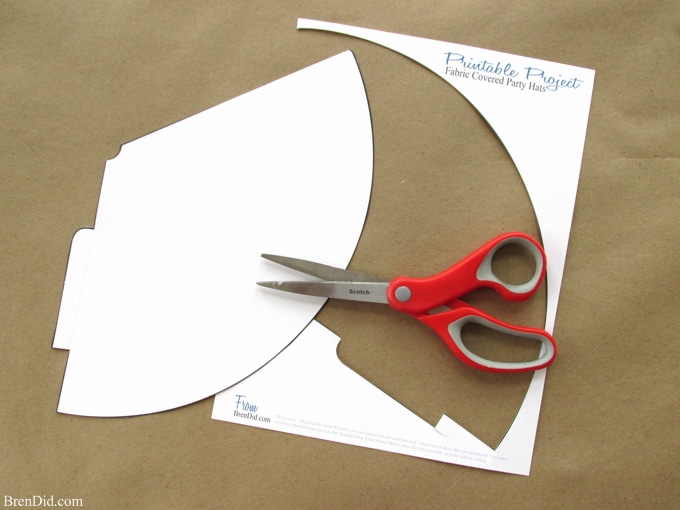
- Print the free pattern onto card stock (I used white so it would not show through the fabric). You need one copy of the hat on card stock per hat. Cut out each hat along the solid lines.
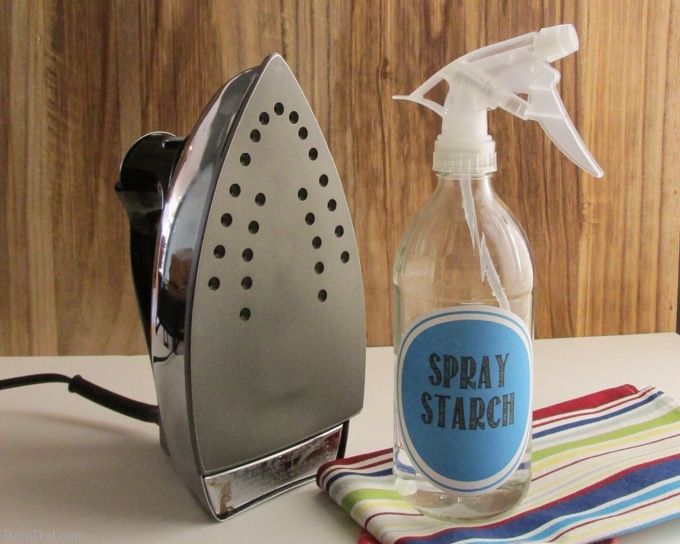
- Iron the fabric until there are no wrinkles. You must have completely flat fabric before attaching the card stock to the fabric. I used my DIY Non-Toxic Spray Starch to get the fabric flat and slightly crisp.
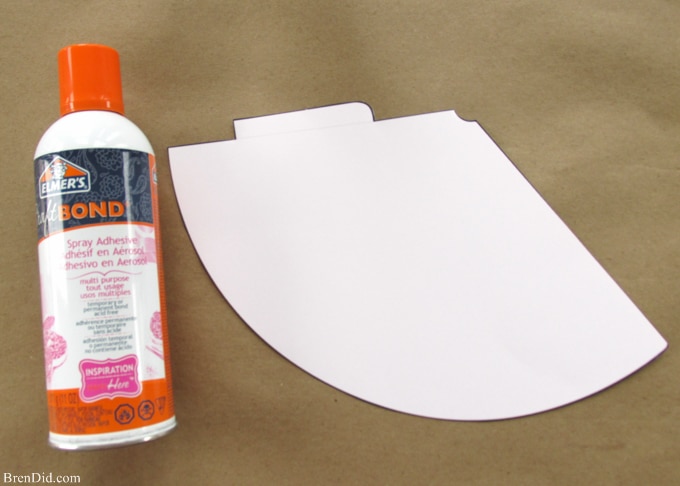
- Spray the printed side of the card stock with spray adhesive.
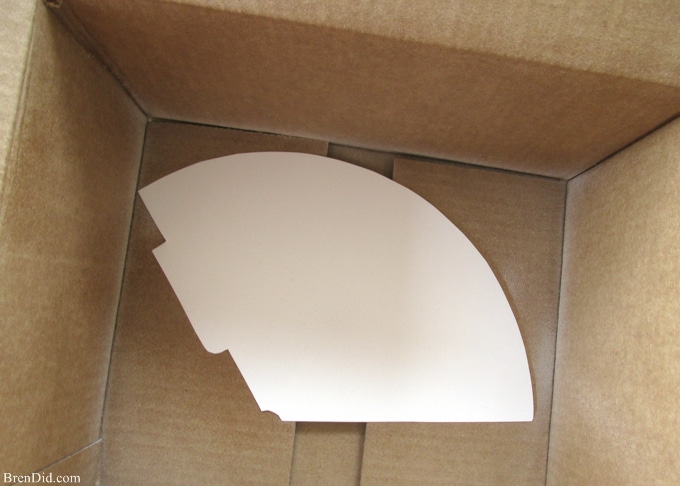
Spray the glue with the hat form placed in the bottom of a box (and outside if possible) to contain the glue and its scent. (The glue is seriously sticky and will make a mess if it gets on you or your floor or your table or your clothes.)
- Stick the cardstock, adhesive side down onto the flat fabric. Rub firmly on both sides (fabric and cardstock) to make sure it is well adhered.
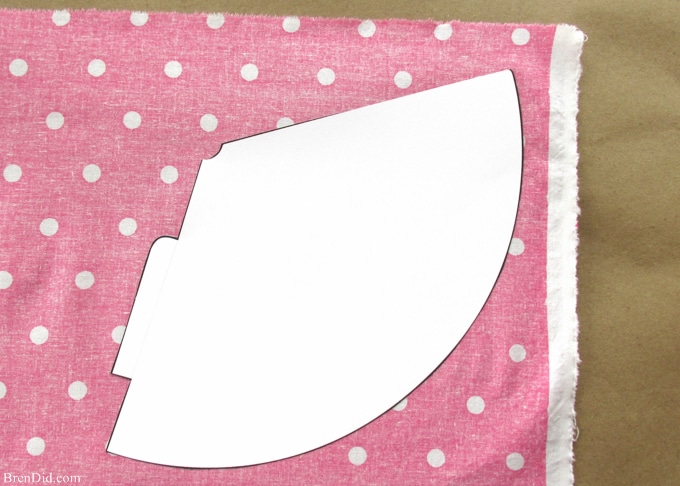
- Cut out the fabric around each hat shape. Leave a ½-1 inch fabric border of fabric around the cardstock.
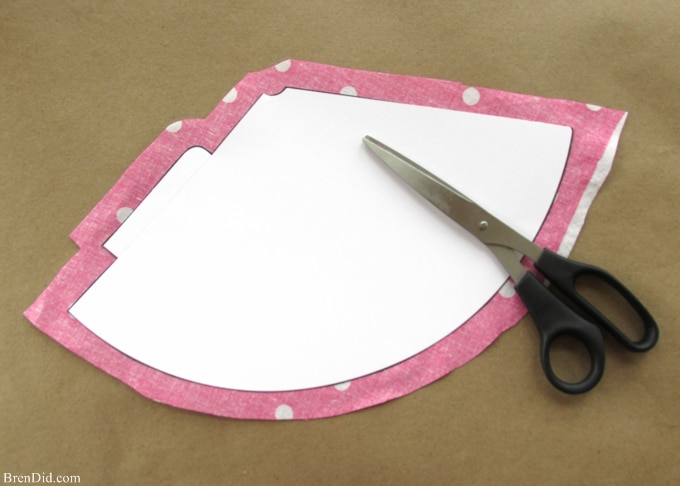
- Notch the fabric corners for easier gluing and less bunching.
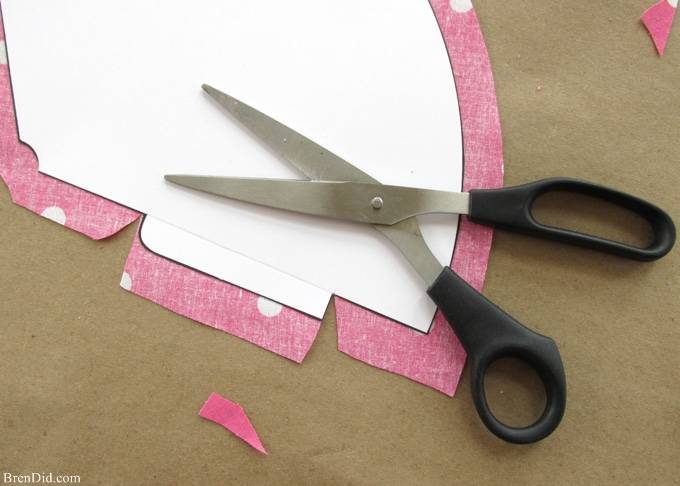
Angle the bottom corners inward.
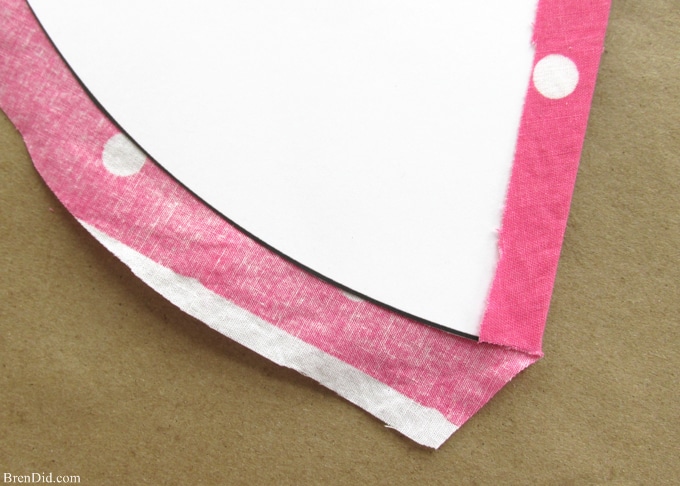
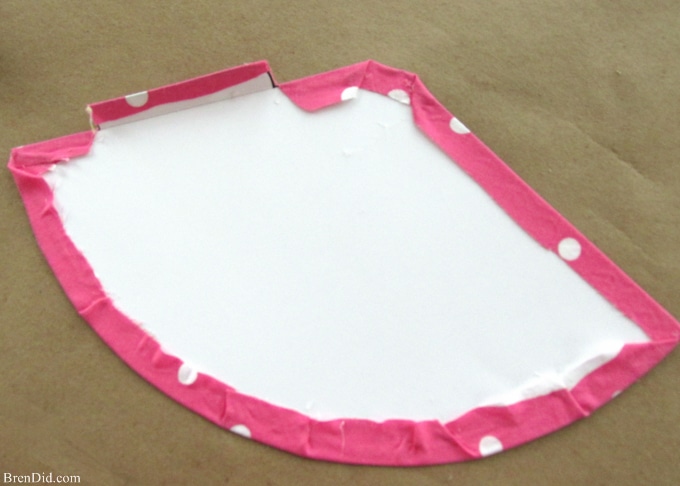
- Fold and glue the fabric to the inside of the hat.
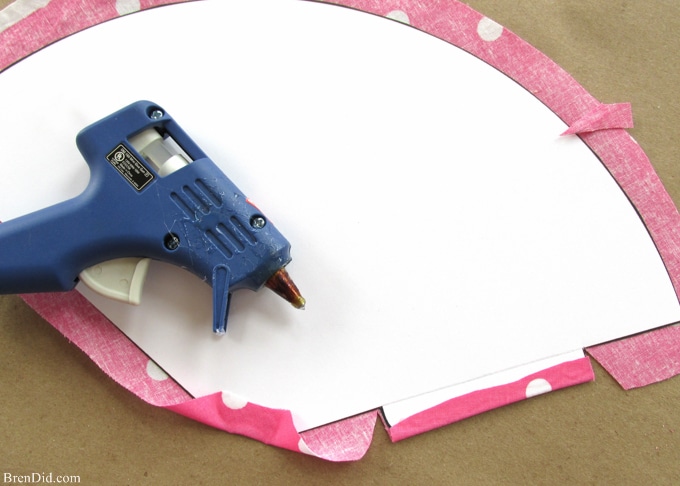
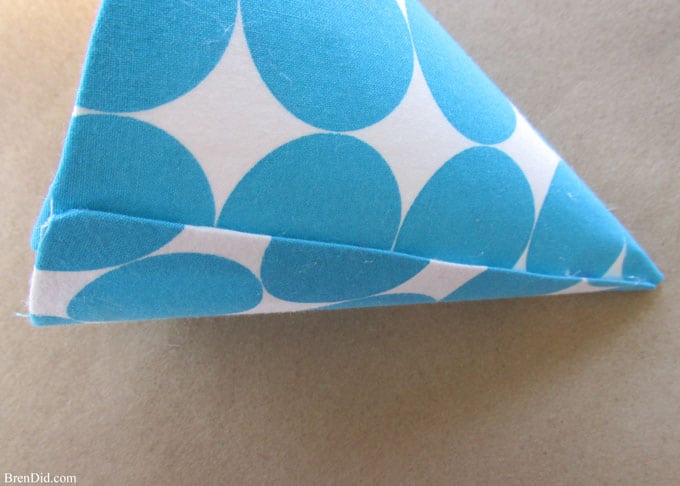
Along the bottom edge you will need to pleat (or bunch) the fabric so it stays straight on the front of the hat.
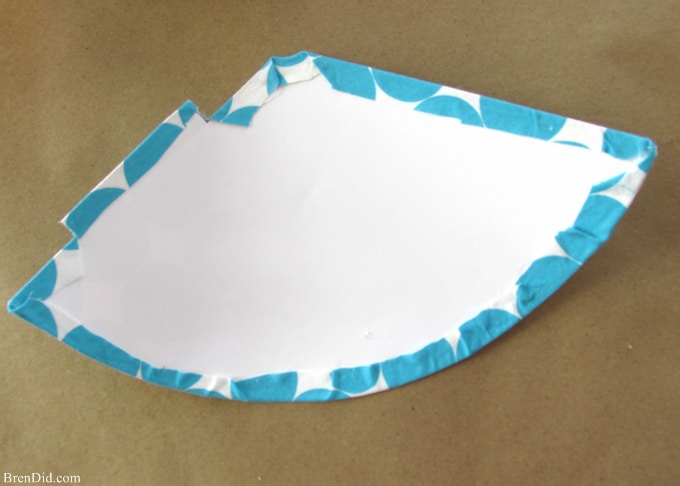
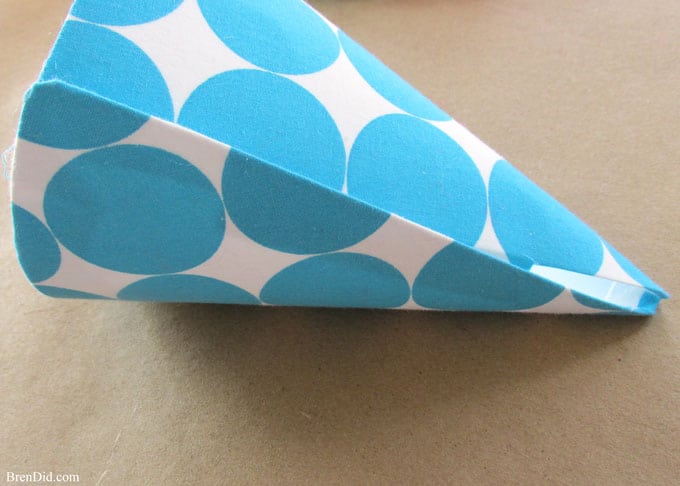
- Pull the fabric-covered form (cardstock side down) over the edge of a table or counter. Start at the tab edge and pull in a counterclockwise motion. This will curve the hat inward in a cone shape, making it easier to shape into a cone without creases. The paper will now be slightly arched.
- Apply hot glue to the tab and lower edge of the hat.
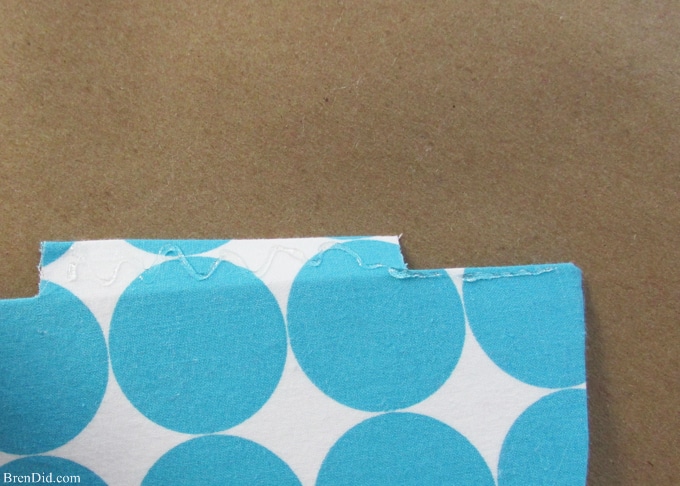
Workings quickly, curl the hat and press the glue to the inside of opposite side of the hat (about ¼ inch in from the edge).
Apply hot glue to the top inner edge of the hat. Curl it under the hat edge and press to adhere. Check your seam and see if you need to add extra glue.
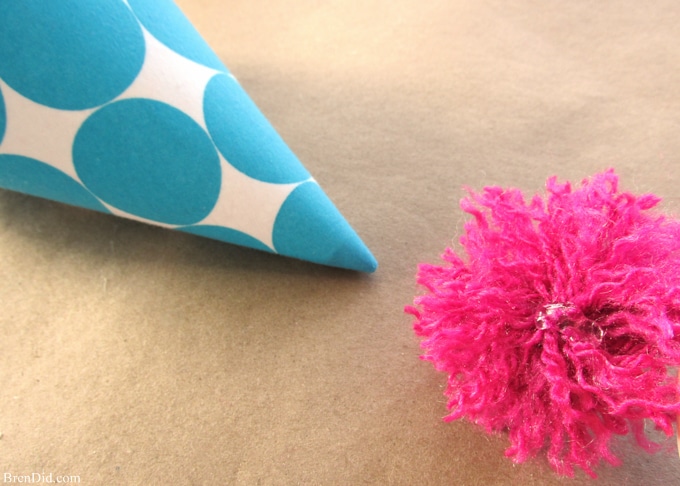
- Make yarn pom-poms that are approximately 2.5 inches in diameter.
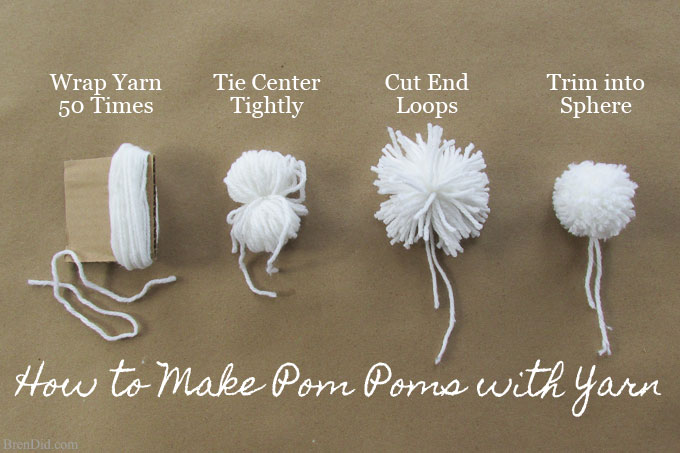
How to make pom poms:
- Cut a 3×3 square of cardboard to use as a pattern (you can also use your hand or a large serving fork).
- Wrap one end of the cardboard 40-50 times with yarn, keep the yarn in a small area.
- Slip yarn off of the cardboard and tie center tightly with a 6 inch long piece of yarn. Turn pom pom over and tie again. Trim the tie to the length of the loops
- Cut loops on each end. Be careful not to through cut the center tie!
- Roll the pom pom in your hands to shape it in a sphere, Rolling the pom pom in your hands also unravels the yarn a bit and make the pom pom more fluffy. I deconstructed my pom poms further by unraveling the yarn with the tine of a fork (you can also use a knitting needle or any metal tool).
- Trim the pom pom into a sphere. (I made slightly messy spheres for this project.) Roll in your hands again to check for areas that need more trimming. (Remember not to cut the middle tie!)
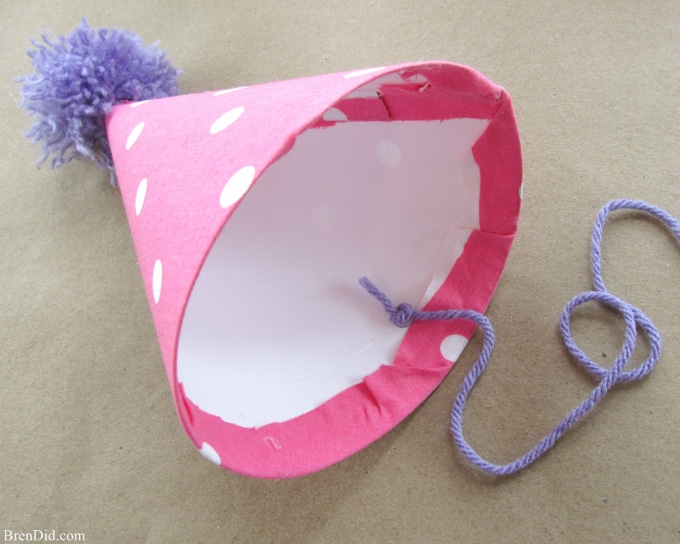
- Glue the poms poms to the top of the hat by applying a blob of hot glue to the center of the pom pom and pressing it tightly to the top point.
- Add yarn hat ties. Measure an 8-12 inch piece of yarn, tie a knot in one end. Glue the knot to the inside of your hat with a dot of hot glue.
Like my easy crafts? Sign up for my free newsletter and never miss a thing!


Ashley
Hi Bren! Thanks for stopping by my page.
These are super cute and so much nicer looking than paper hats! I’ve pinned this to share your work with others.
Bren
Thanks Ashley!