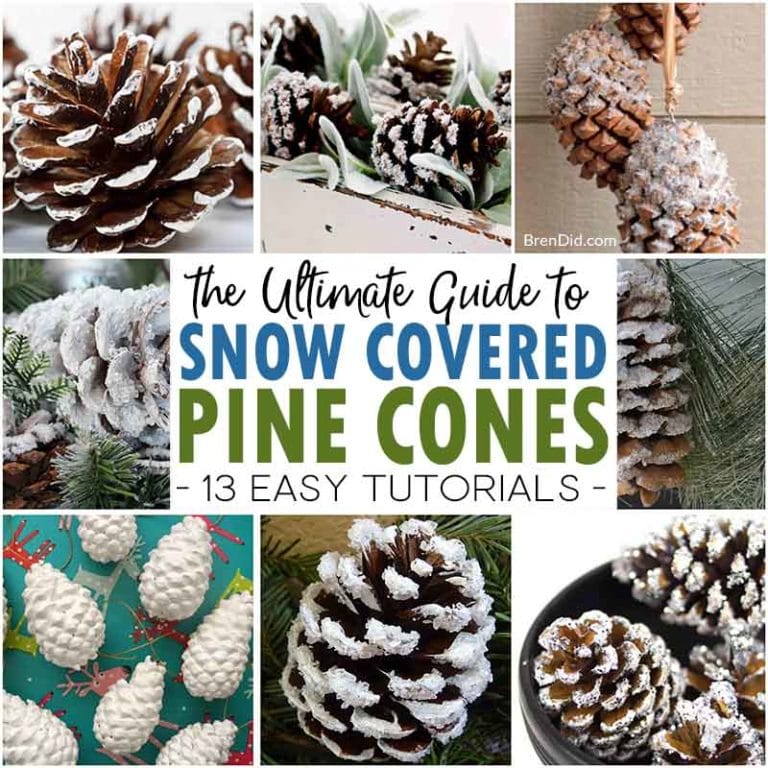
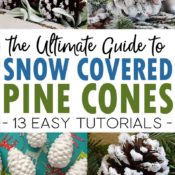
Snow covered pine cones are the perfect addition to holiday decor. Learn how to make your own snowy pine cones with these 5 popular techniques and 13 easy tutorials.
This post uses affiliate links. They don’t cost you a thing and help us bring you creative projects. Read more in Policies & Disclosures.
Frosty snow covered pine cones are a beautiful part of nature’s winter landscape in the Midwest. I love waking up to glittery ice coating the needles and pine cones on our evergreen trees.
This year I wanted to bring the look of snow covered pine cones indoors this winter by adding a faux snowy finish to real pine cones. I began to read instruction for creating snow covered pine cones and found lots of gorgeous options!
I’ve collect my pine cone research in one place so you can:
- Learn about the materials used for making snow covered pine cones and
- Pick your favorite technique to get the perfect look for your craft.
Use the images below to find your favorite look then follow the easy tutorial to make your own snow covered pine cones.
___
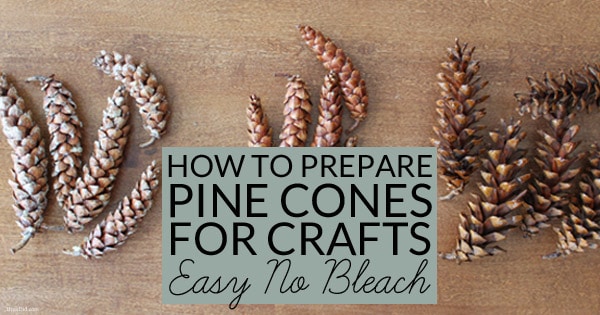
Tip: Learn to how to prepare pine cones to eliminate creepy-crawlies, dirt and mold before making these crafts or decorating with pine cones.
___
Snow Covered Pine Cone Supplies
For indoor crafts the frosted pine cone look is most often created using one of these five basic supplies:
- Spray Snow
- Epsom Salts
- Paint (spray paint, latex paint and/or craft paint)
- Faux Bagged Snow
- Glitter
Each of these technique creates a unique look. Check out each of the 5 methods below to find one that best suits your decorating style.
How to Make Snow Covered Pine Cones
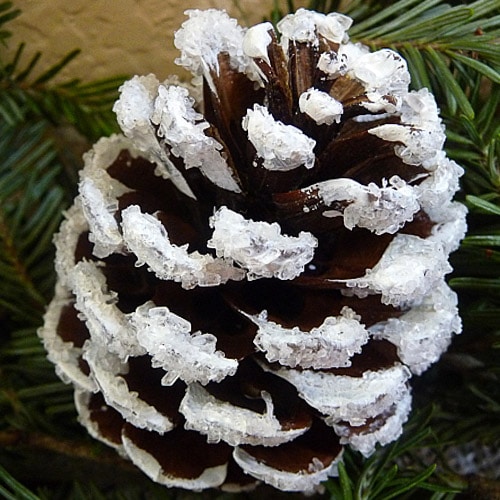
Technique 1: Snow Covered Pine Cones Using Spray Snow
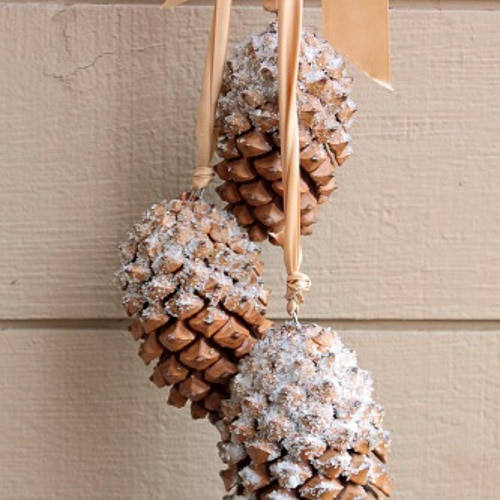
- A touch of spray snow makes pine cones look like they have just come in from the frosty outdoors. Full tutorial from Press Print Party.
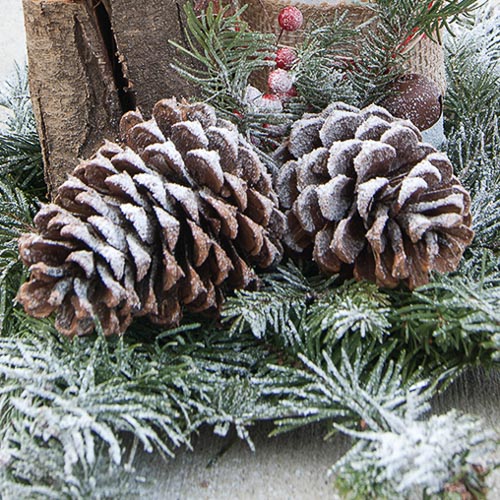
- A heavy coat of spray snow makes the pine cones look like they have been in a snow storm. Full tutorial from Daisy Mae Belle.
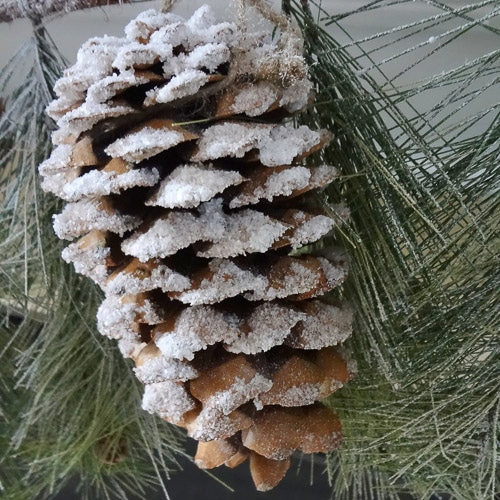
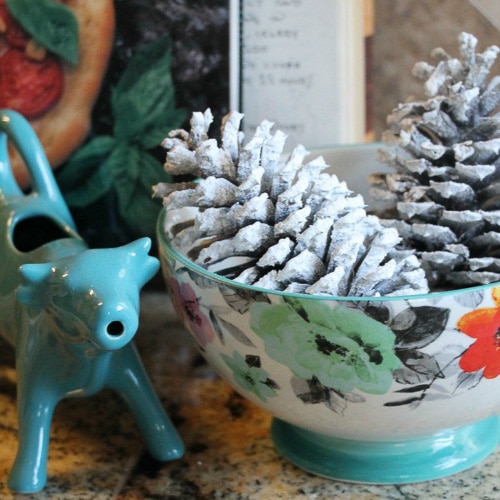
Technique 2: Snow Covered Pine Cones Using Epsom Salt
- A generous sprinkle of Epsom salts after brushing the tops of pine cones with white school glue gives them an icy, frosted appearance. Full tutorial from My Clever Nest (website no longer active).
- Modge Podge can also be used to secure a sprinkle of Epsom Salt in place. Full tutorial from Made in a Day.
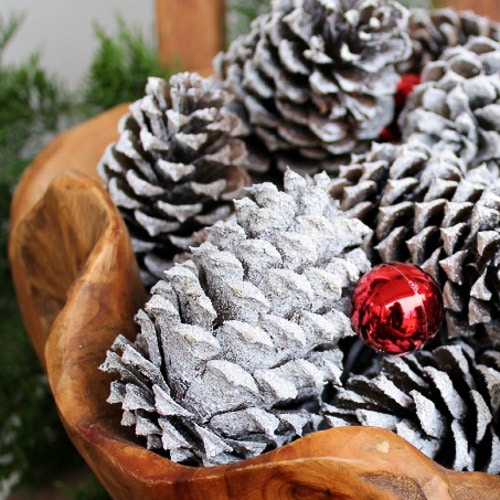
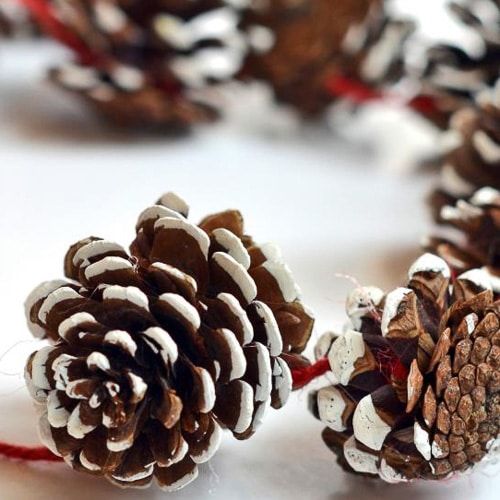
Technique 3: Snow Covered Pine Cones Using Paint
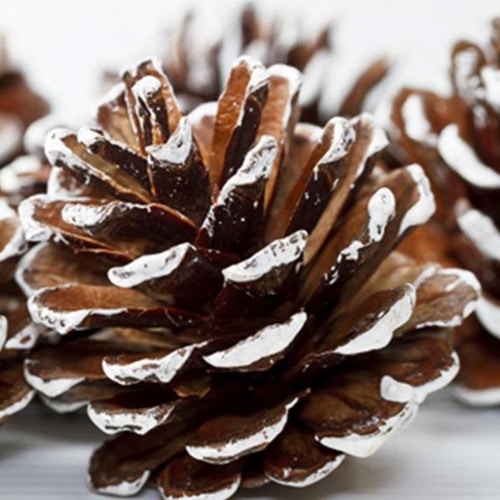
- The edges of the pine cone petals are dipped into white craft paint to make them look snow kissed. Full tutorial from HGTV.
- A light coat of white spray paint gives pine cones a frosty color that still allows the warm wood tones show through. Full tutorial from A Pretty Fix.
- Dipping the entire pine cone into white latex paint creates a clean bright look that is great for modern décor. Full tutorial from Lolly Jane.
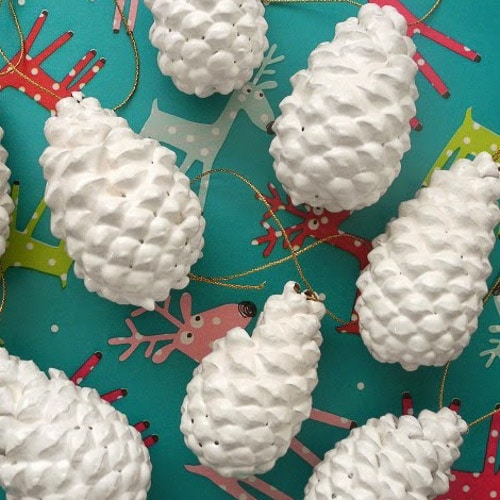
Technique 4: Snow Covered Pine Cones Using Bagged Snow
- A bit of bagged snow stuck on with glue makes look like like they are dusted with fluffy snowflakes. Full tutorial from Ella Claire Inspired.

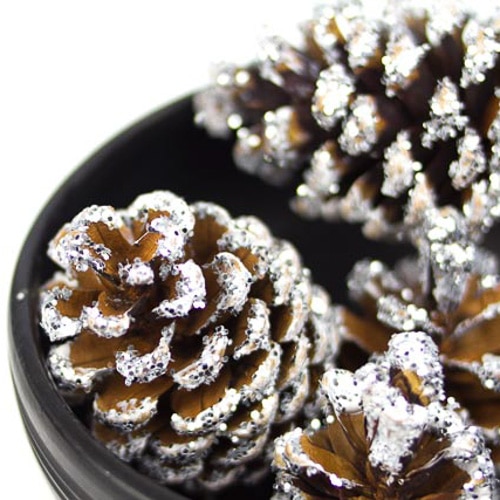
Technique 5: Snow Covered Pine Cones Using Glitter
- A sprinkle of craft glitter attached with paint give pine cones the shiny look of sparkly snow in the sunshine. Full tutorial from Kids Craft Room.
Pine Cones with Layered Snow
Now that you’ve seen the 5 basic methods for creating snow covered pine cones (faux spray snow, Epsom salts, paint, faux bagged snow & glitter) you can get creative and combine materials to get a custom look!
Check out these ideas for combining the techniques.
Combination 1: Snow Covered Pine Cones Using Spray Paint and Spray Snow
- A coat of spray paint followed by spray snow makes pine cones look like they have been in a blizzard. Full tutorial from Kids Craft Room.
Combination 2: Snow Covered Pine Cones Using Paint, Modge Podge, and Epsom Salt
- Layer paint, Modge Podge, and Epsom salt to makes snow tipped pine cones. Full tutorial from Posed Perfection.
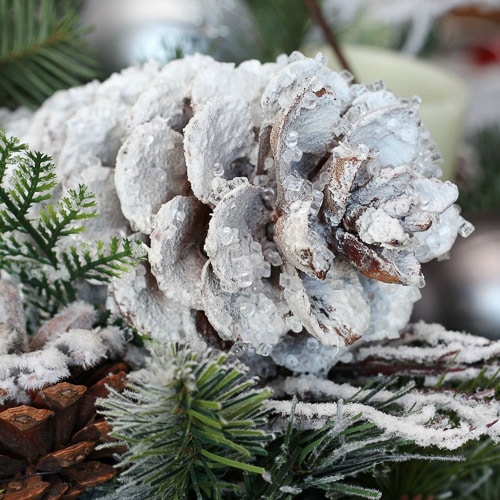
Combination 3: Snow Covered Pine Cones Using Spray Snow, Adhesive, and Crystal Vase Filler
- Pile on the faux spray snow, spray adhesive, and crystals or glitter to make icicle pine cones. Full tutorial from Clean and Scentsible.
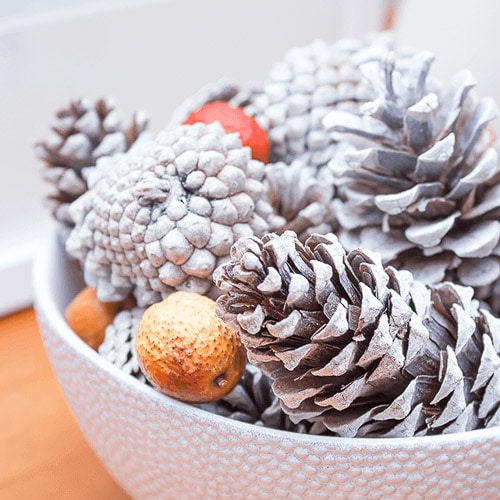
Other Notable Snow Ingredients
I love finding unusual uses for materials around my craft room. This idea creates snow covered pine cones with an unique craft supply… liquid paper! Full tutorial from Be A Fun Mum.
More Pine Cone Crafts
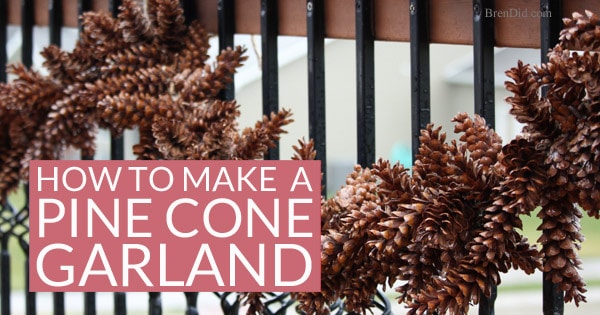
Use your snowy pine cones to make an easy pine cone garland or snowflake wreath.
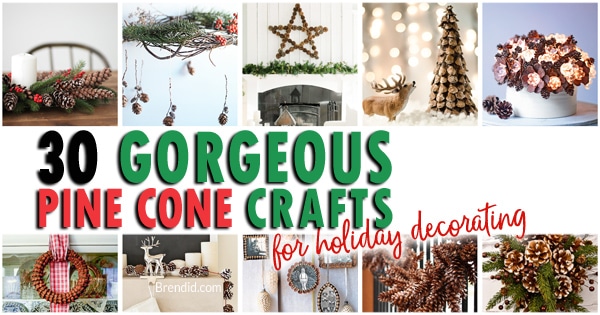
Want more pine cone craft ideas? Check out these easy pine cone holiday decorations.
Like my easy crafts? Sign up for my free newsletter below and never miss a thing!

Janie
Thank for All the Beautiful Ways to make pine cones, and how to clean them!!!Got the pine cones Ready……Now, to get the paints, glitter, epsom salts,and put my imagination to work!!!!! Merry Christmas Everyone!!!
Marcella Kristanti
Do you need to bake the pinecone before do these technique?
Bren
You do not have to bake first, but it they are tightly closed, baking will make them more open.
Vanessa
I love all the techniques you have posted. I want to try them all. Thank you for doing all the work anf posting them all together.