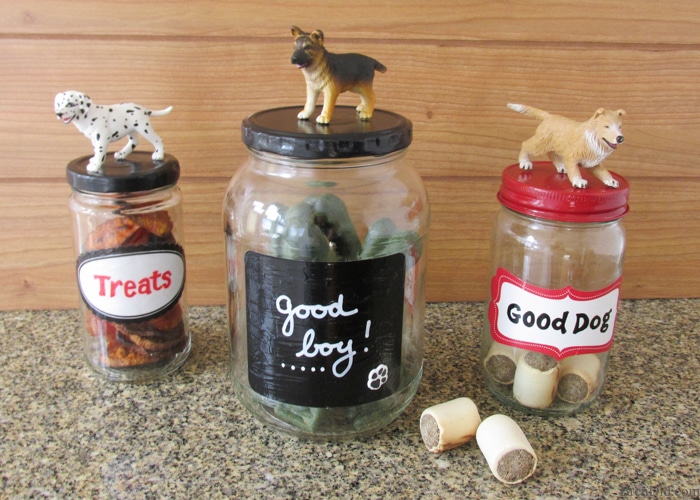
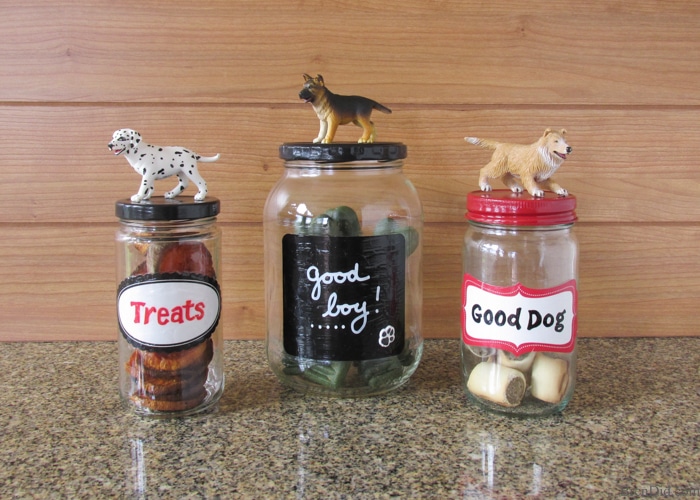
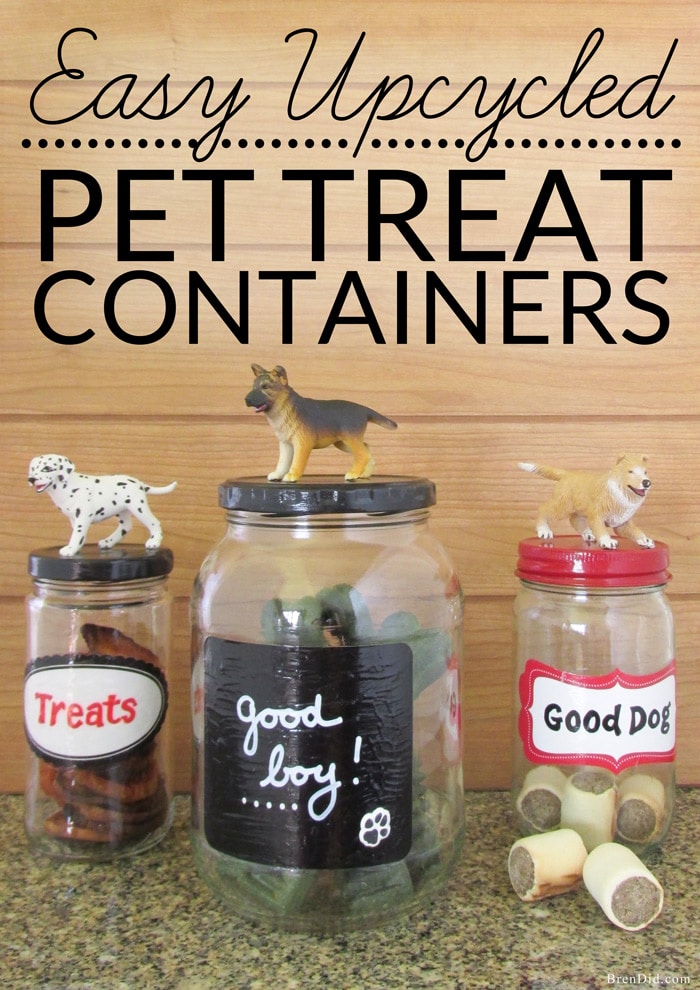
Making craft projects from recycled materials is a great way to save on craft costs while reducing waste. These adorable upcycled pet treat containers reuse glass jars from your kitchen. A few simple supplies are all you need to turn old jars into adorable containers for pet treats.
This post uses affiliate links. They don’t cost you a thing and help us bring you creative projects. Read more in Policies & Disclosures.
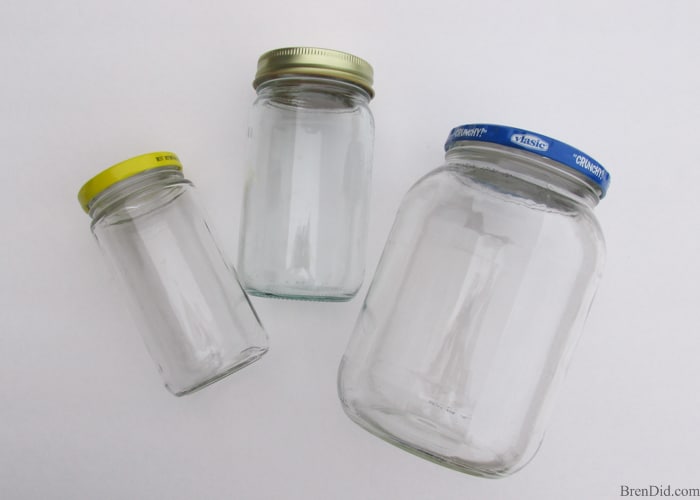
Are you a crafter? I love making new items for my home, but the cost of craft supplies can quickly add up! This project craft supplies you may already have on hand and can be made from a Mason jar or a food storage jar. I used an empty jar of jalapenos, a coconut oil jar, and a pickle jar to make my dog treat containers.
Dress Up Your Recycling
These pet treat containers look adorable with simple hand lettered labels and painted lids. You can also attach a small pet figurine to the top of each jar to really pump up the cuteness level!
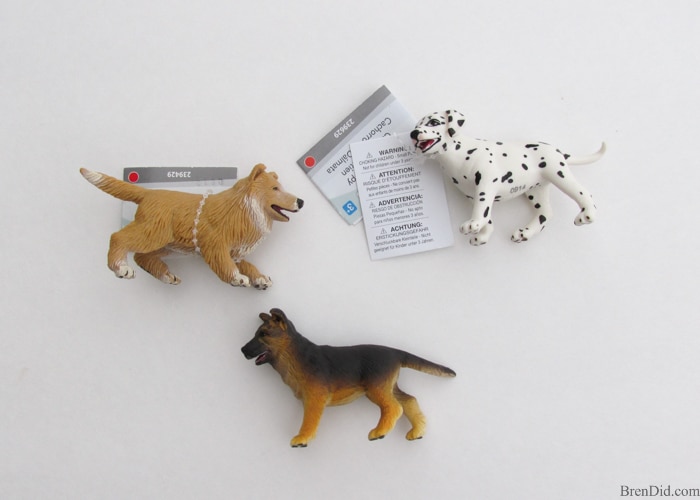
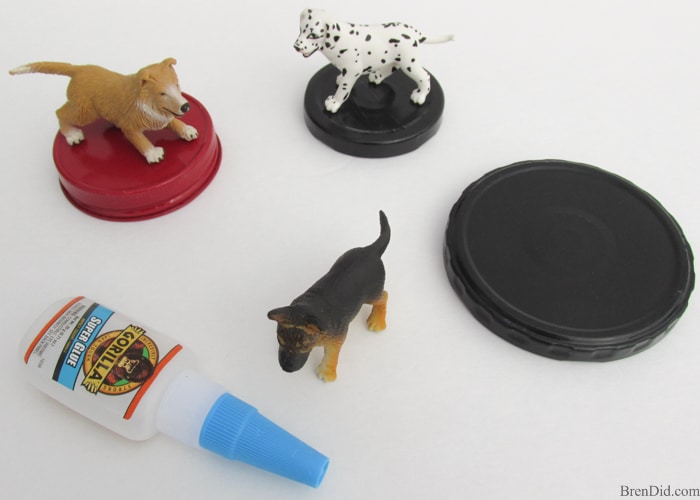
I purchased my pet figurines at a craft store for less than $2.00 each. You can find similar pet figurines at your local craft or hobby stores or in the toy section of most big box stores. Find a figurine that matches your pet to personalize the treat jar.
Easy Upcycled Pet Treat Container Supplies
- Recycled glass jar or Mason jar big enough to hold pet treats
- Craft paint or spray paint
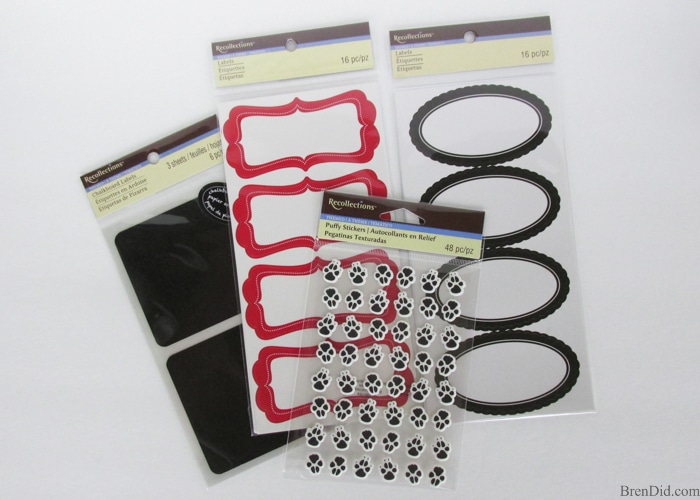
- Adhesive craft labels and/or stickers
- Oil-based paint marker
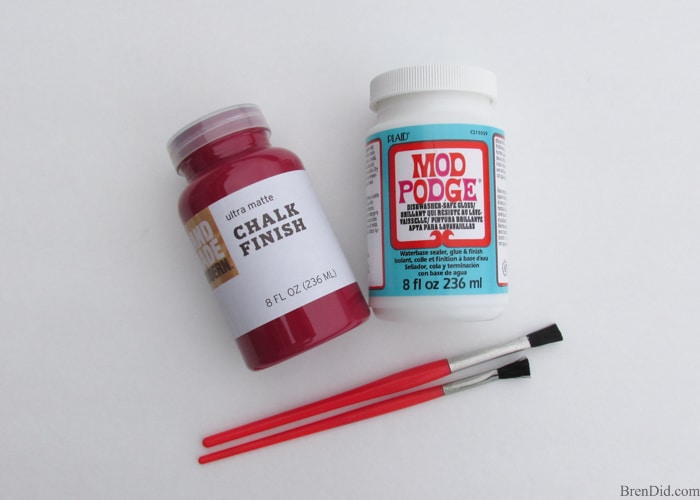
- Dishwasher safe Modge Podge
- Small pet figurine (optional)
Easy Upcycled Pet Treat Container Directions
1.Prepare the container
Wash and dry your glass jar. Wipe the area where you will apply the label with rubbing alcohol or vodka and allow the area to air dry. Ink expiration dates printed on the jar can be removed with nail polish remover.
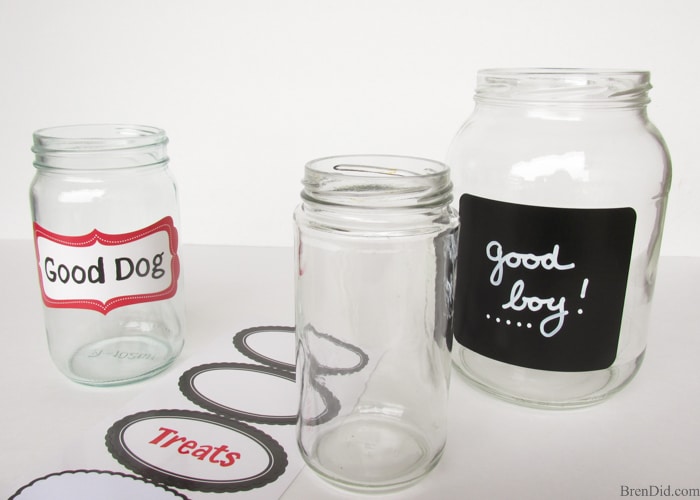
2. Attach a label.
Use an oil-based marker (I used Sharpie brand) to write your message on the label. Allow the lettering to dry then carefully stick the label to the prepared jar. Using a oil-based paint pen keeps the lettering from smearing when you apply the Modge Podge.
3. Apply Modge Podge to the jar.
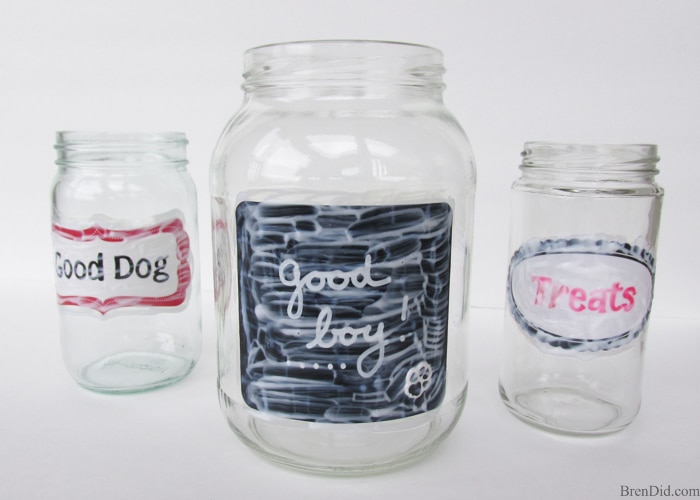
Use a brush to apply a light, smooth coat of Modge Podge to the label. Make sure to paint slightly over the edge of each label onto the glass jar. This attaches the label securely to the jar and protects the label when washing the treat jar. Be neat around the edges, dried Modge Podge can be seen a bit on glass.
Allow the Modge Podge to dry for 1-2 hours then apply a second light, smooth coat. Allow the Modge Podge to dry for a few days before using the treat jar. According to the Modge Podge directions it should cure for 28 days before washing.
4. Paint the lid.
Use spray paint or acrylic paint to paint the lid of your jar. It may take several coats of paint to cover over the original lid design.
To make the lid more durable I also coat it with Modge Podge: allow the colored paint to dry then coat the lid with two light coats of Modge Podge, allowing the Modge Podge to dry completely between each coat.
5. Use super glue to attach a pet figurine.
Once the lid has dried completely, use super glue to attach a small pet figurine (if desired).
6. Enjoy your new upcycled pet treat container!
Like my easy upcycled crafts? Sign up for my newsletter below and ever miss a thing!
Make sure you check out my DIY All-Natural Dog Shampoo to keep your dog clean and healthy.



Lisa (@retrohousewife5)
These are adorable!
Bren
Thanks Lisa!